Level 097: Perfect Tidy Level 92 Complete Walkthrough
This concise guide explains how to clear the bricks and reveal the mural in **Perfect Tidy Level 92 Complete Walkthrough**, focusing on the optimal removal order and timing so you can complete the level cleanly and quickly.
Level overview
This concise guide explains how to clear the bricks and reveal the mural in Perfect Tidy Level 92 Complete Walkthrough, focusing on the optimal removal order and timing so you can complete the level cleanly and quickly.
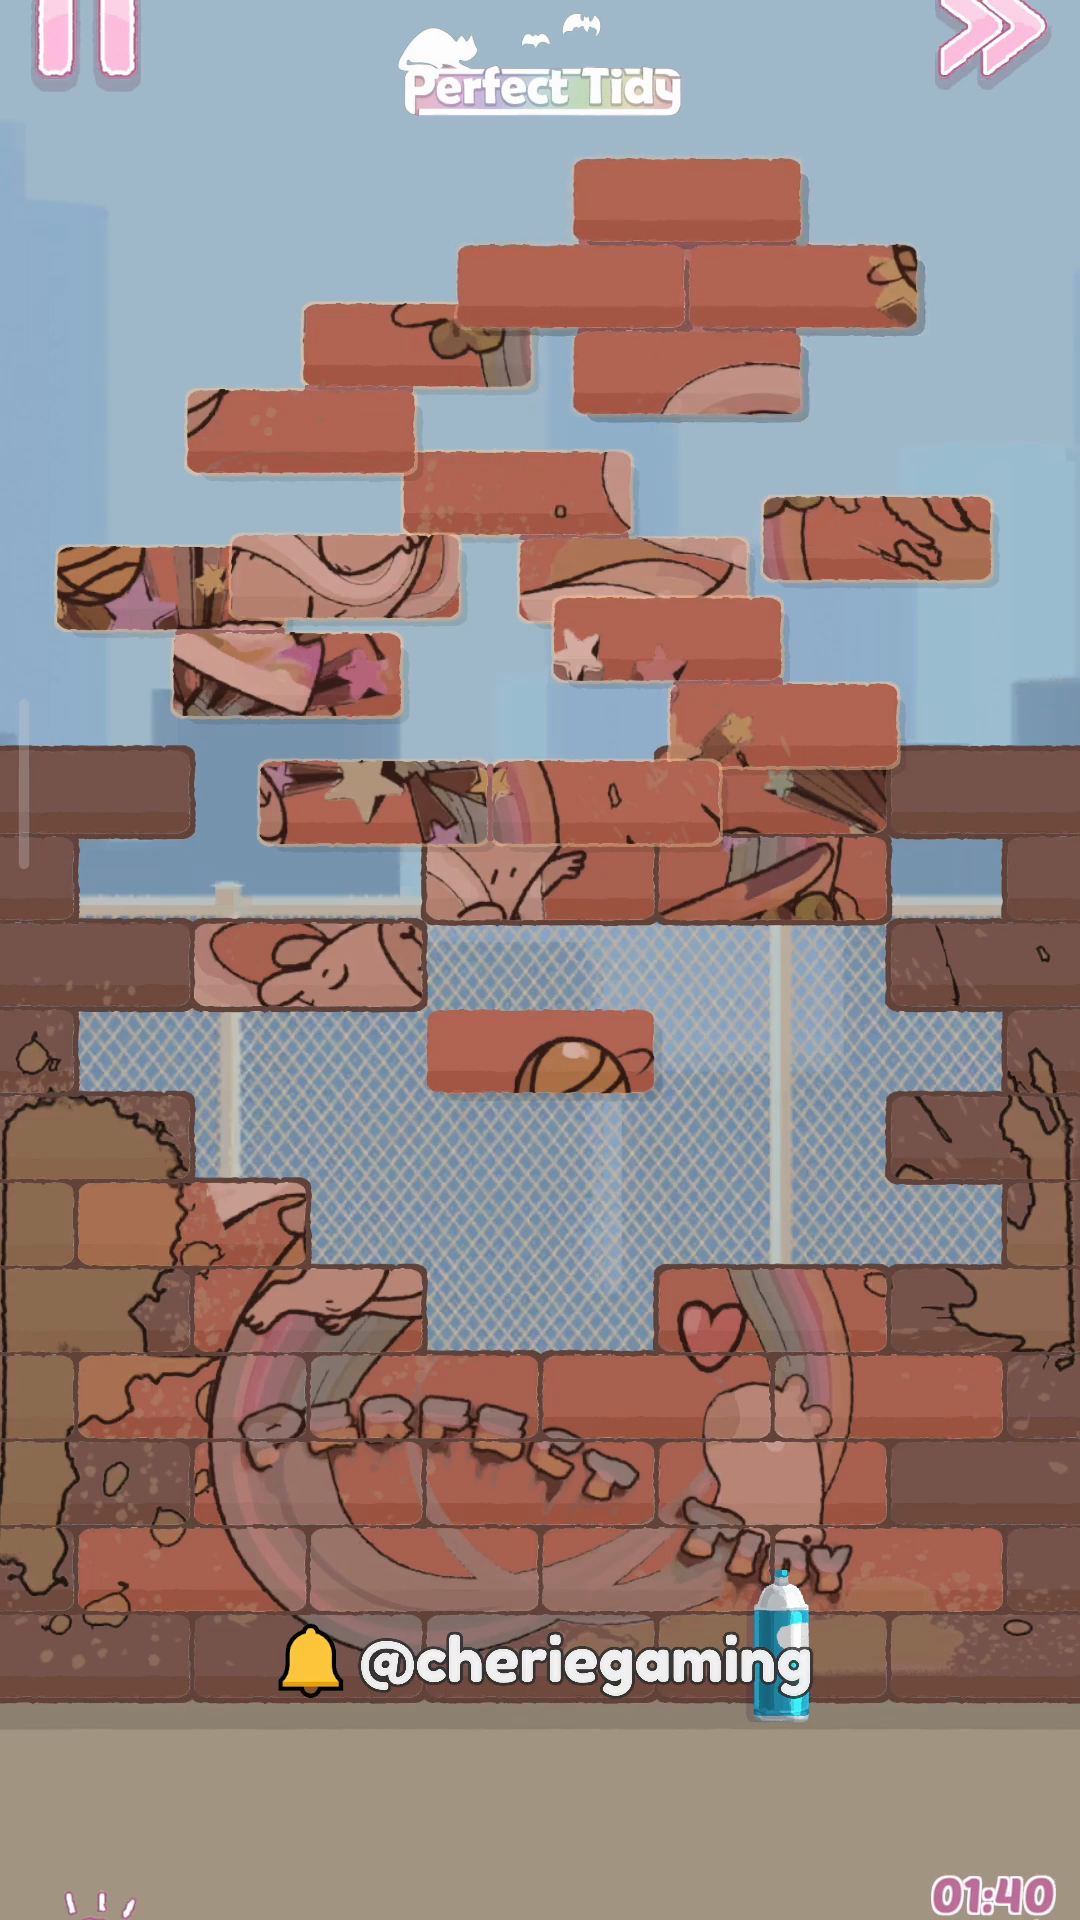
Step 1. Survey the starting wall
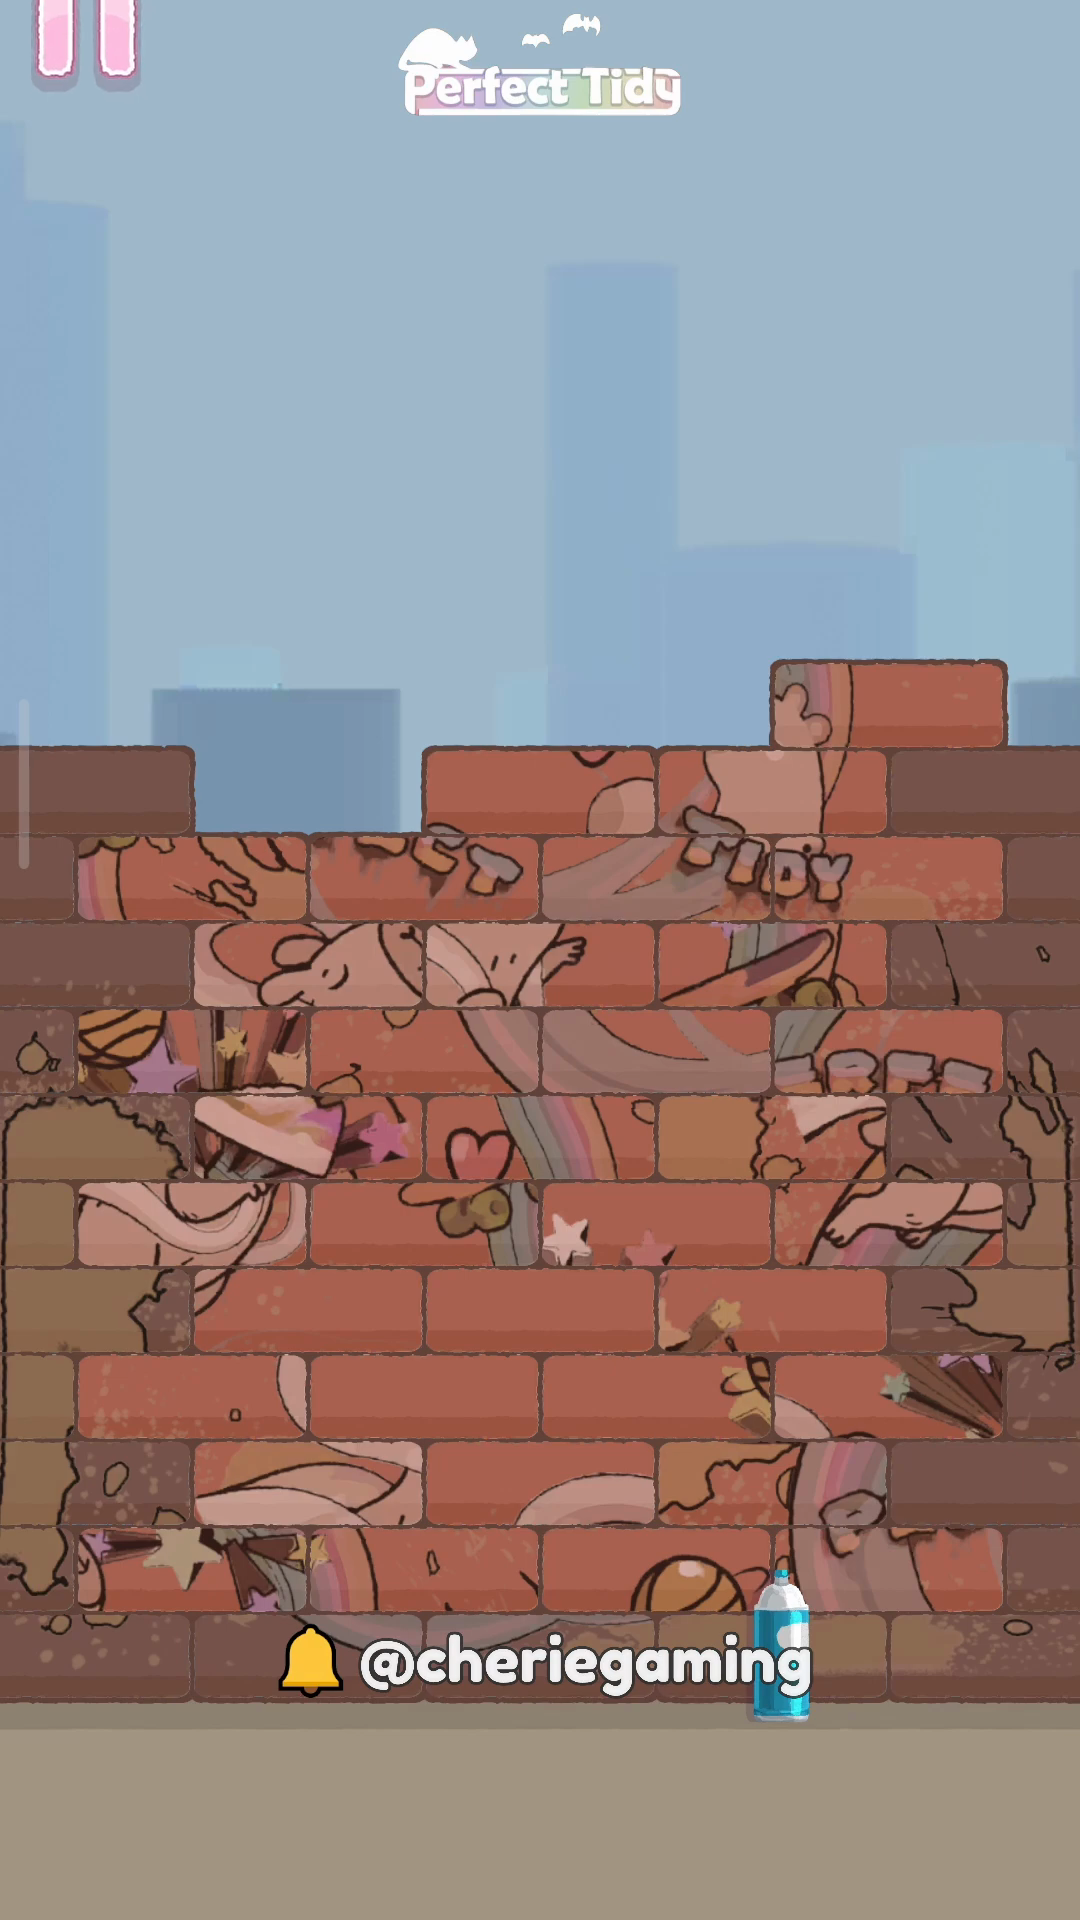
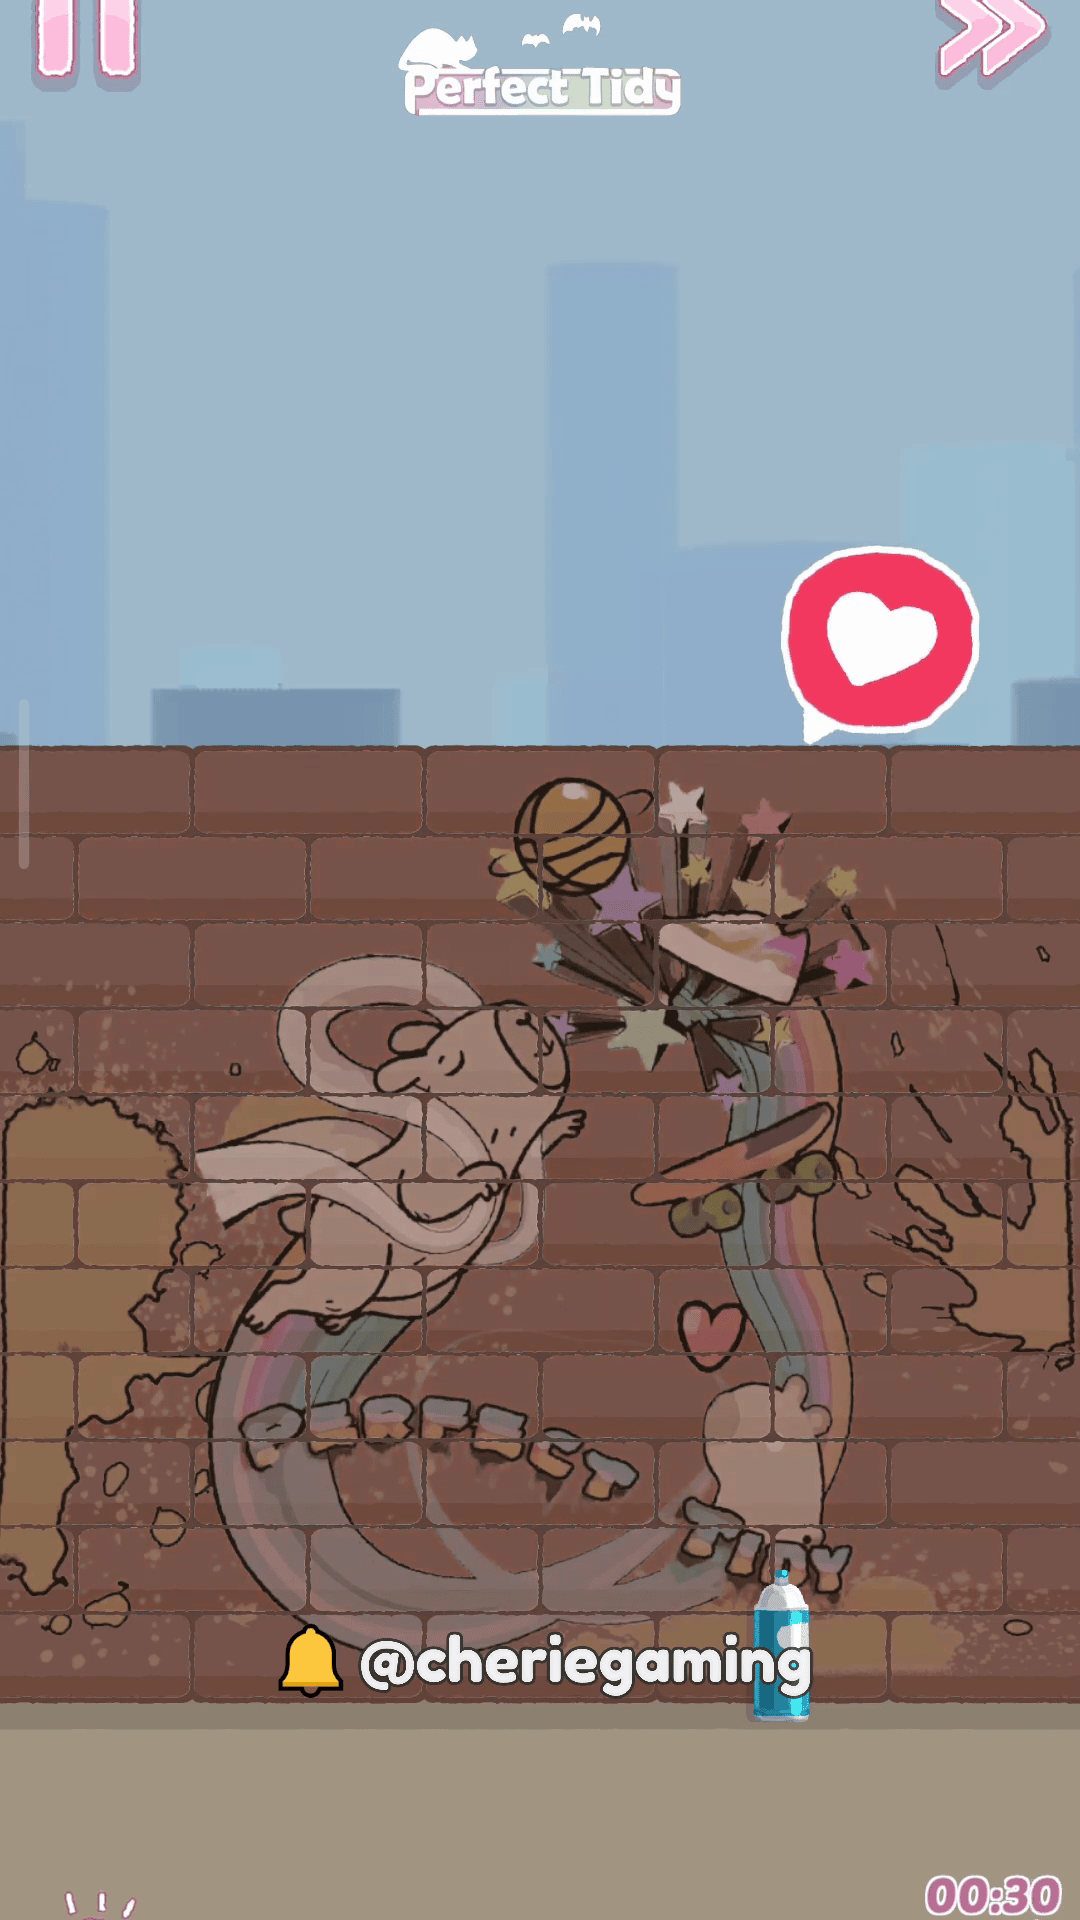
Begin by examining the brick layout and plan which sections to target first. This initial view in Perfect Tidy Level 92 Complete Walkthrough helps you spot large connected clusters to remove for maximum cascades.
Step 2. Open central gaps
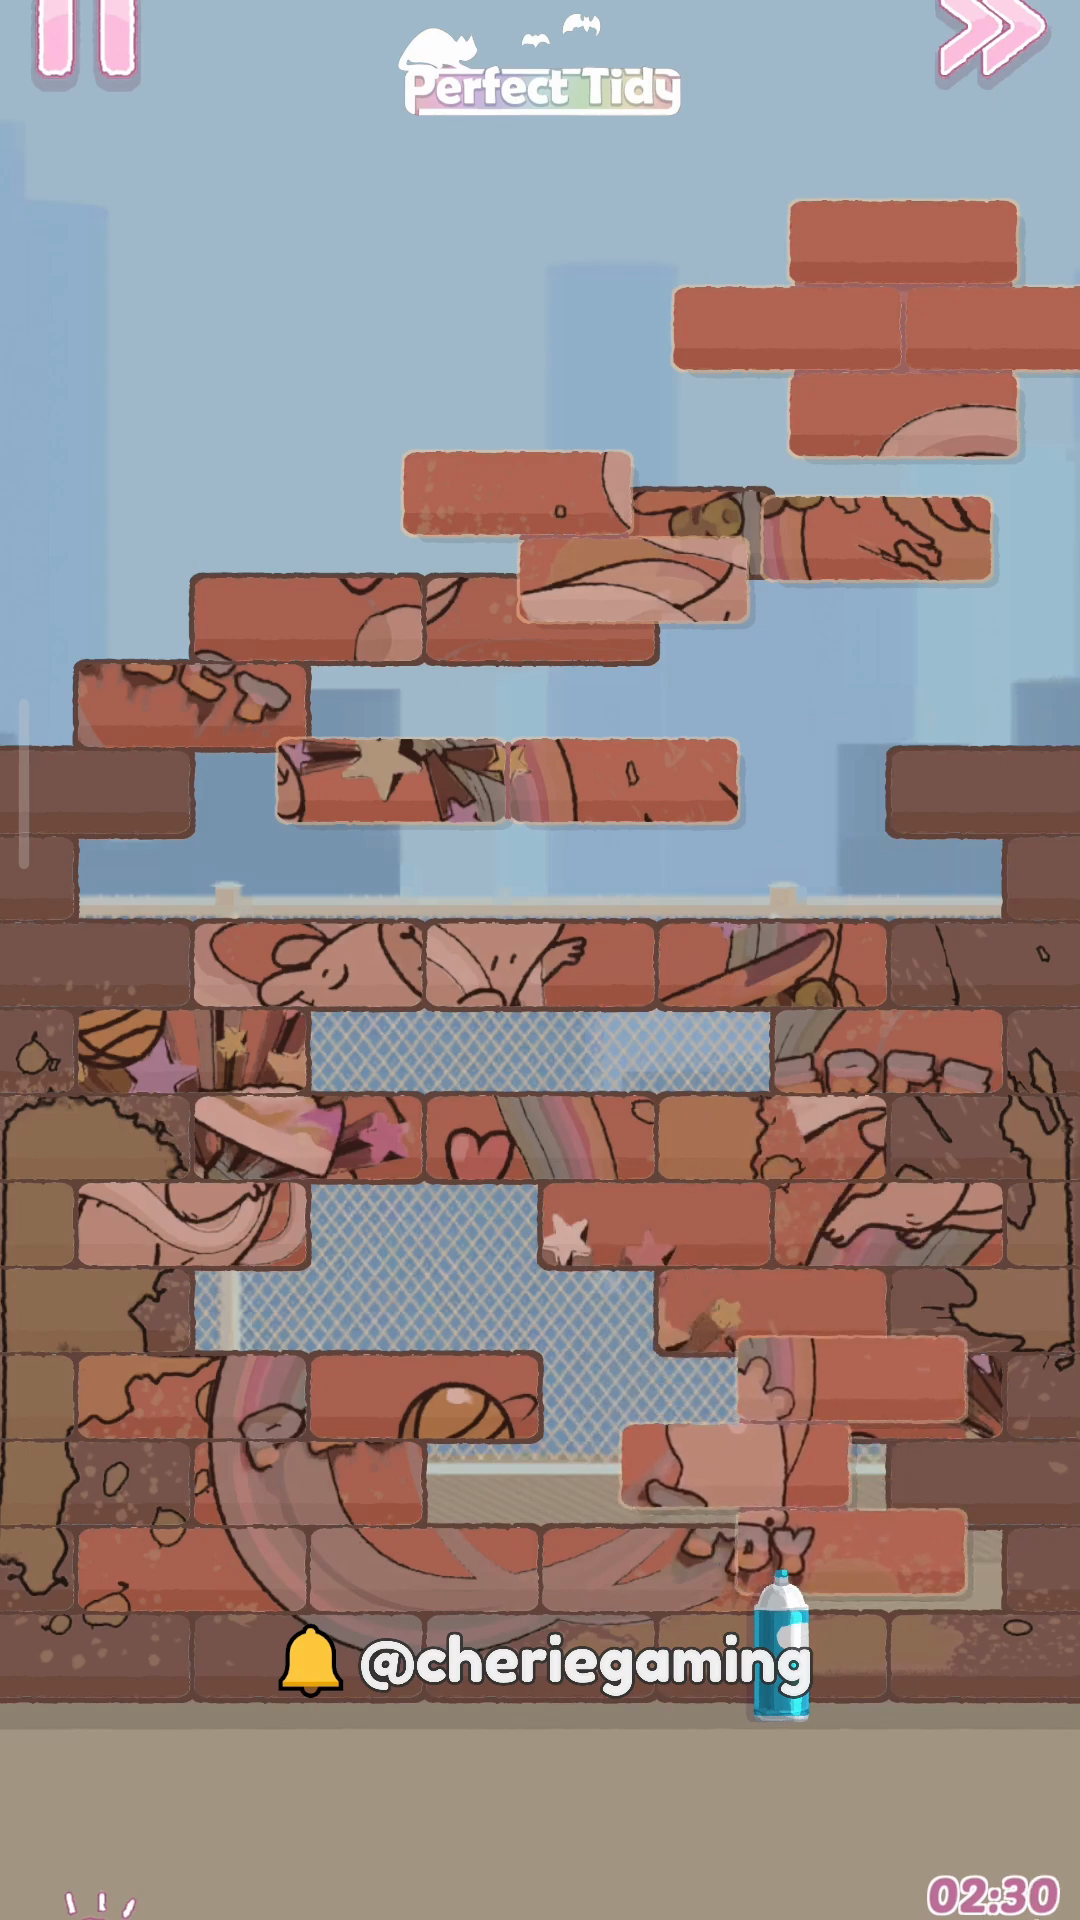
Remove the central support bricks to create space and reveal the mesh behind the wall. The snapshot for Perfect Tidy Level 92 Complete Walkthrough highlights the first major gaps that trigger cascading falls.
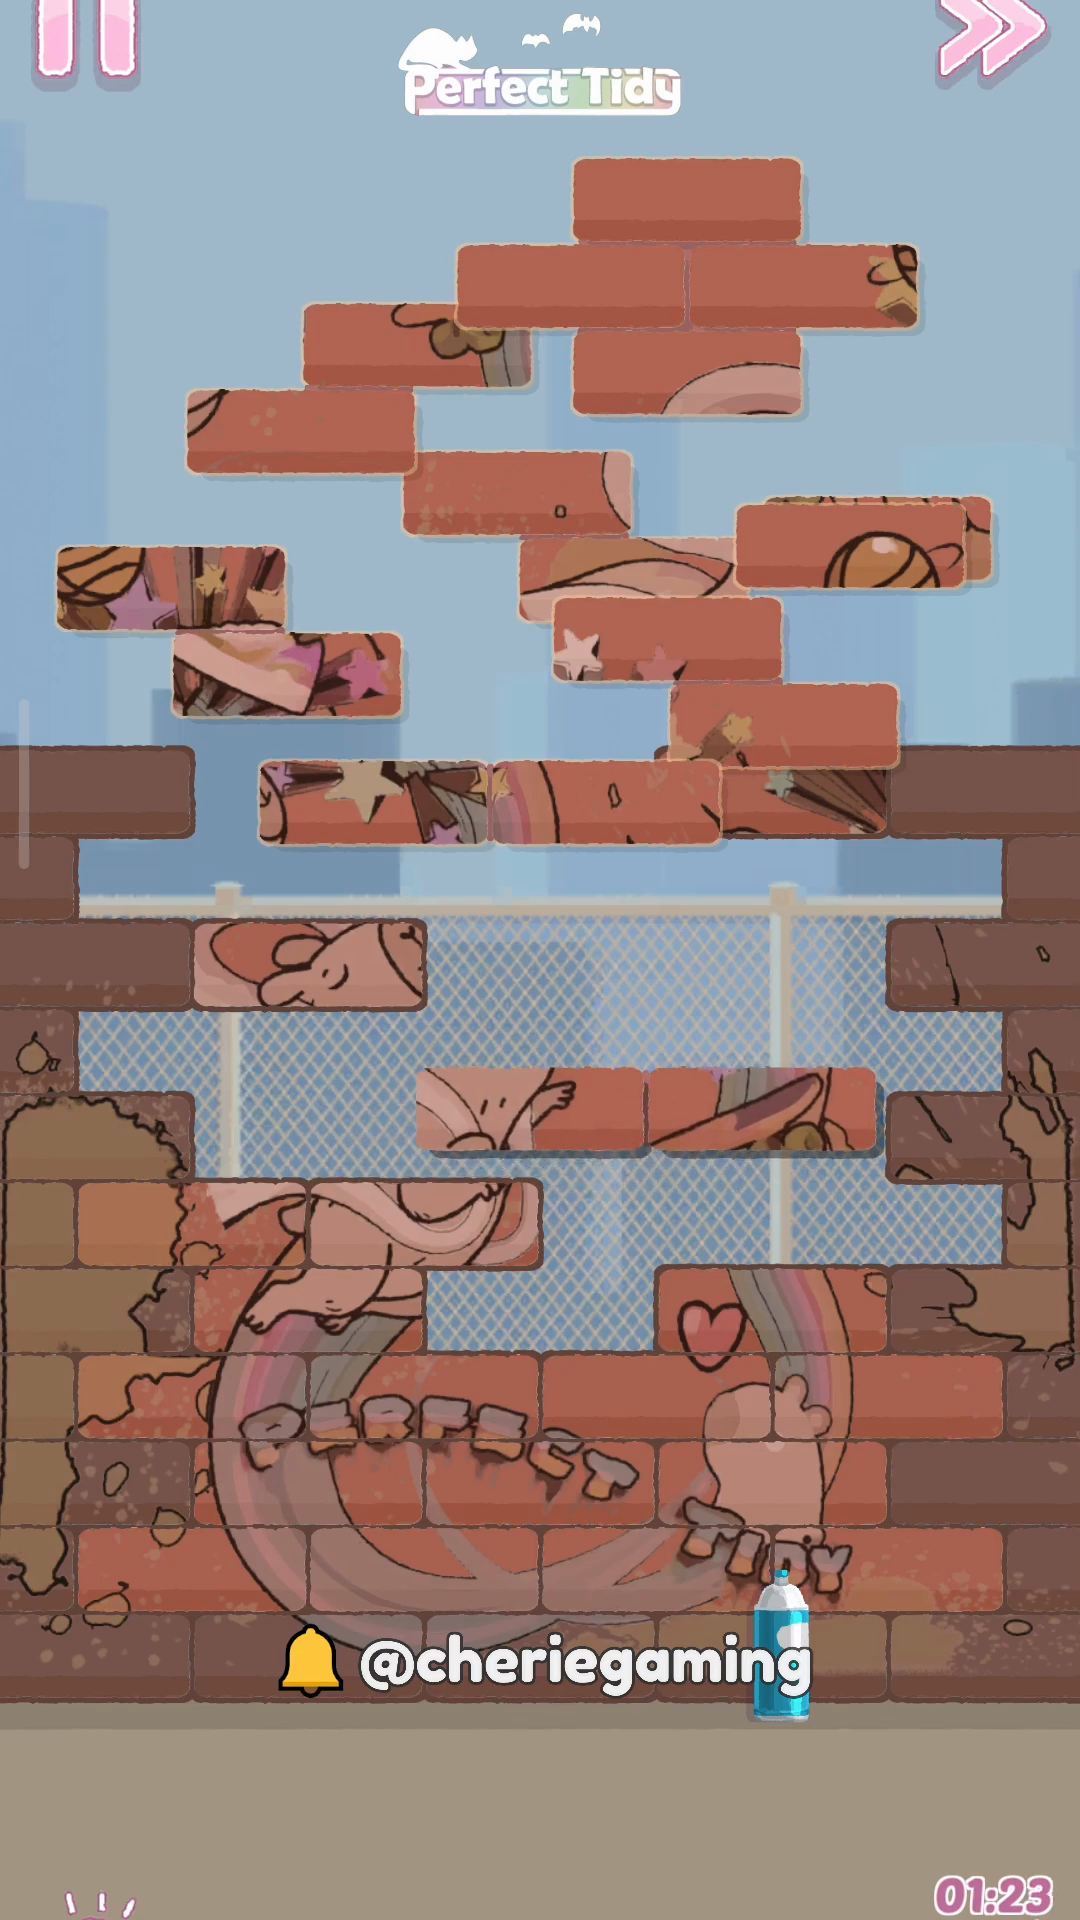
Step 3. Clear upper platform bricks
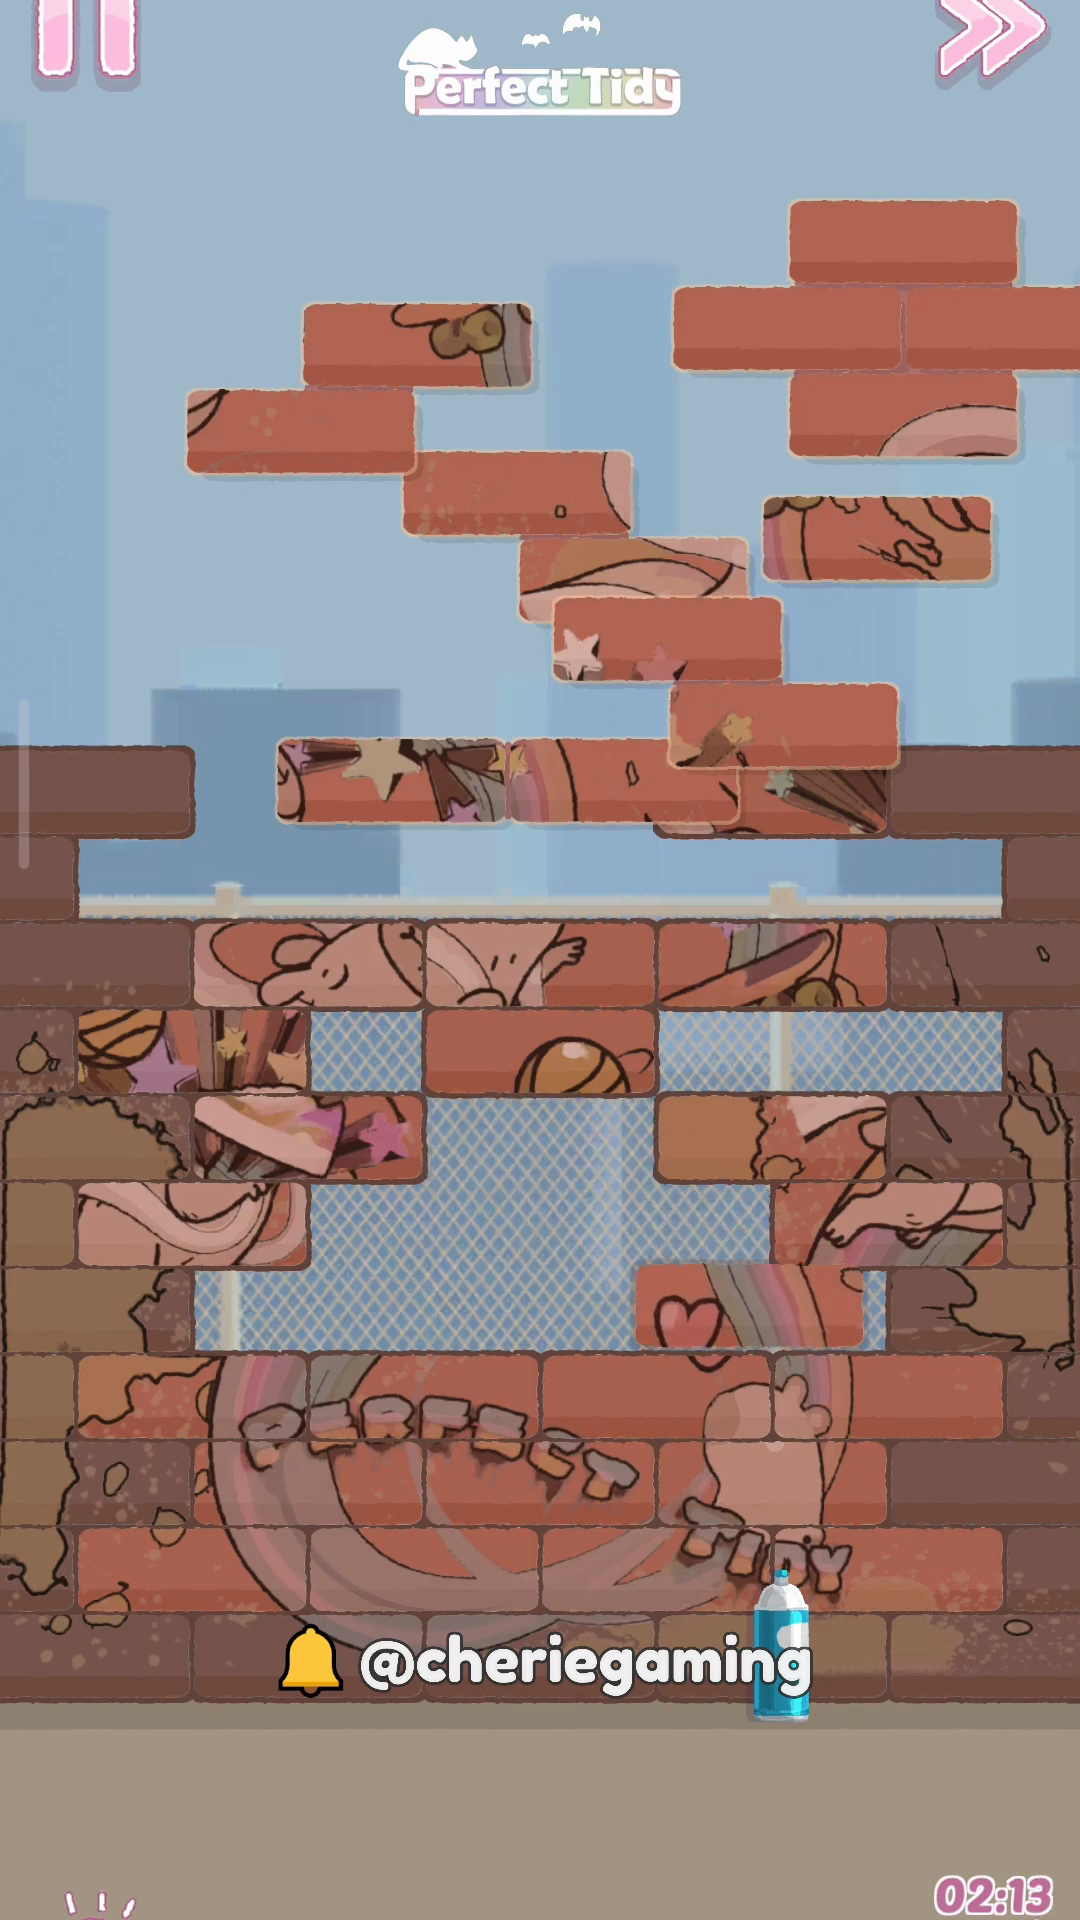
Target the upper staggered platforms to force drops onto the lower sections and reduce isolated pieces. This frame in Perfect Tidy Level 92 Complete Walkthrough shows the ideal time to clear those upper bricks for chain reactions.
Step 4. Stabilize the sides
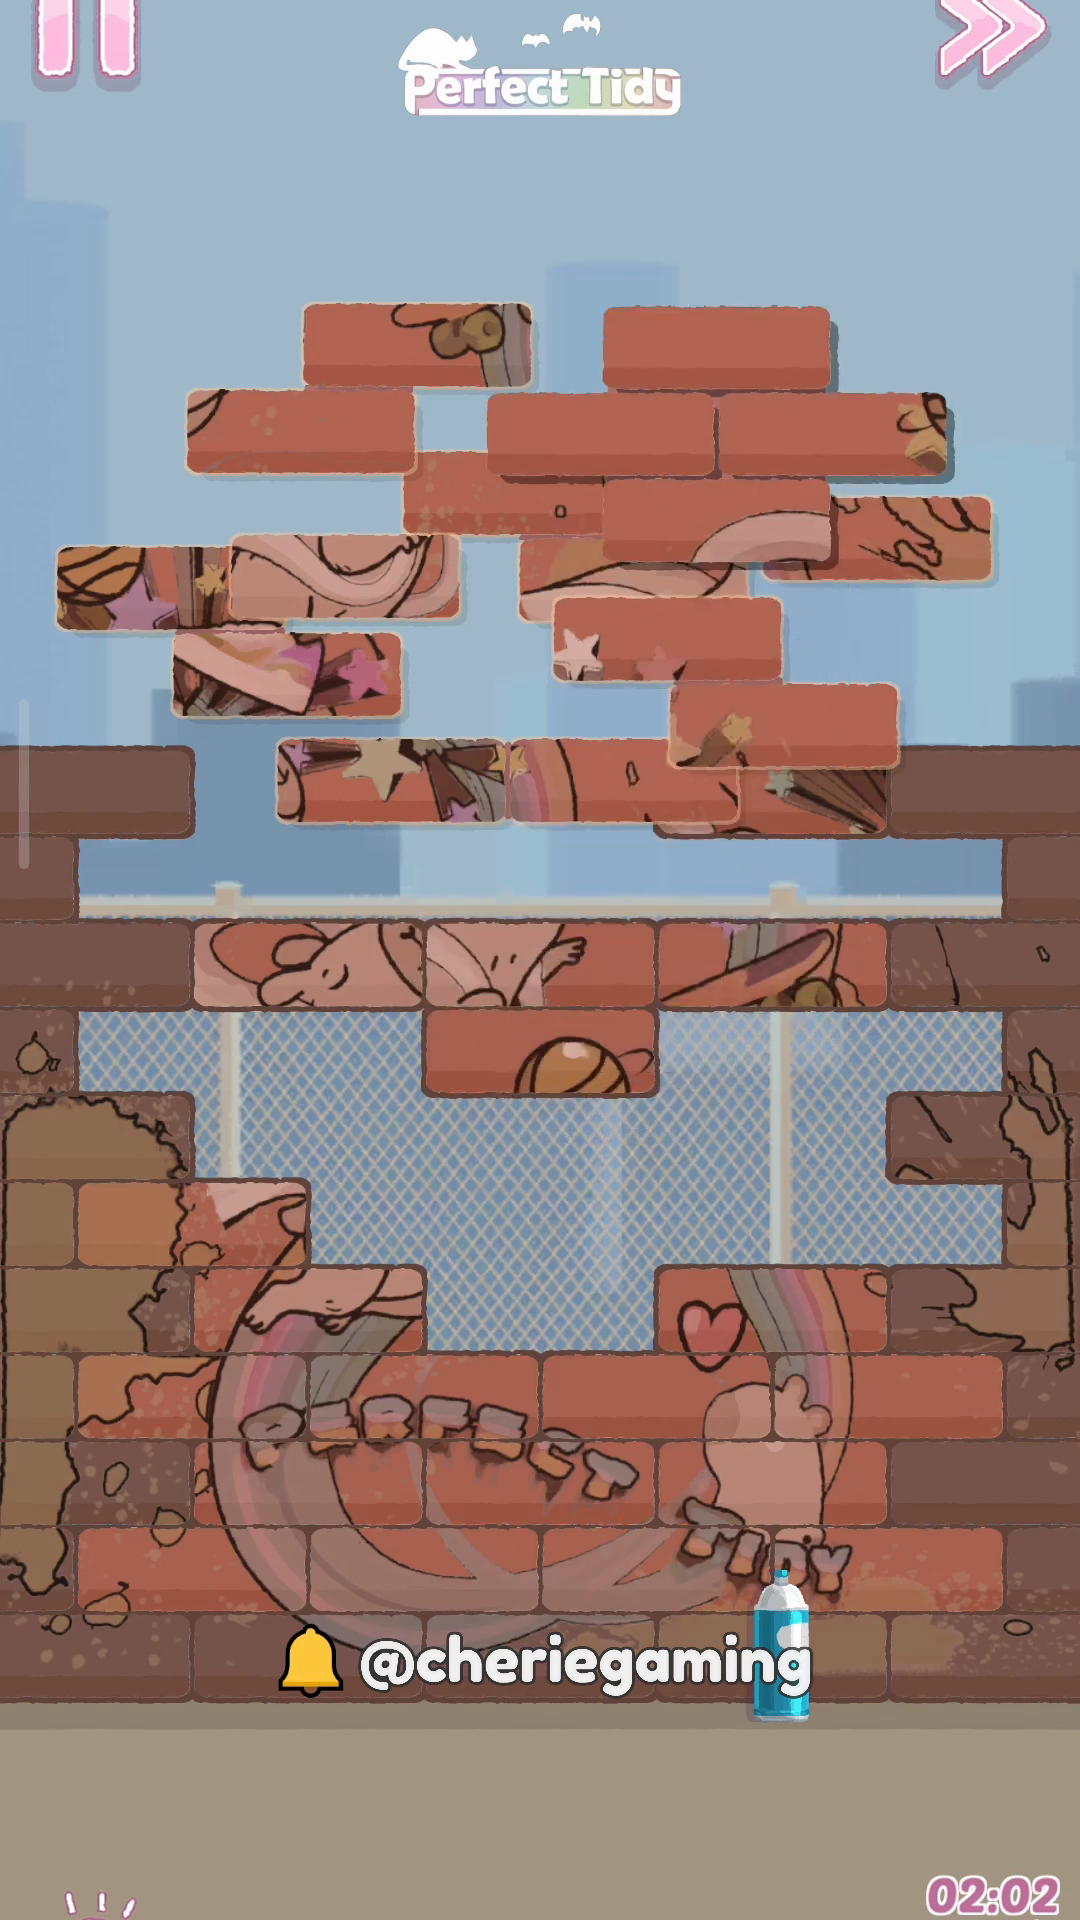
Remove select side bricks to avoid odd falling pieces landing in gaps and blocking the mural. Use the visible state in Perfect Tidy Level 92 Complete Walkthrough to decide which side bricks to clear first to keep the center clean.
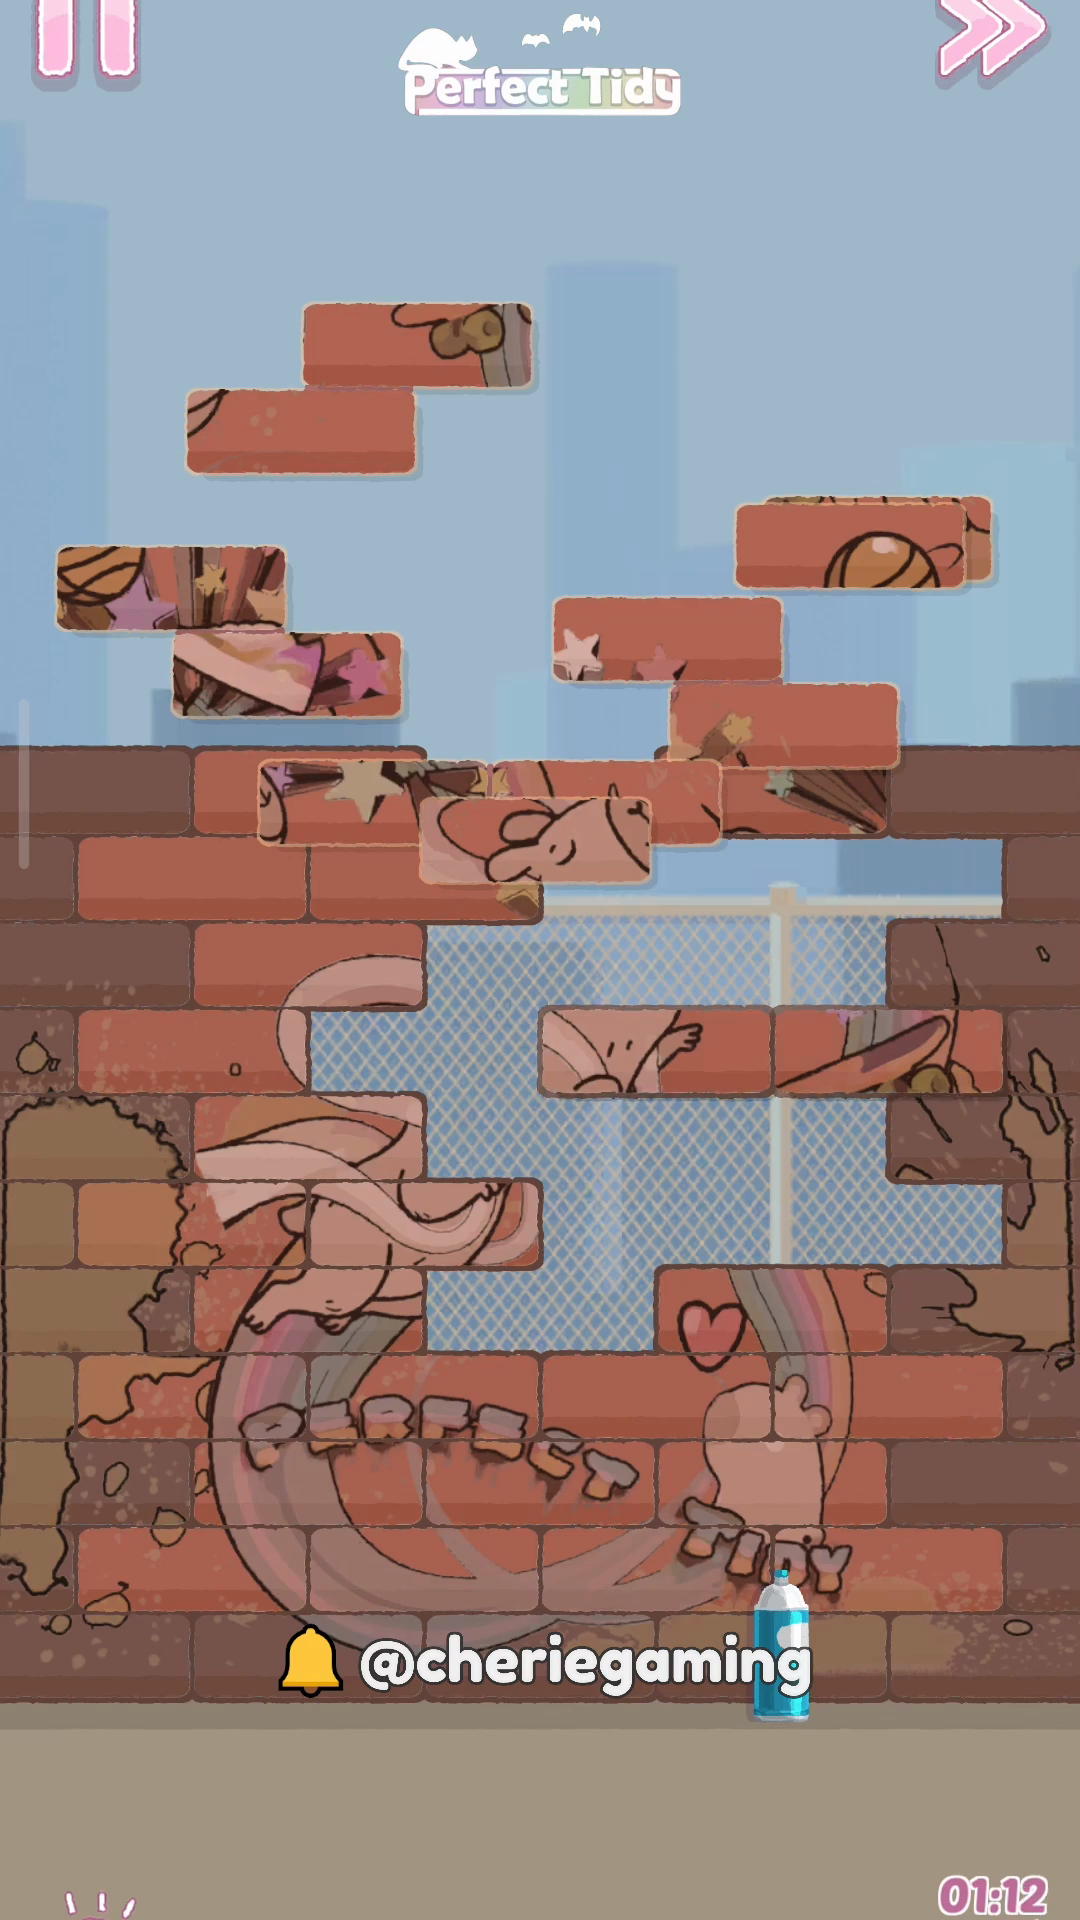
Step 5. Drop the middle row
Focus on the middle row bricks to open the primary mural area and allow large sections to fall away. The image chosen demonstrates the moment in Perfect Tidy Level 92 Complete Walkthrough when dropping the middle yields the biggest reveal.
Step 6. Clean the lower clusters
Work bottom-up now: remove lower clusters that hold upper bricks in place to trigger final collapses. This frame in Perfect Tidy Level 92 Complete Walkthrough shows the lower gaps forming—ideal for finishing clears safely.
Step 7. Finish remaining supports
Tap the last supporting bricks carefully to avoid leaving single isolated pieces. Use this captured state in Perfect Tidy Level 92 Complete Walkthrough to remove supports in the right order and avoid awkward leftovers.
Step 8. Final reveal prep
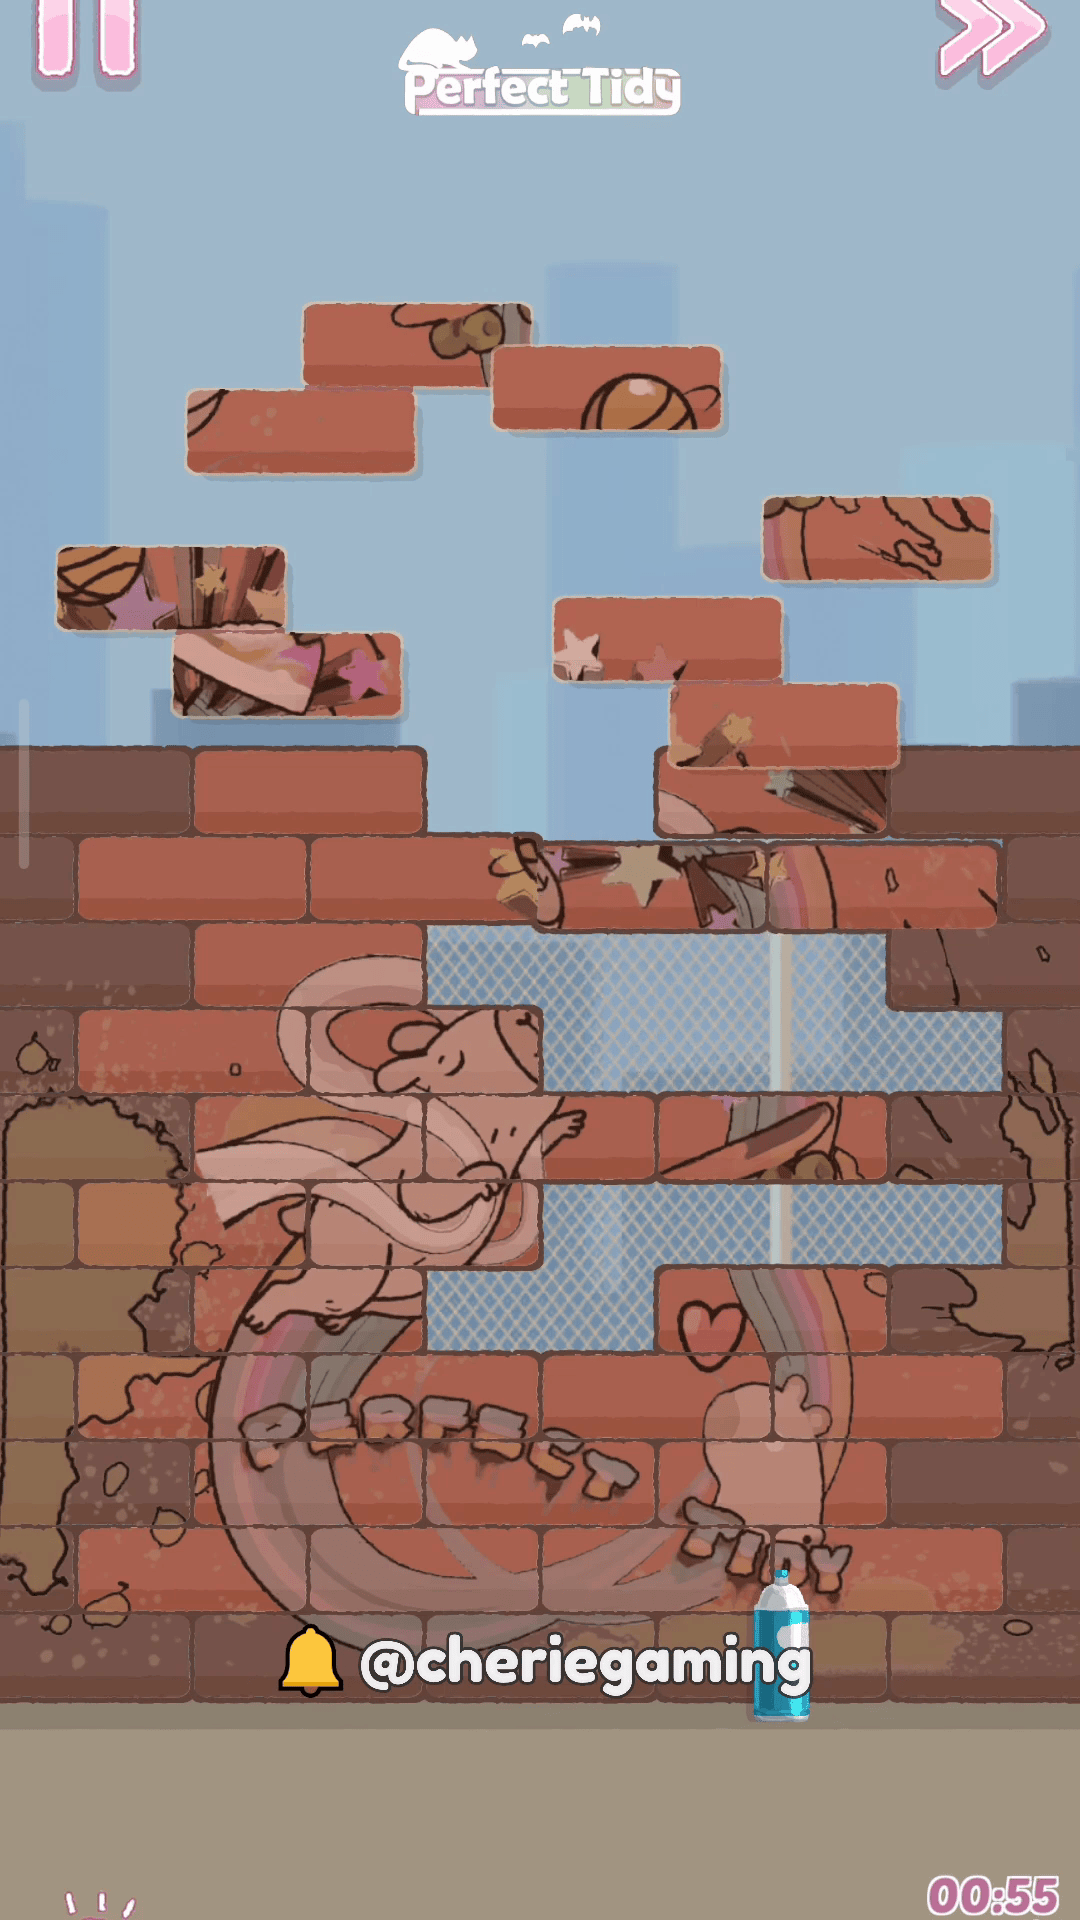
Clear the small remaining blocks around the mural edges to fully expose the art without over-dropping pieces. The screenshot for Perfect Tidy Level 92 Complete Walkthrough shows the mural nearly visible and ready for the last taps.
Step 9. Complete the mural reveal
Remove the final bricks to reveal the full mural and complete the level quickly and cleanly. This closing frame from Perfect Tidy Level 92 Complete Walkthrough demonstrates the finished reveal and successful tidy-up.
Extra tip
- Perfect Tidy Level 92 Complete Walkthrough Prioritize removing bricks that free large connected clusters first to maximize cascade clears.
- Work from the bottom up where possible to control where falling pieces land.
- Keep an eye on symmetrical sections—clearing mirrored bricks prevents awkward remaining pieces.
- Pause briefly after big clears to plan the safest next removal and avoid covering revealed art.