Level 015: Perfect Tidy Level 15 Complete Walkthrough
**Perfect Tidy Level 15 Complete Walkthrough** - This concise guide shows the exact piece order and placement to finish **Perfect Tidy Level 15 Complete Walkthrough** quickly, starting with large center fragments and finishing with edge pieces for a fast clear.
Level overview
Perfect Tidy Level 15 Complete Walkthrough - This concise guide shows the exact piece order and placement to finish Perfect Tidy Level 15 Complete Walkthrough quickly, starting with large center fragments and finishing with edge pieces for a fast clear.
Step 1. Start: Identify anchor pieces

Begin the Perfect Tidy Level 15 Complete Walkthrough by locating the largest, most recognizable fragments (dog and center face) to form an anchor. Place these first to reduce later movement and speed up assembly.
Step 2. Assemble central cluster
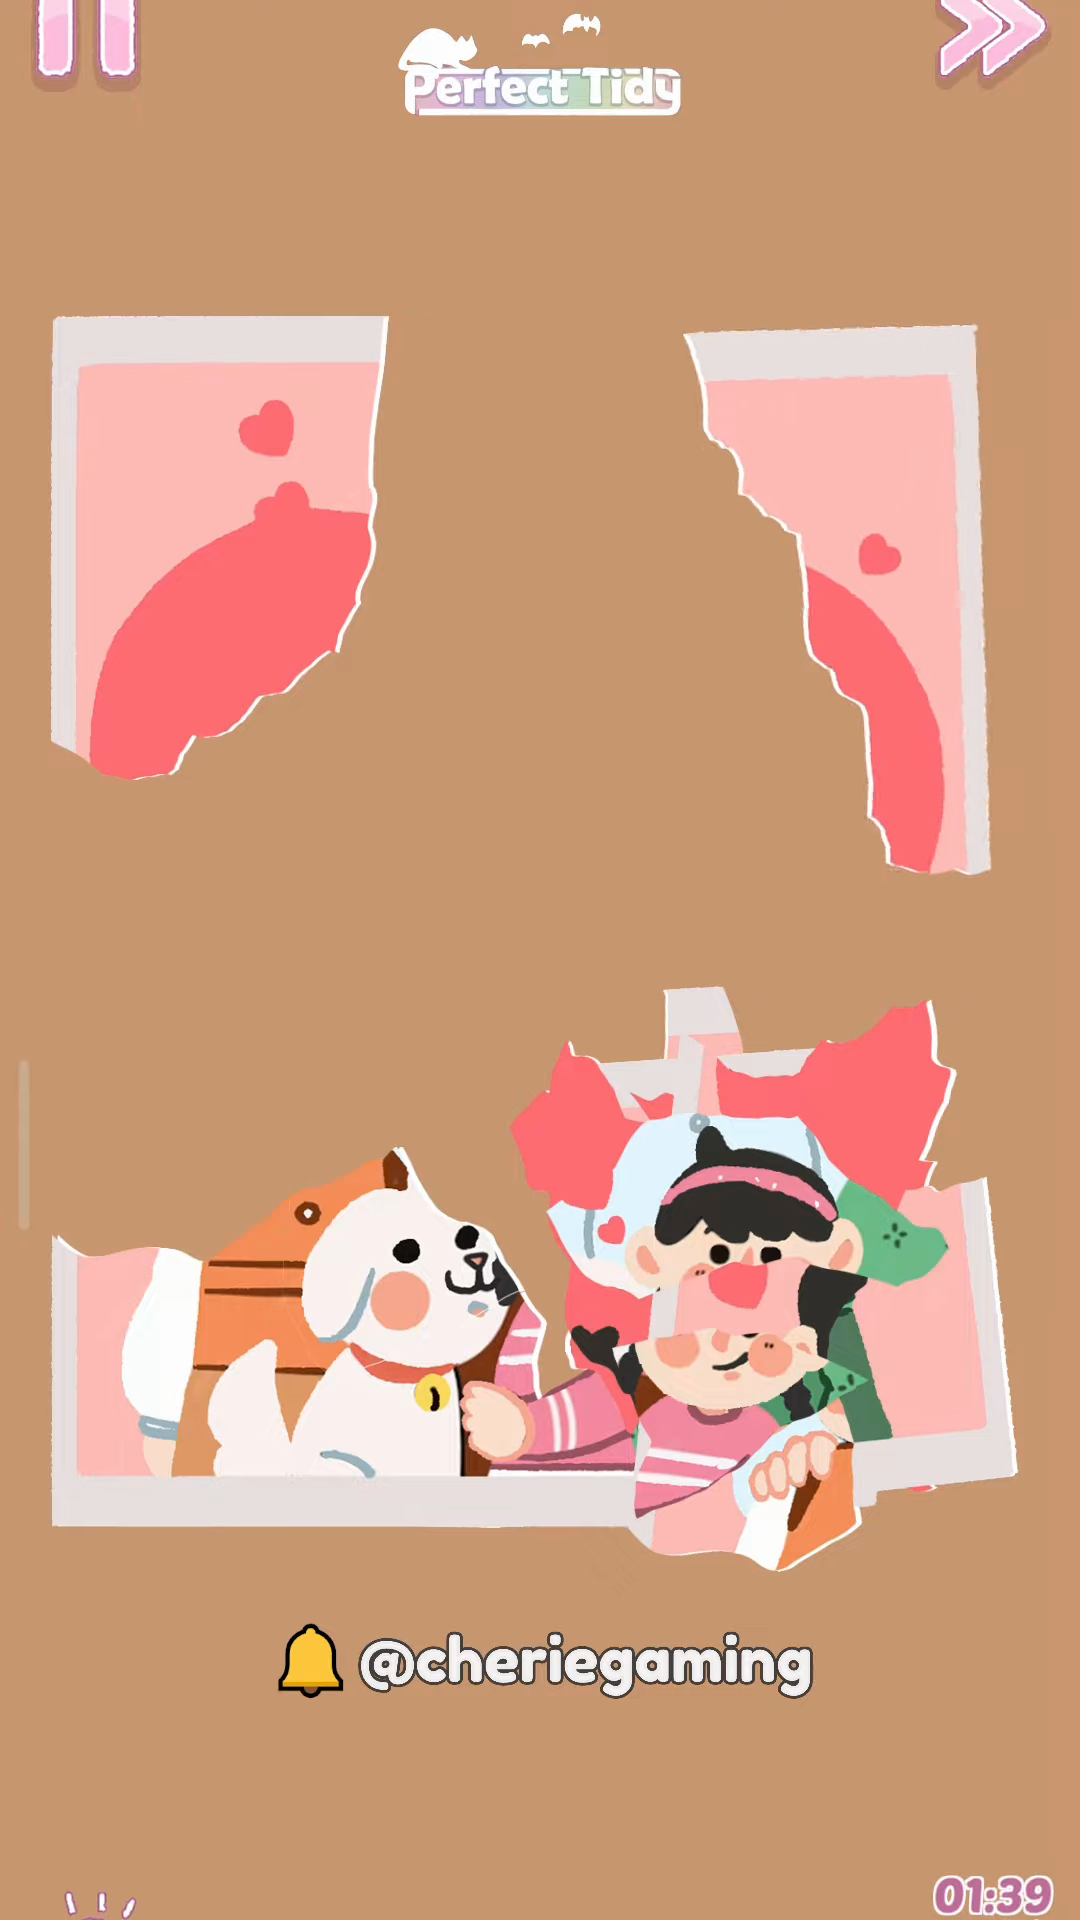
For the Perfect Tidy Level 15 Complete Walkthrough, assemble the central cluster next, snapping the dog and child pieces together to create a stable interior. Work inward-out from this cluster to make edge placements easier.
Step 3. Fit remaining interior pieces

Continue the Perfect Tidy Level 15 Complete Walkthrough by filling gaps in the interior, using visible facial features to match fragments quickly. Small rotations and nudges help fit odd-shaped pieces without disturbing the anchor.
Step 4. Place top and side edges

In the Perfect Tidy Level 15 Complete Walkthrough, snap in the top and side edge fragments next to lock the composition. Securing the frame edges prevents interior pieces from shifting during final adjustments.
Step 5. Final adjustments and clear

Finish the Perfect Tidy Level 15 Complete Walkthrough by placing the last small fragments and making tiny alignment tweaks for a perfect fit. Use final nudges to clear the level quickly and achieve a complete portrait.
Extra tip
- Perfect Tidy Level 15 Complete Walkthrough Start with large, recognizable pieces (dog/center face) to form an anchor.
- Snap edge fragments into the frame early to limit movement of interior pieces.
- Use small adjustments to rotate/shift pieces before final placement to avoid misfits.