Level 176: Perfect Tidy Level 159 Complete Walkthrough
This concise, time-stamped guide covers the cleanup progression in **Perfect Tidy Level 159 Complete Walkthrough**, showing each major placement and tidy action so you can replicate the moves quickly and finish the level with minimal retries.
Level overview
This concise, time-stamped guide covers the cleanup progression in Perfect Tidy Level 159 Complete Walkthrough, showing each major placement and tidy action so you can replicate the moves quickly and finish the level with minimal retries.
Step 1. Load the level and inspect layout
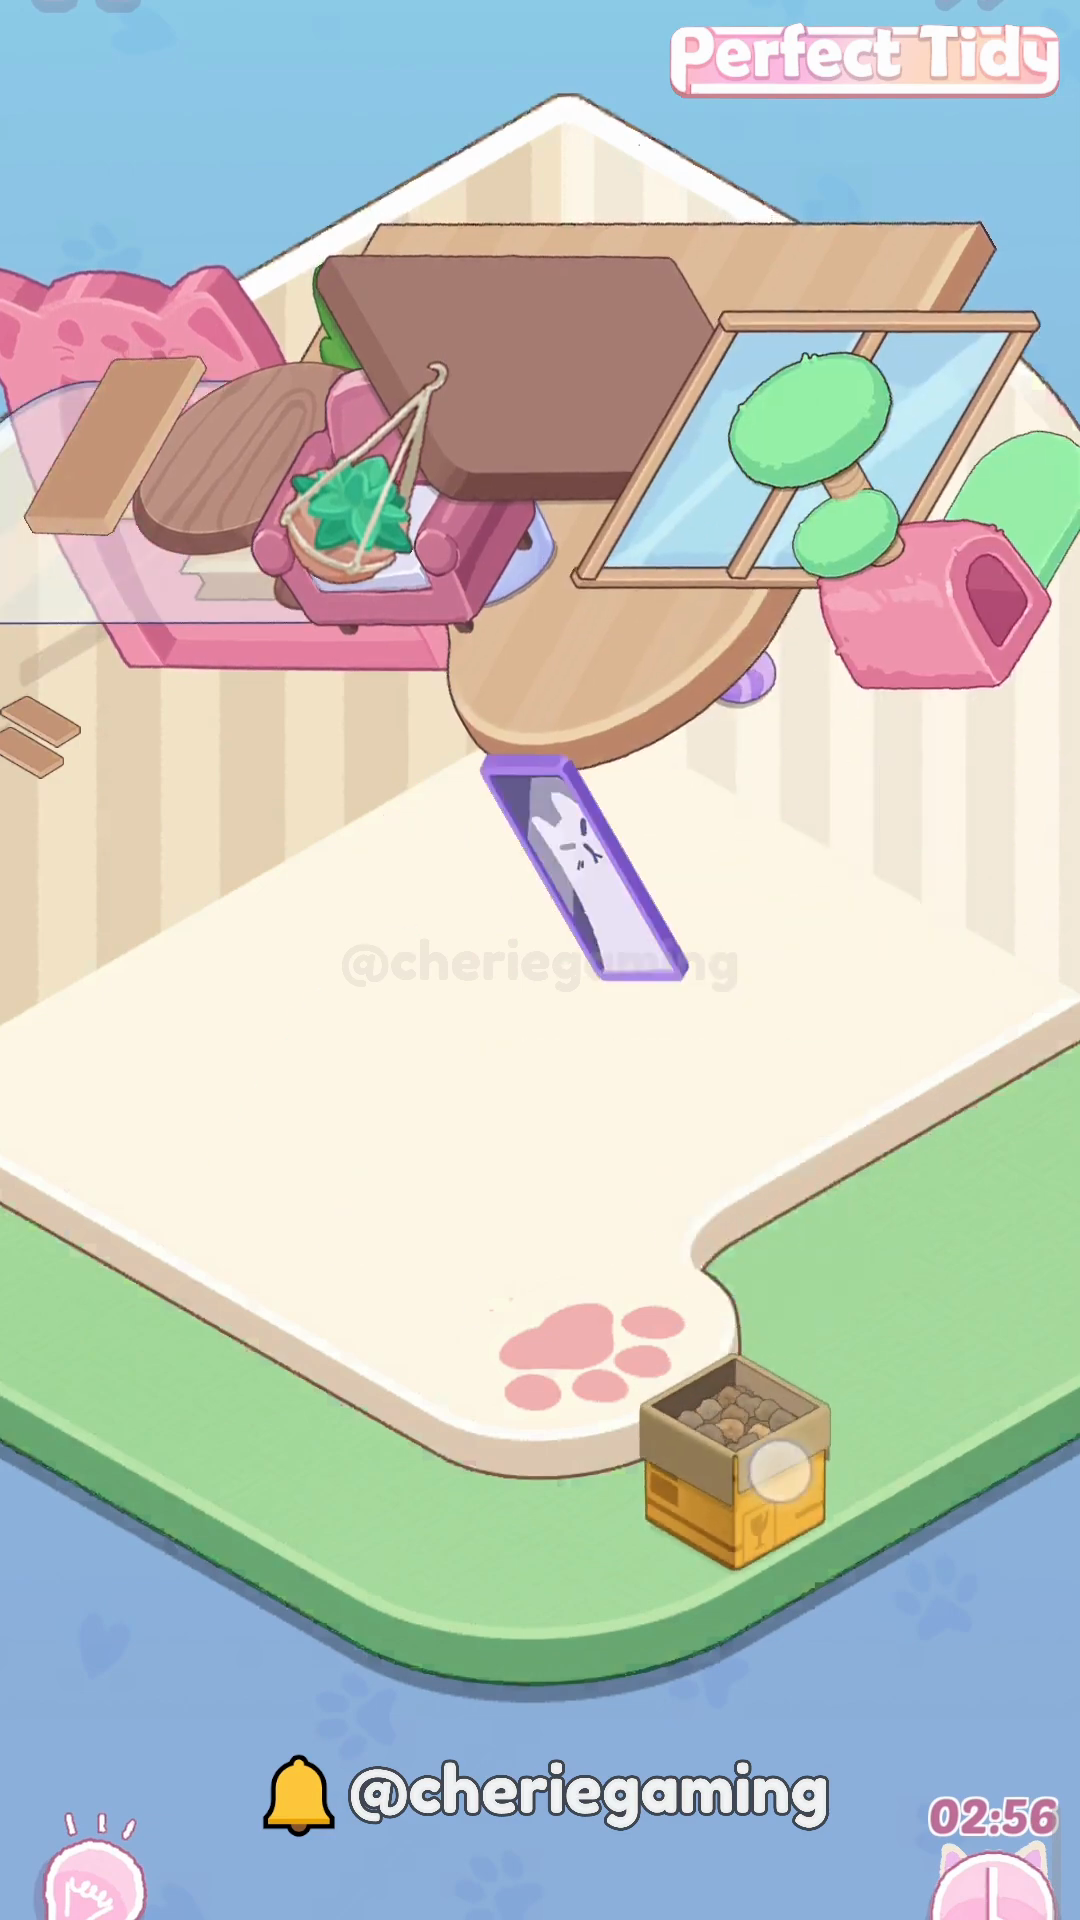
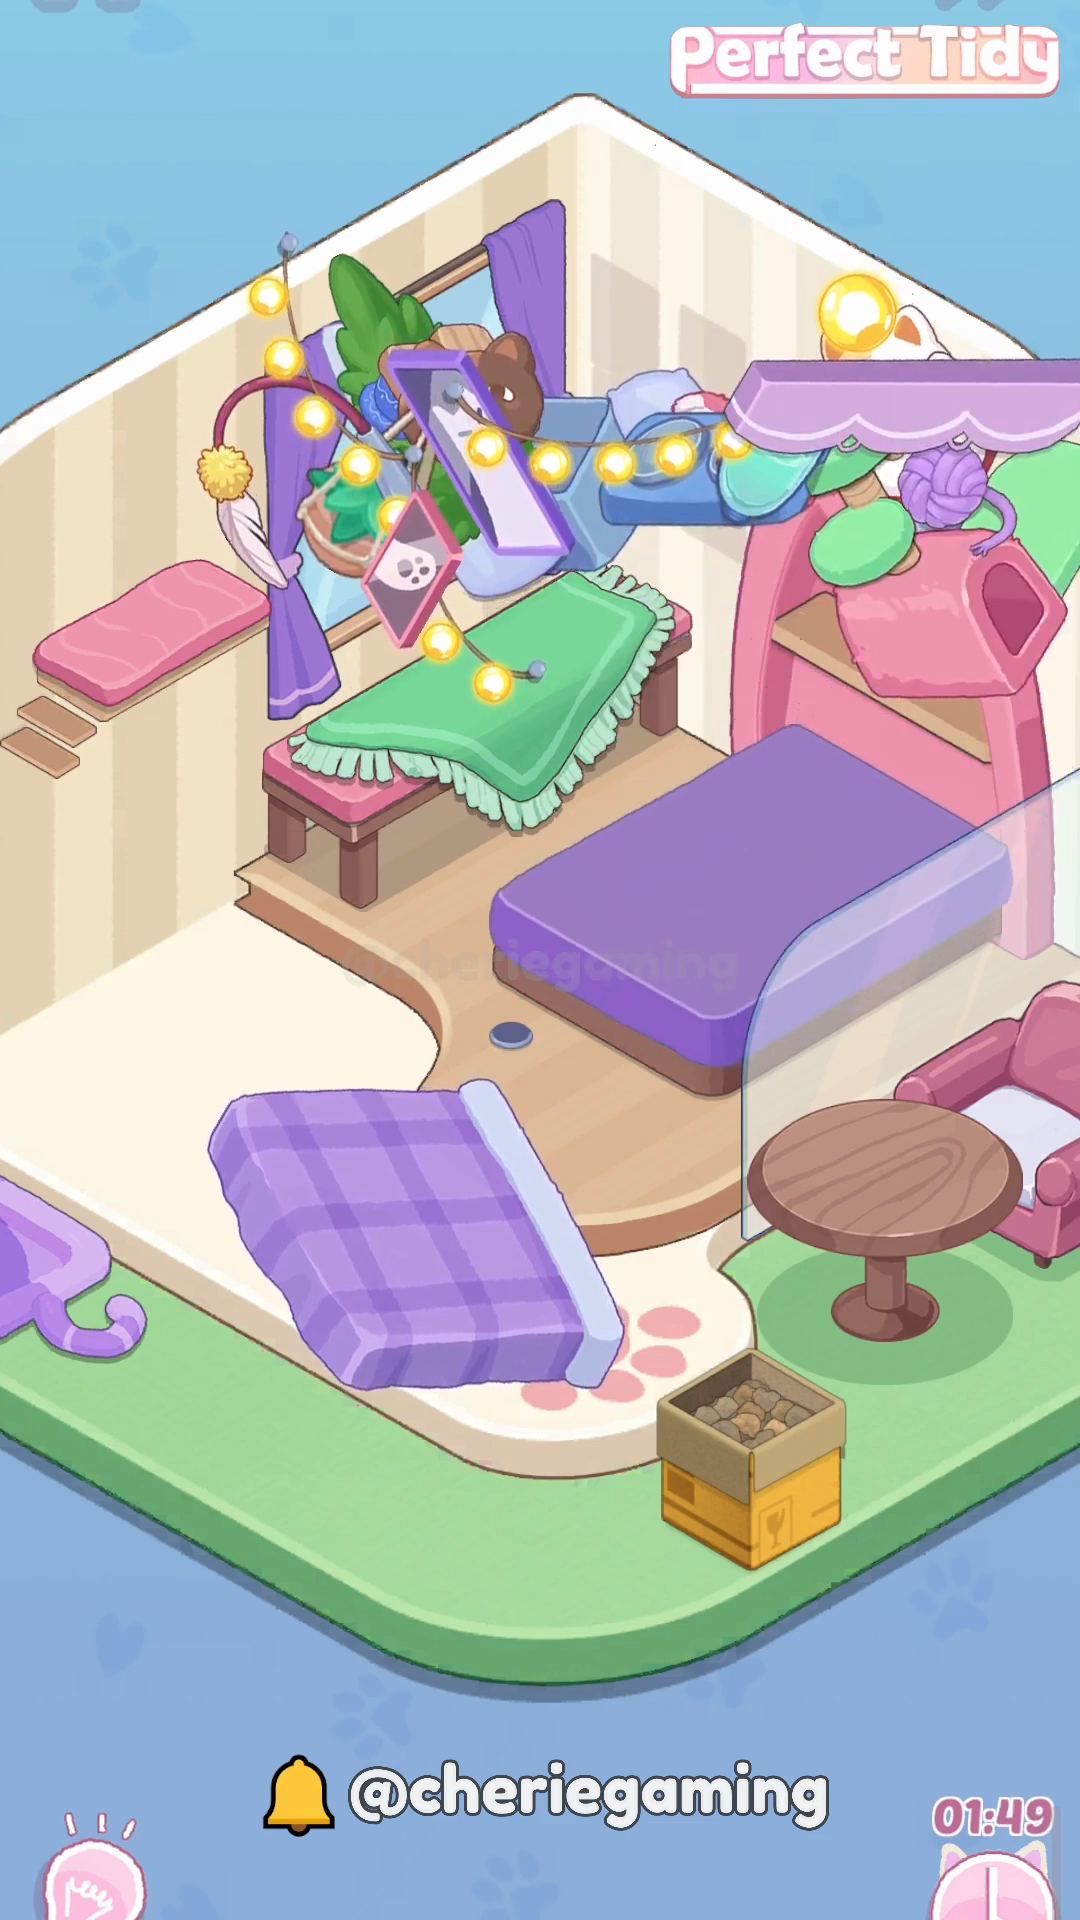
Open the room and scan item positions as the first move in Perfect Tidy Level 159 Complete Walkthrough. Identify the large box anchor and the top platforms so you can plan top-to-bottom placements and avoid unnecessary re-moves.
Step 2. Place main floor and clear corner
Start by adding the main wooden floor piece to secure your workspace in Perfect Tidy Level 159 Complete Walkthrough. Clearing the corner and anchoring the floor frees room for larger furniture placements next.
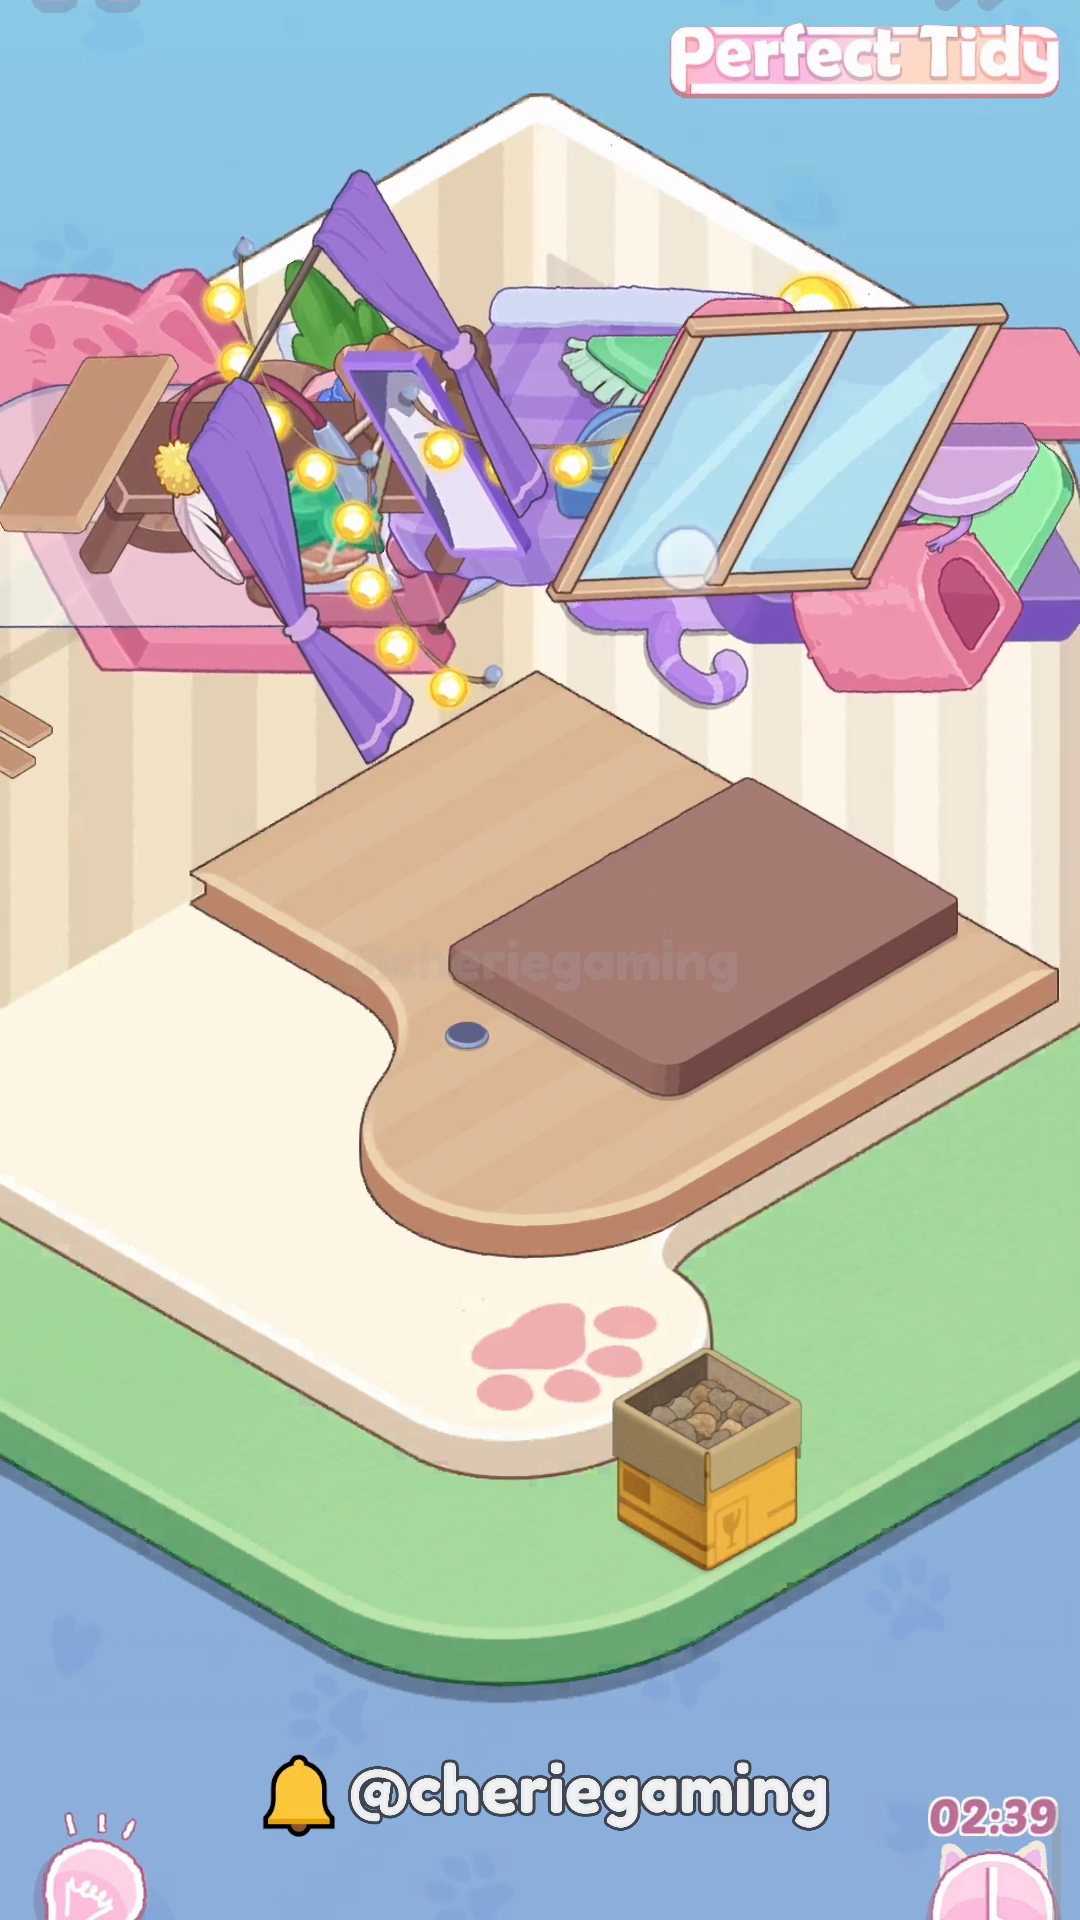
Step 3. Add transparent divider and bed mat
Place the glass divider and the brown mattress pad early to lock down the central layout in Perfect Tidy Level 159 Complete Walkthrough. Doing these fixed placements first prevents later overlap when arranging smaller decor.
Step 4. Position bench and small table
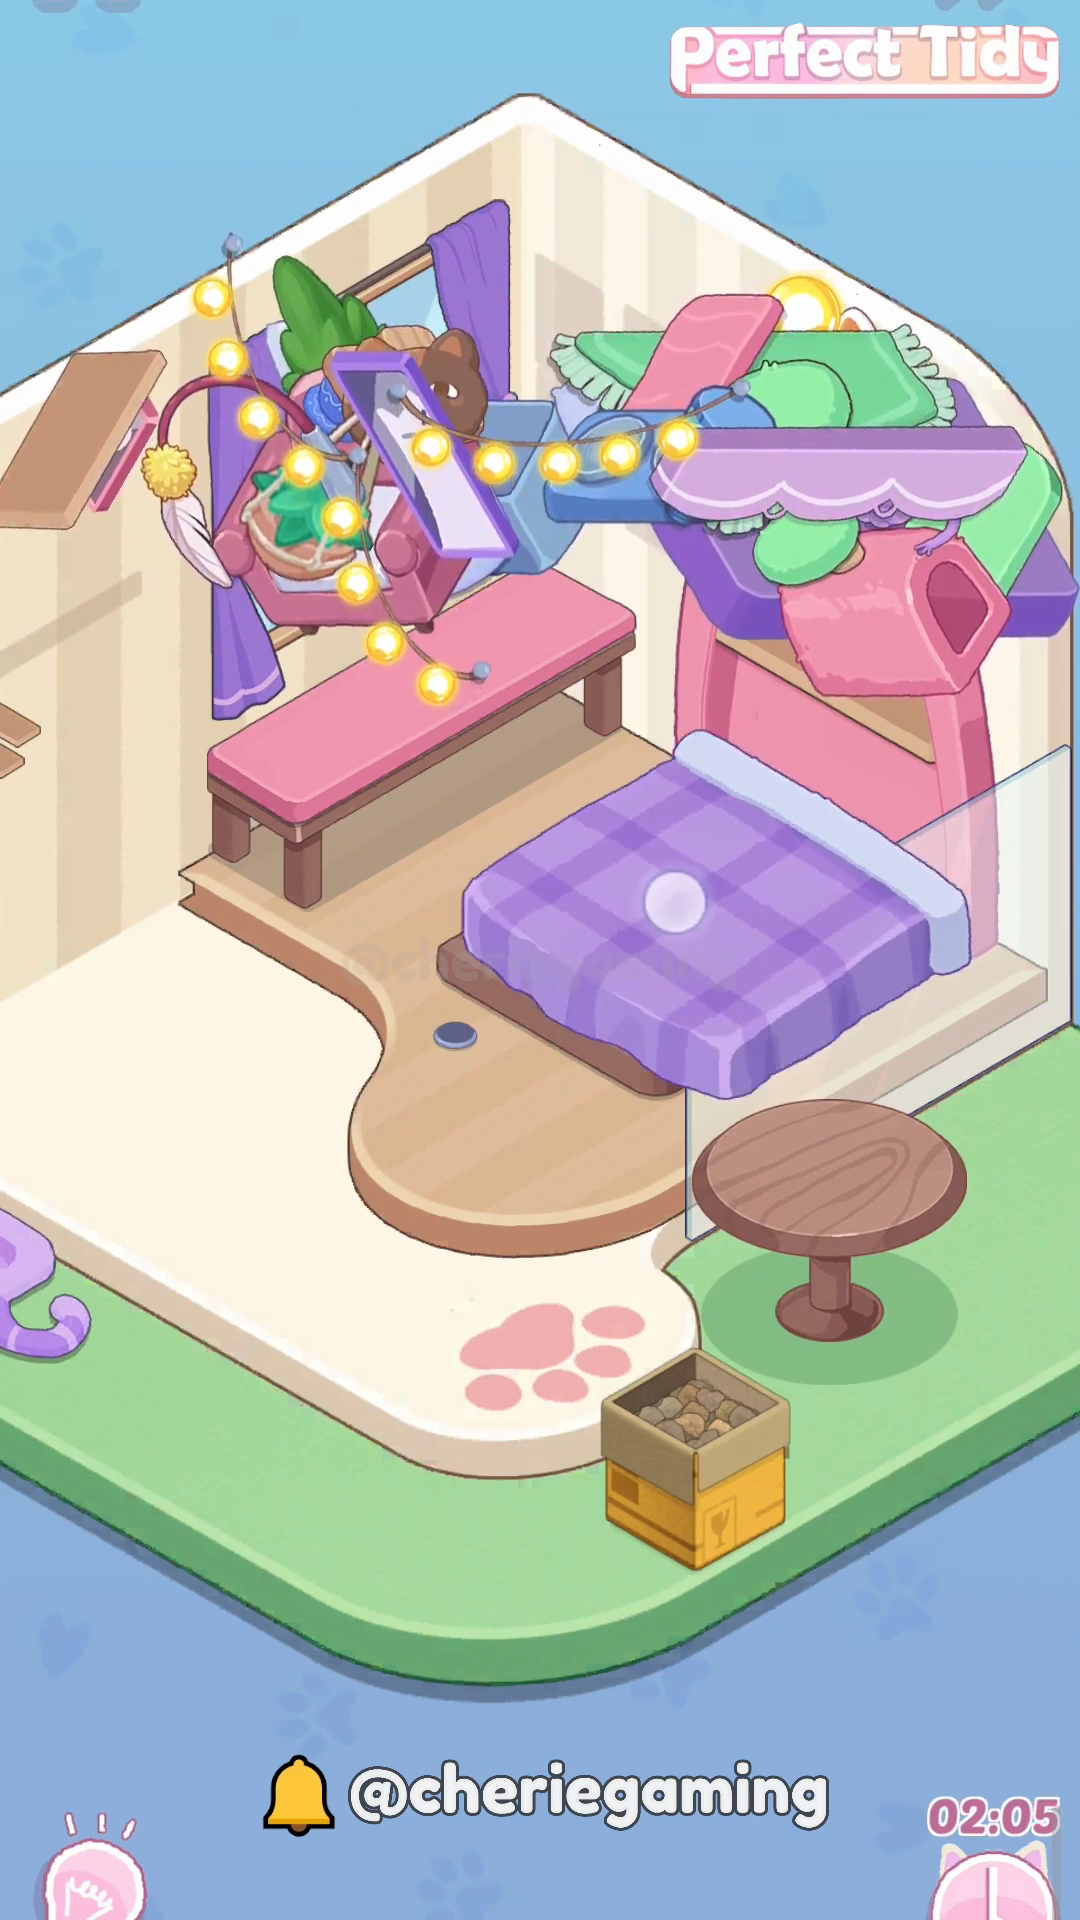
Add the bench and small round table next to the bed area to form the seating cluster in Perfect Tidy Level 159 Complete Walkthrough. Grouping these stationary items together makes placing accessories faster and keeps the area tidy.
Step 5. Lay down blankets and cushions
Place the bed blanket and cushioned pieces to complete the sleeping area footprint in Perfect Tidy Level 159 Complete Walkthrough. These soft items anchor the visual composition and make later accessory placement straightforward.
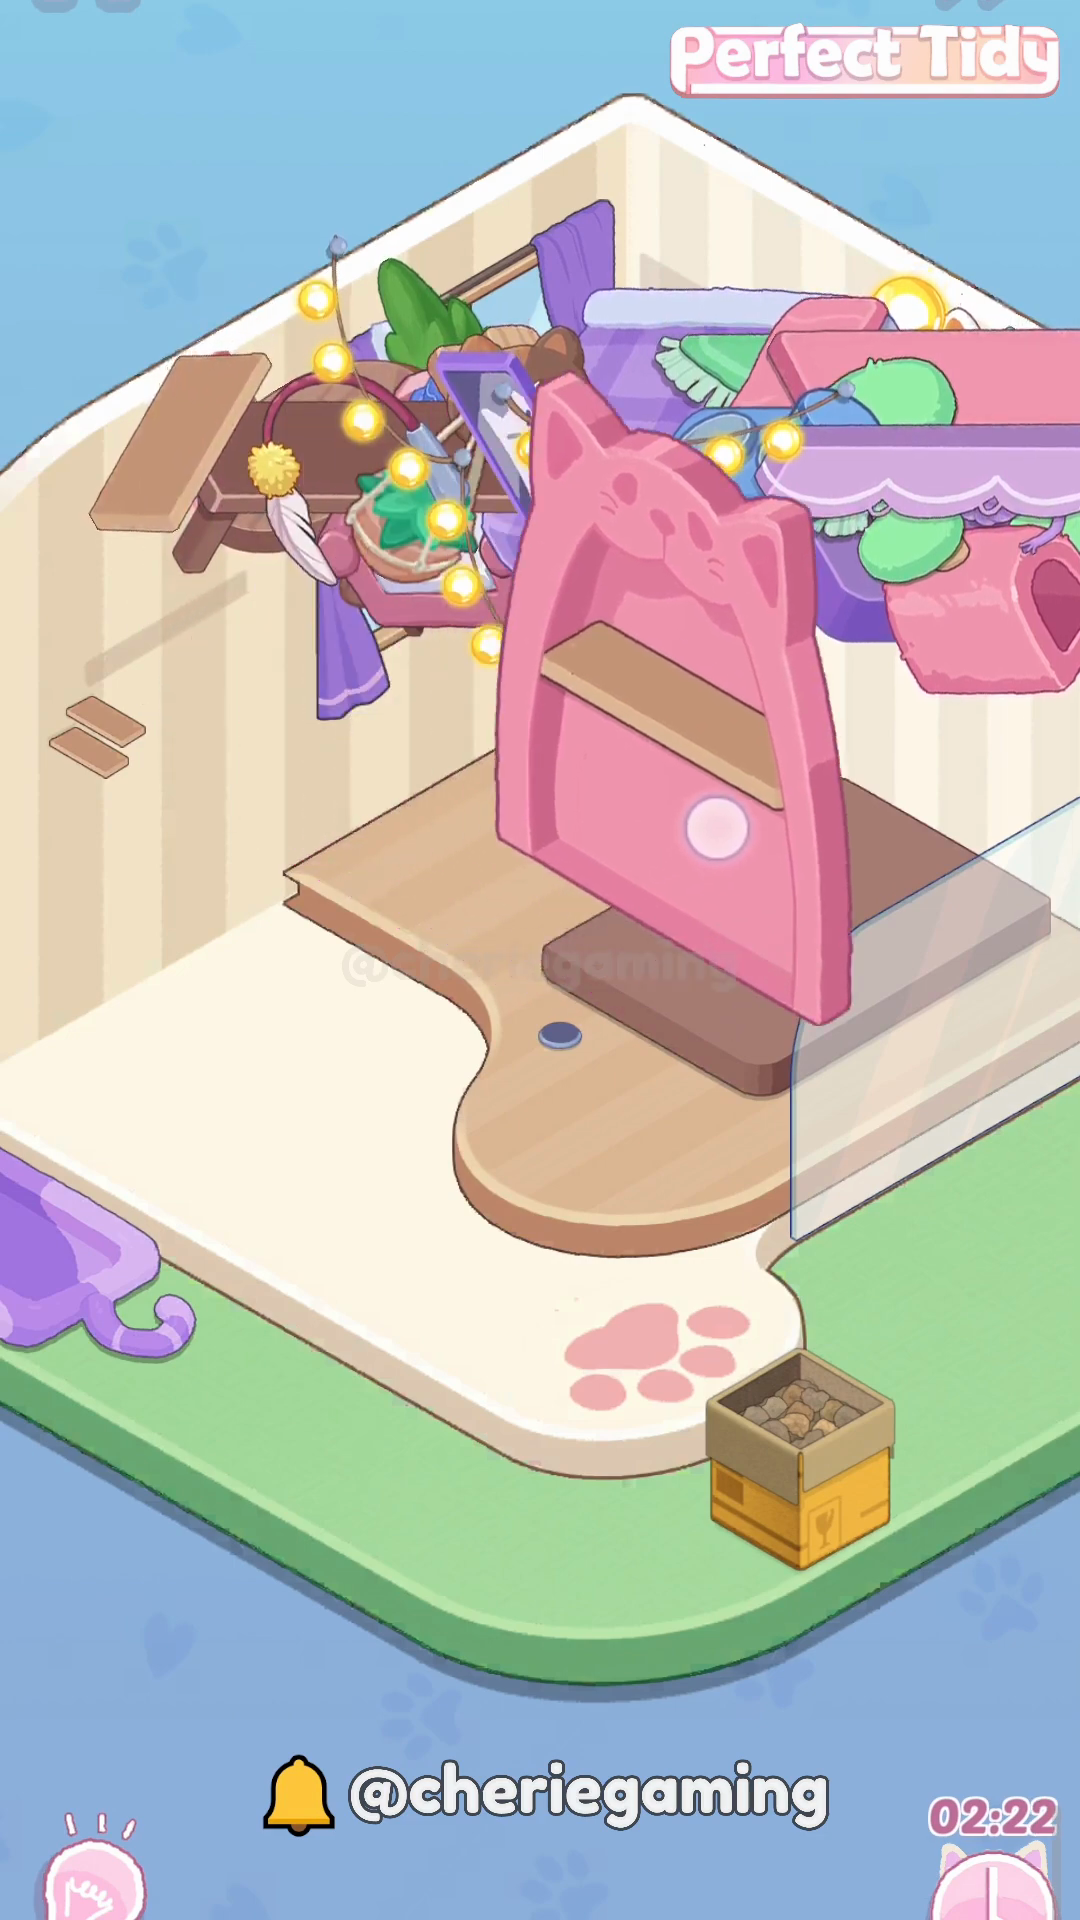
Step 6. Add decor string lights and cat statue

Drape the string lights and position the cat statue to add vertical interest while keeping surfaces clear in Perfect Tidy Level 159 Complete Walkthrough. These decorative touches also help align remaining smaller items against fixed references.
Step 7. Place plant and food station

Set the hanging plant and food bowl box to the left and bottom respectively to balance the scene in Perfect Tidy Level 159 Complete Walkthrough. Anchoring these functional items early prevents them from blocking later placements.
Step 8. Add small accessories and toys

Place toys, bowls, and small decor across shelves and surfaces to finish details in Perfect Tidy Level 159 Complete Walkthrough. Work from top shelves down so small pieces don’t need repositioning after larger items are set.
Step 9. Tidy lower-left extras and slippers

Arrange the water dispenser, slippers, and footstool in the lower-left area to complete the functional layout in Perfect Tidy Level 159 Complete Walkthrough. Using the box as an anchor helps align these small items quickly and neatly.
Step 10. Final check and polish

Do a final sweep to ensure all pieces match the intended scene and nothing overlaps in Perfect Tidy Level 159 Complete Walkthrough. Fix any misaligned accessories and confirm the seating and bed areas are unobstructed for the best score.
Extra tip
- Perfect Tidy Level 159 Complete Walkthrough Tidy large platform pieces first to free workspace for small items
- Place stationary decor (bed, bench) before adding loose accessories
- Use the box as an anchor to align nearby small items quickly
- Work top-to-bottom to avoid re-moving items