Level 058: Perfect Tidy Level 57 Complete Walkthrough
Watch this quick guide to finish **Perfect Tidy Level 57 Complete Walkthrough** — a concise, step-by-step replay that shows how to reassemble the scattered red-white-blue shield pieces into the completed circle by placing the large outer arcs first, adding inner star segments next, and making small final nudges to trigger completion.
Level overview
Watch this quick guide to finish Perfect Tidy Level 57 Complete Walkthrough — a concise, step-by-step replay that shows how to reassemble the scattered red-white-blue shield pieces into the completed circle by placing the large outer arcs first, adding inner star segments next, and making small final nudges to trigger completion.
Step 1. Place the large outer arcs
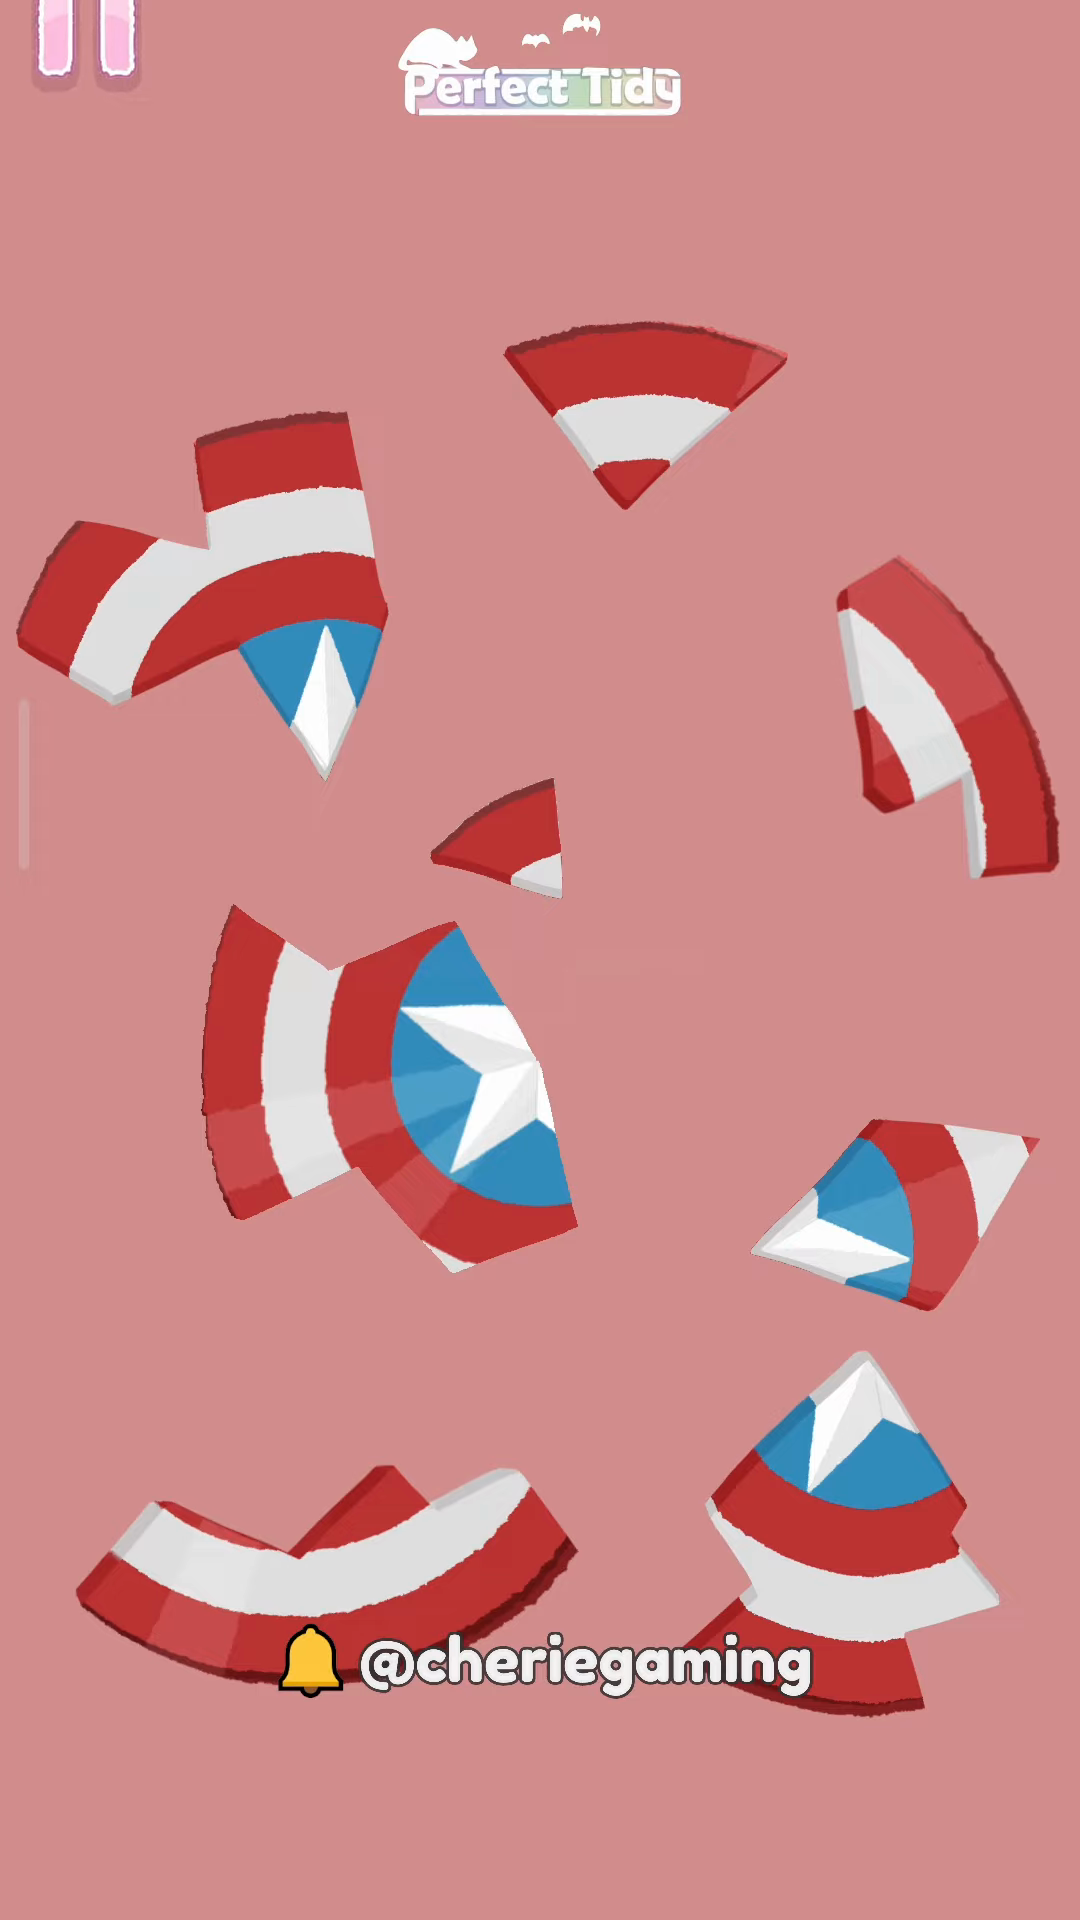
Begin the Perfect Tidy Level 57 Complete Walkthrough by placing the largest outer arcs first to form a stable reference ring. Position and rotate each outer red-and-white arc so the stripes line up; anchoring these pieces reduces rotation work later and reveals clear slots for inner pieces.
Step 2. Add inner star segments
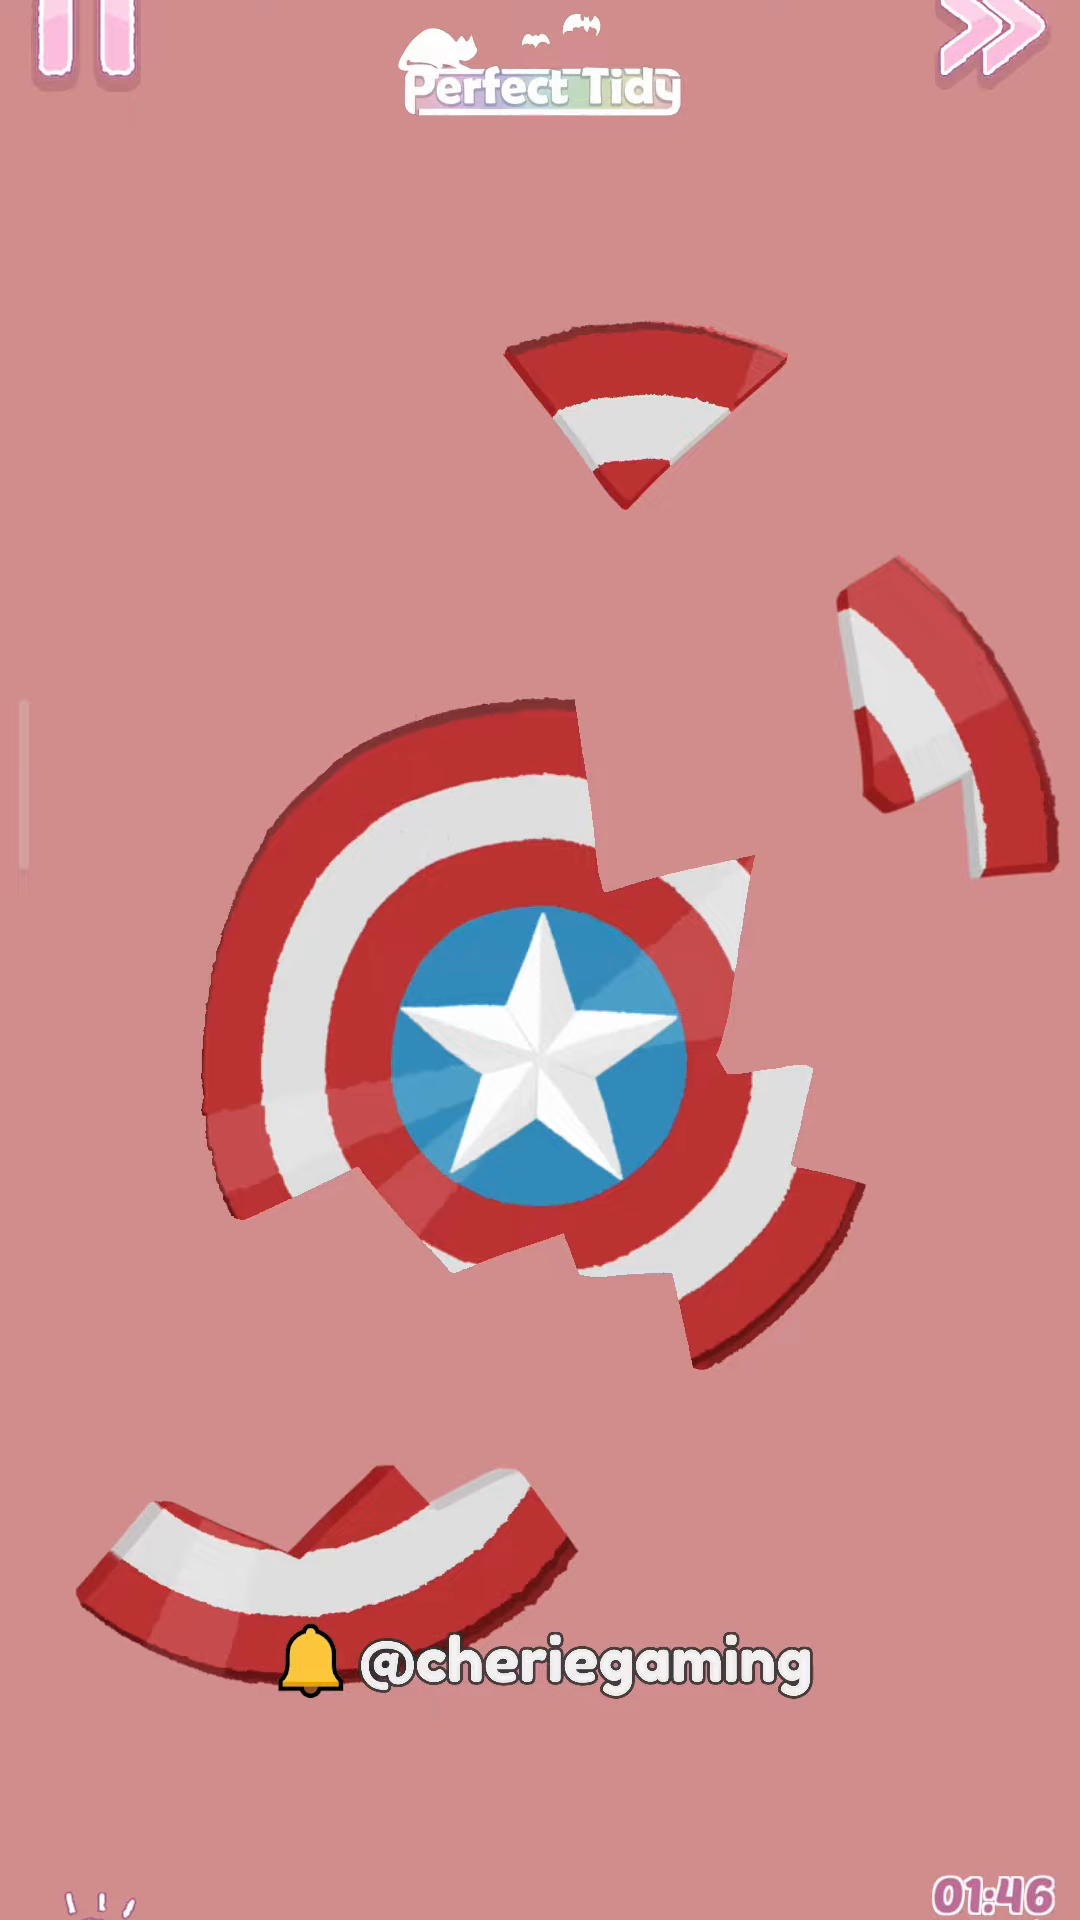
Next in the Perfect Tidy Level 57 Complete Walkthrough, fit the blue star center pieces and adjacent inner segments into the ring you created. Align the white star points first to lock the center, then slide the smaller red-white inner arcs into the remaining gaps for a snug fit.
Step 3. Final alignment to complete
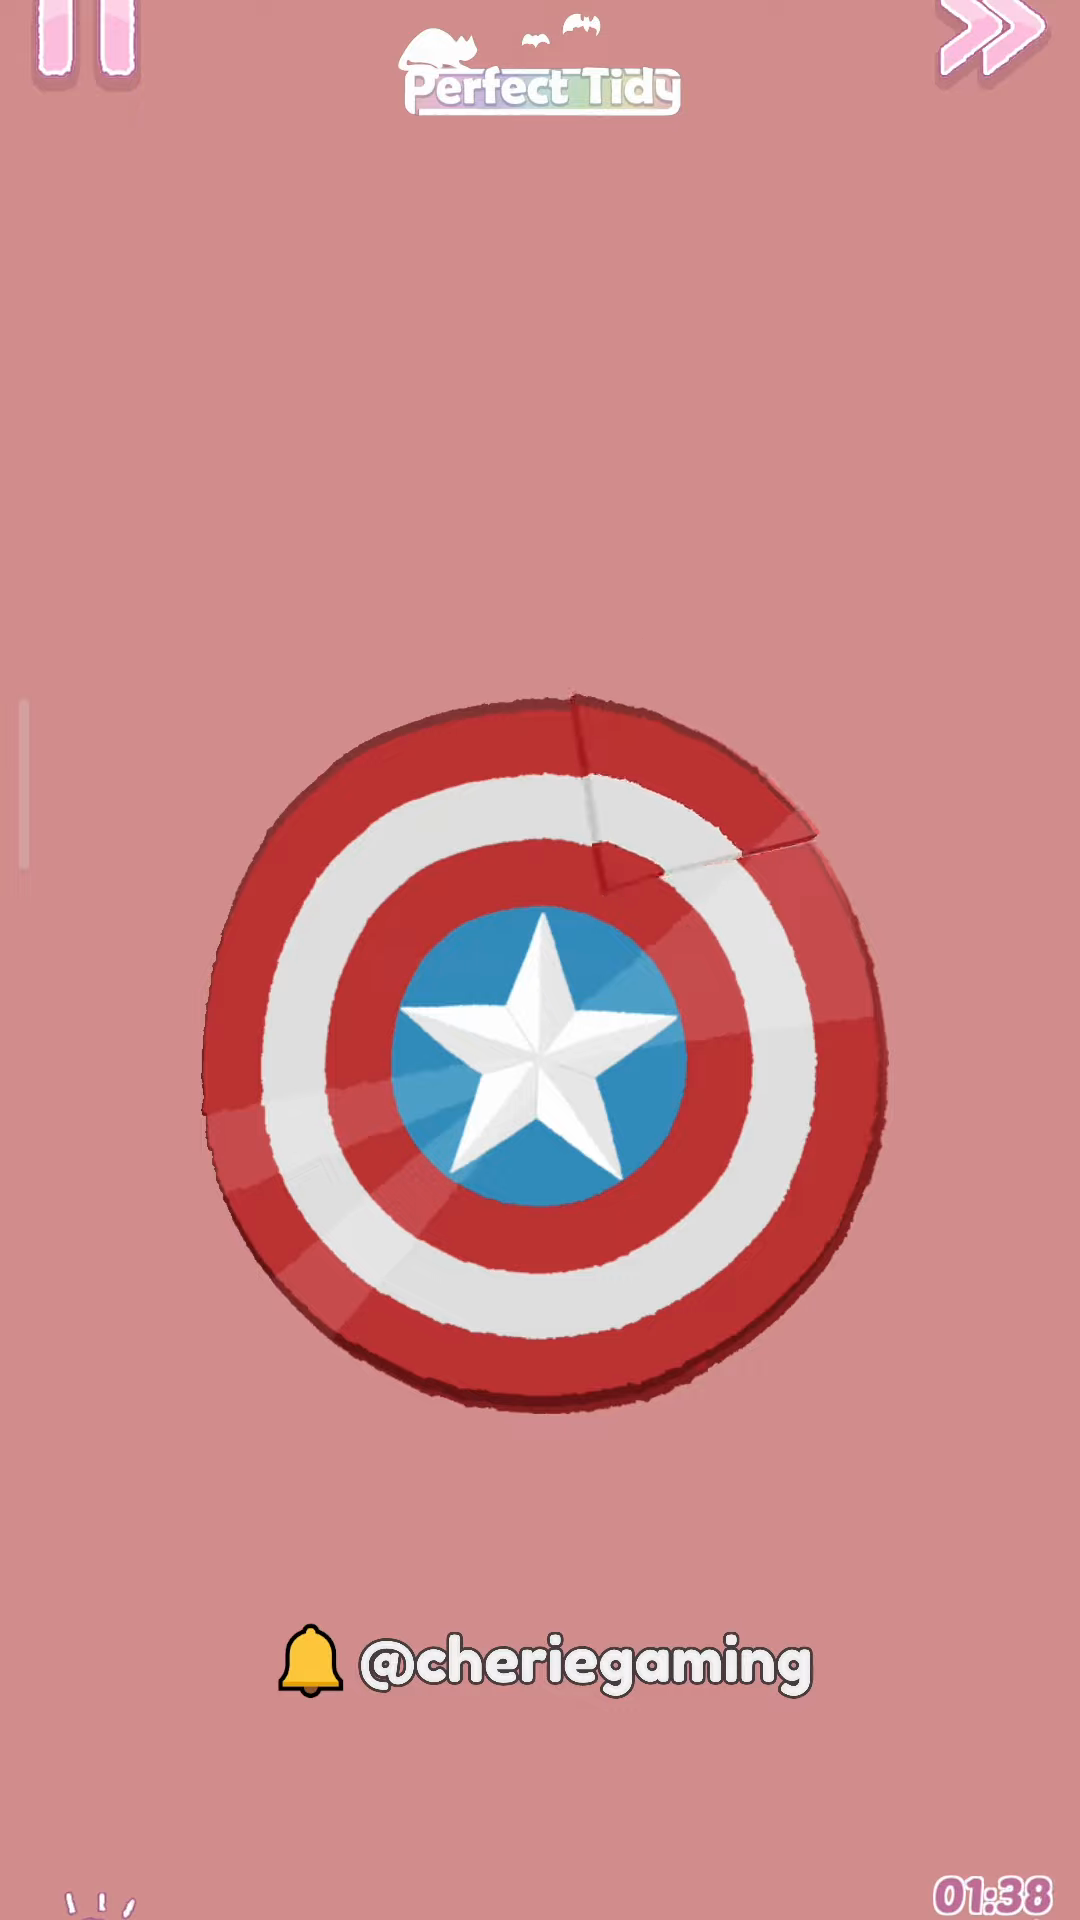
Finish the Perfect Tidy Level 57 Complete Walkthrough with small nudges and minor rotations to seal the final seams and trigger level completion. Use gentle adjustments rather than big swings to avoid misplacing already aligned pieces and watch the assembled shield snap into the completed circle.
Extra tip
- Perfect Tidy Level 57 Complete Walkthrough Start with the largest outer pieces to create a stable reference ring.
- Align the blue star center early to make surrounding pieces easier to place.
- Use small nudges instead of large rotations for precise final placement.