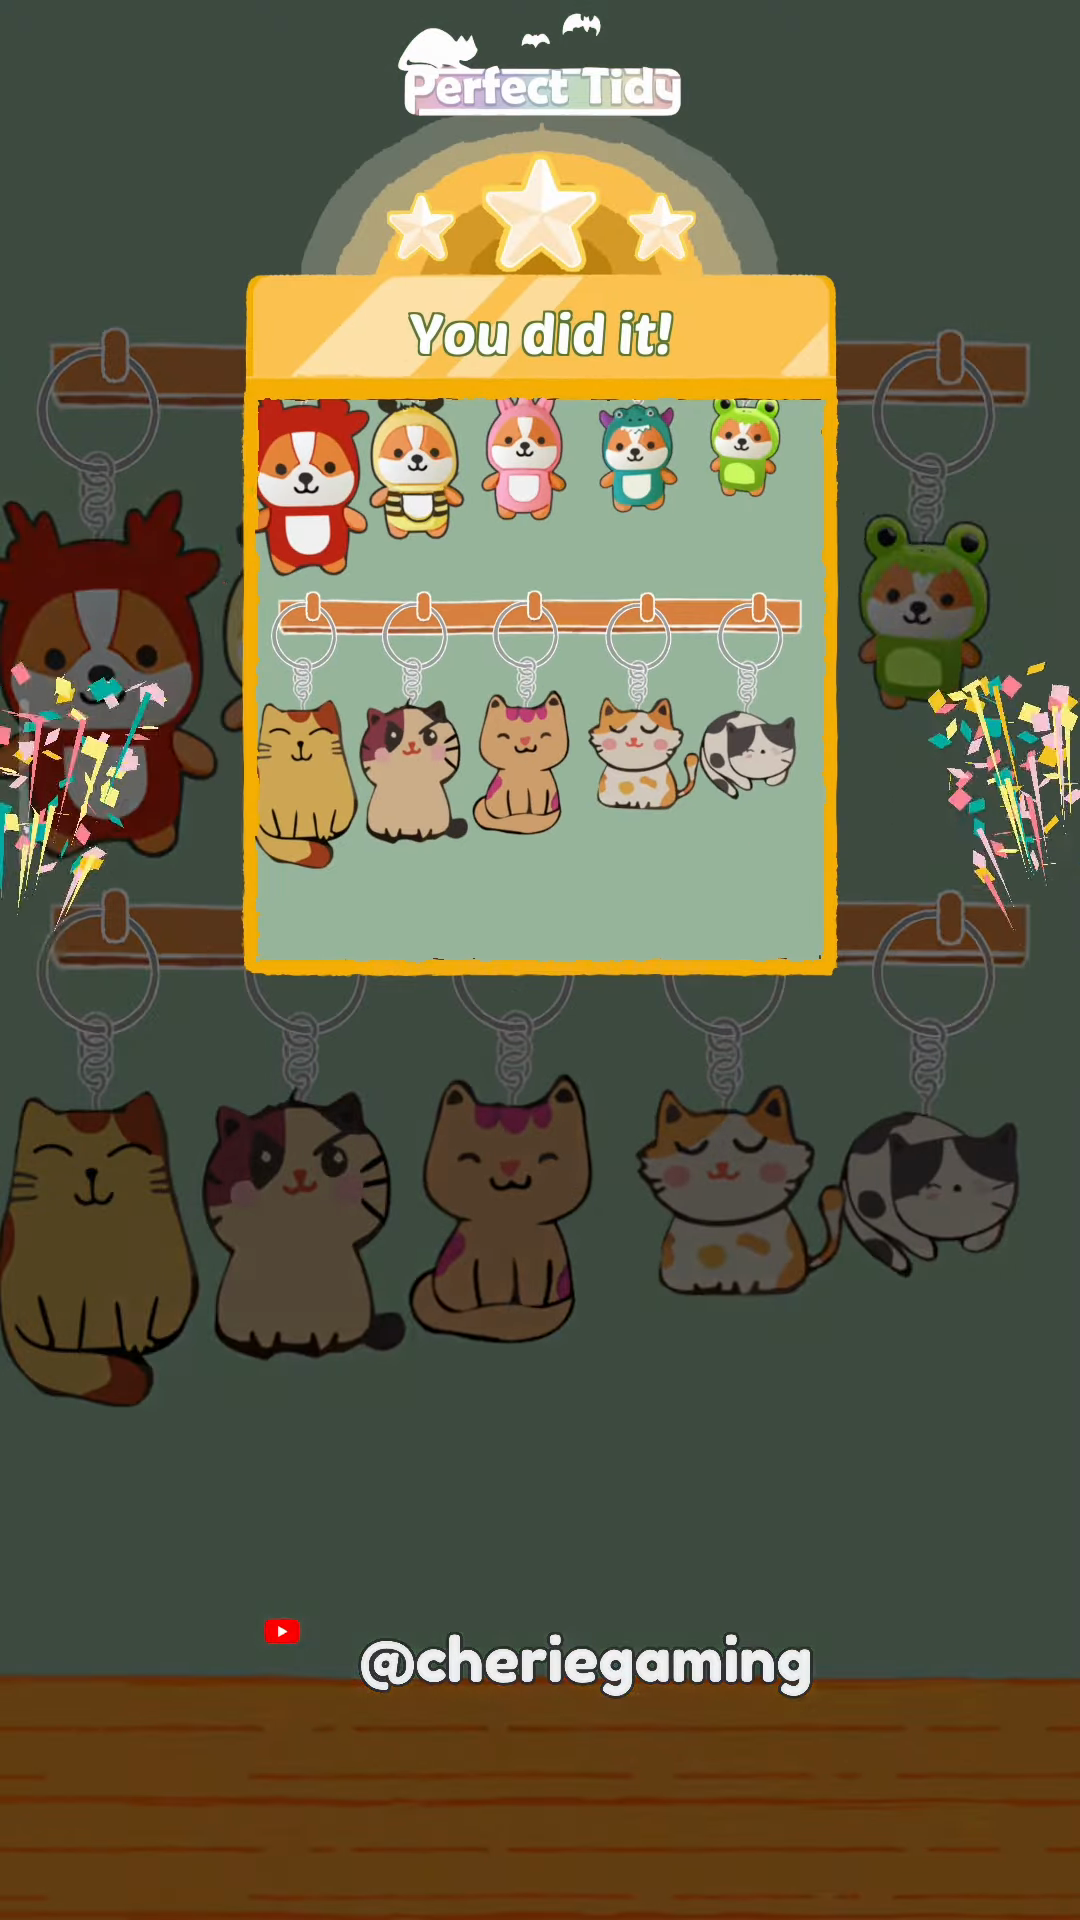
Level 053: Perfect Tidy Level 53 Complete Walkthrough
This short guide breaks down the key actions to finish **Perfect Tidy Level 53 Complete Walkthrough** quickly and efficiently, showing where to lift and place each hanging toy to clear the board while minimizing mistakes and wasted moves.
Level overview
This short guide breaks down the key actions to finish Perfect Tidy Level 53 Complete Walkthrough quickly and efficiently, showing where to lift and place each hanging toy to clear the board while minimizing mistakes and wasted moves.
Step 1. Start Position
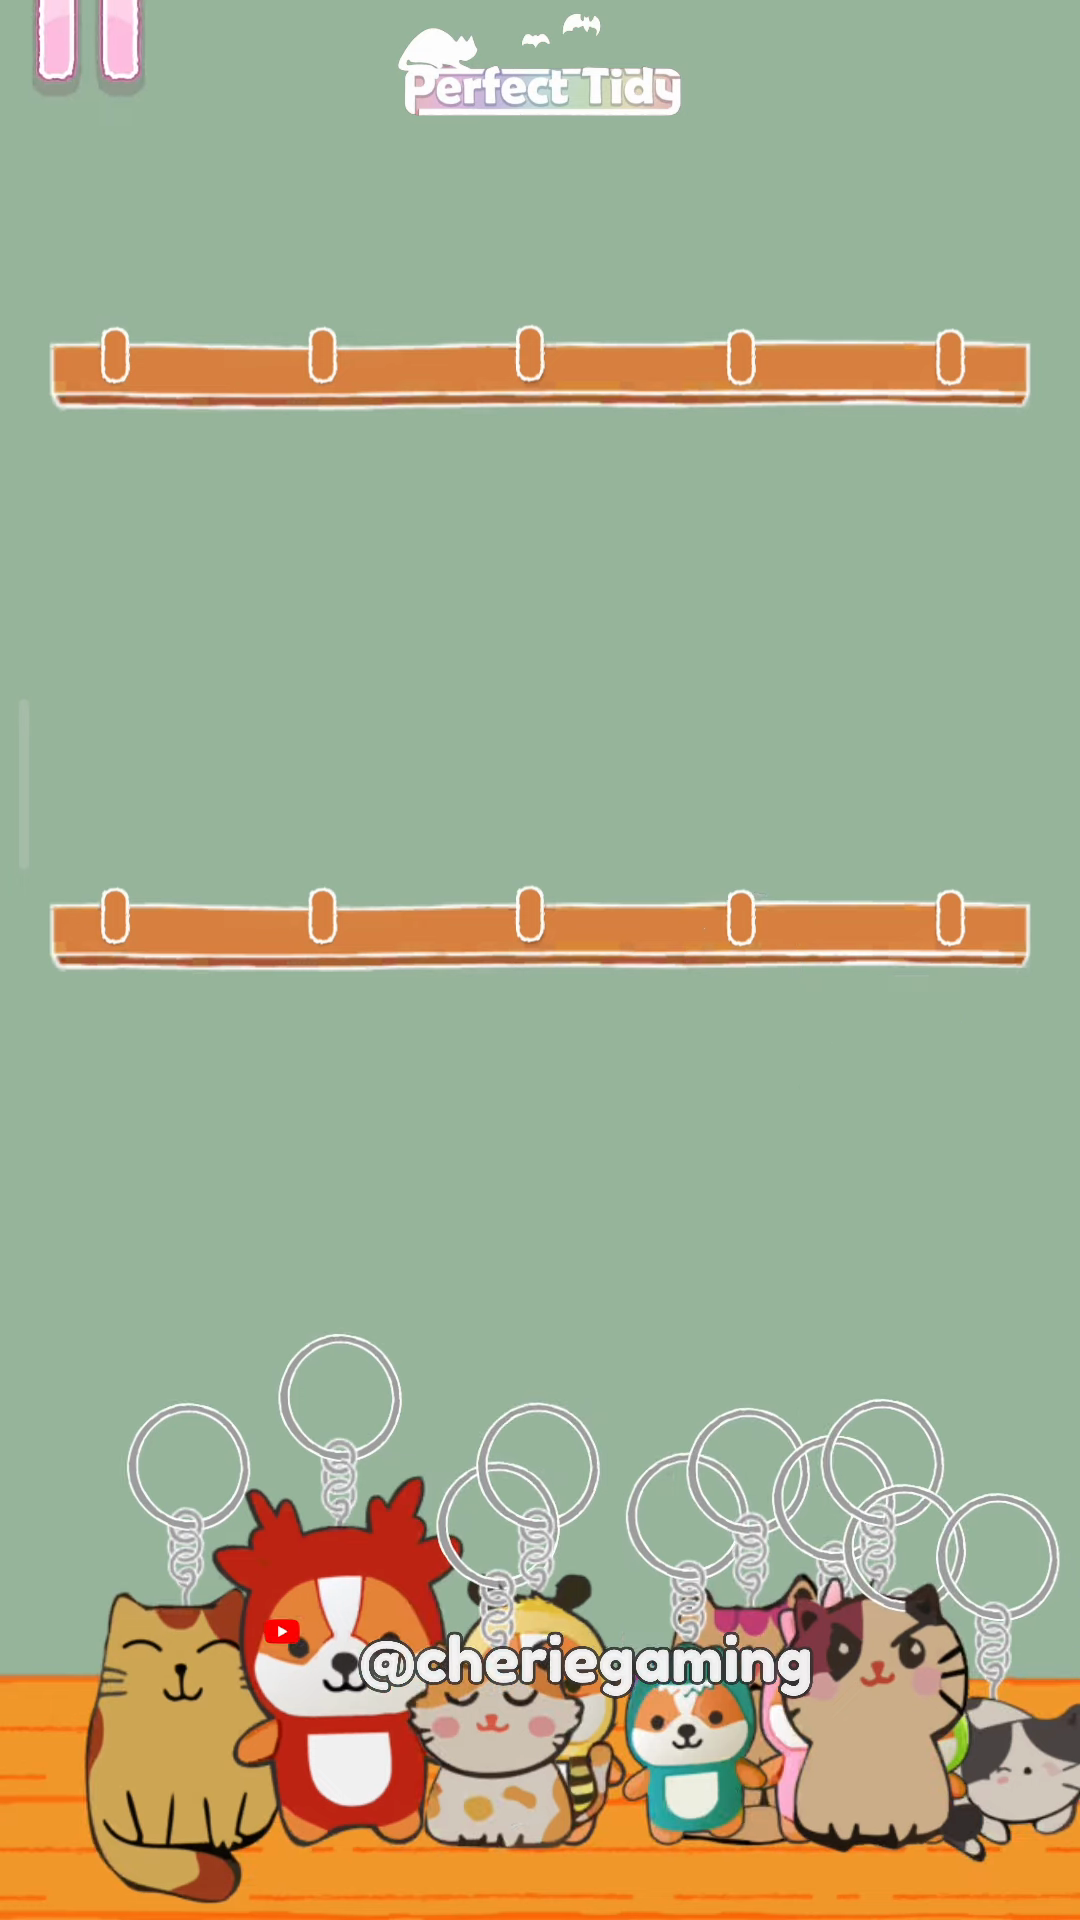
Study the starting layout for Perfect Tidy Level 53 Complete Walkthrough before moving any pieces. The bottom row shows clustered toys and empty hooks above — plan your lifts so outer toys are freed first. Identifying these positions early prevents accidental swaps and wasted drags.
Step 2. Lift Outer Toys
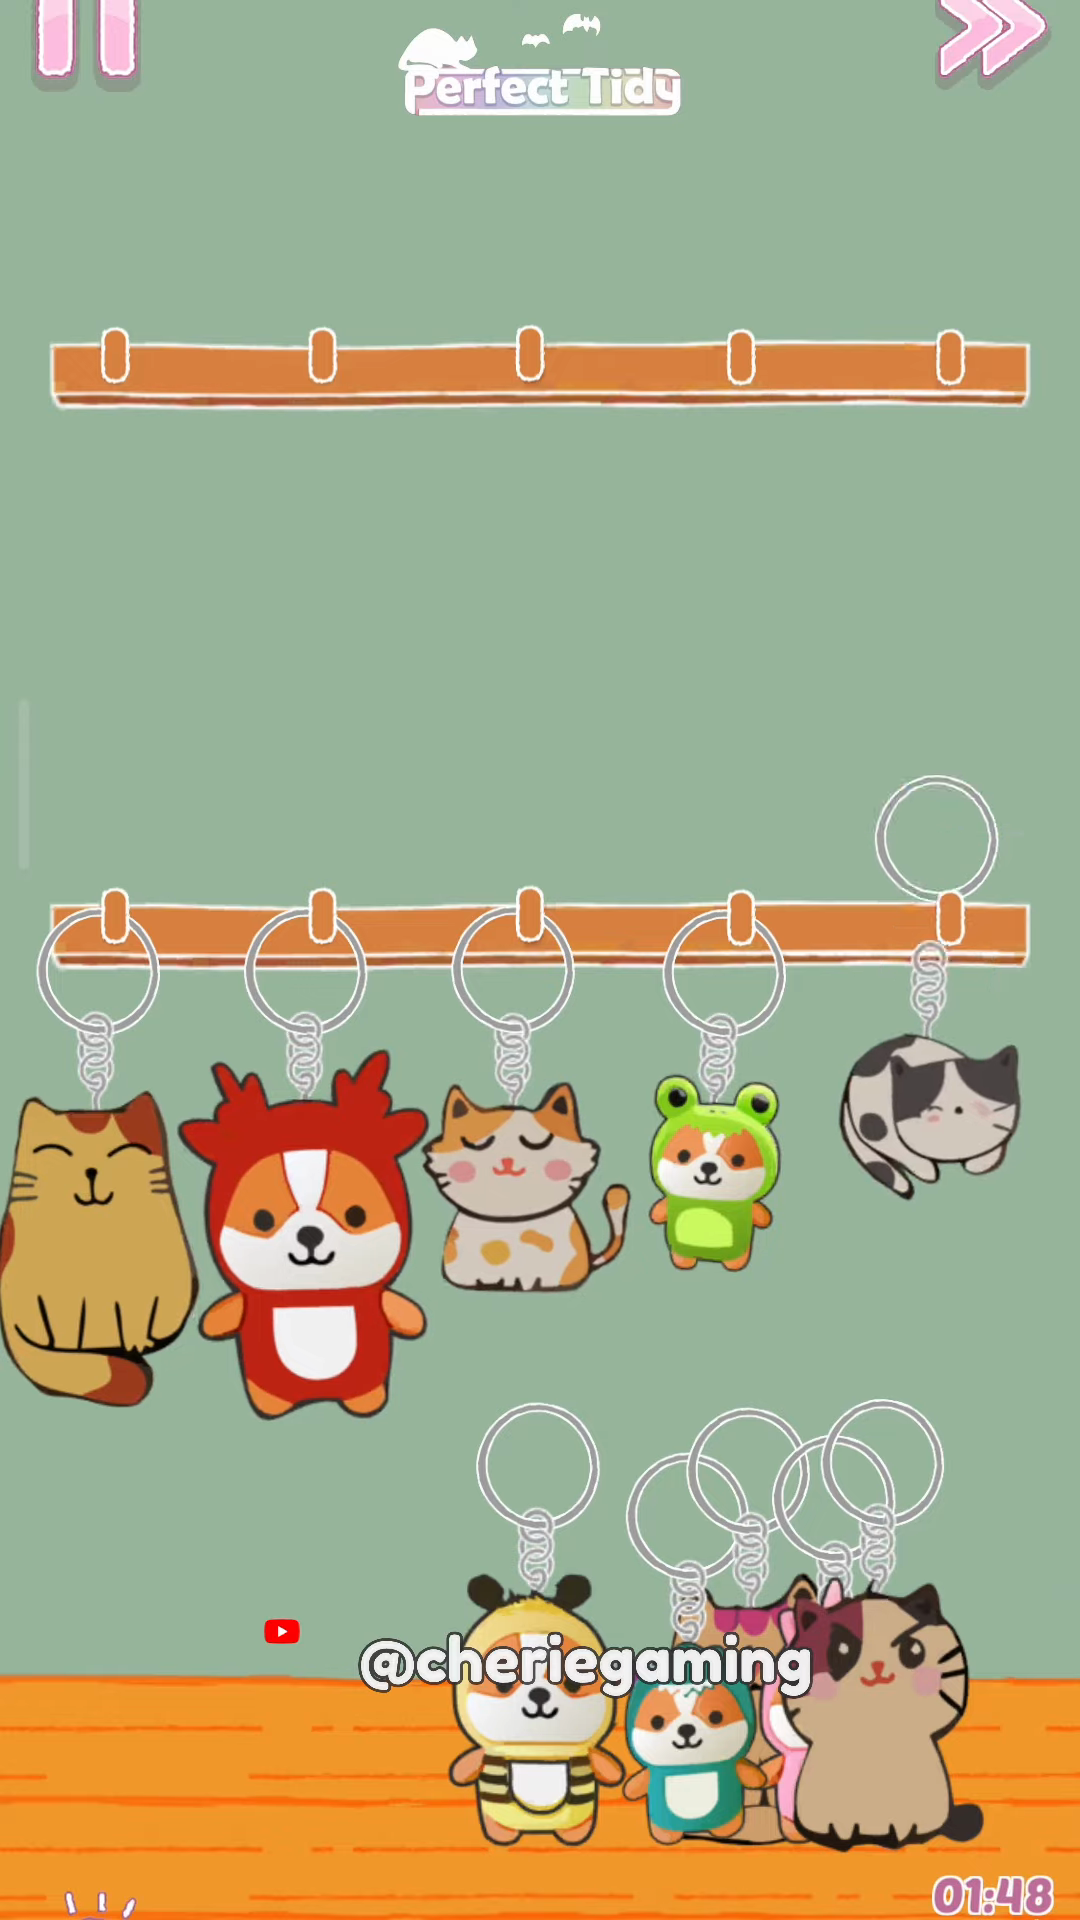
Begin Perfect Tidy Level 53 Complete Walkthrough by lifting the outer floor toys into the nearest outer hooks to open space in the middle. Drag straight up to avoid snagging adjacent keyrings and place the left and right characters first. This creates room to maneuver the crowded center pieces.
Step 3. Create Space in Middle
Next in Perfect Tidy Level 53 Complete Walkthrough, lift the middle floor toy (green frog or small character) to the top middle hook to clear the central area. Creating this vertical gap prevents collisions when moving the larger central plushes. Move deliberately and wait for any swinging to settle before the next placement.
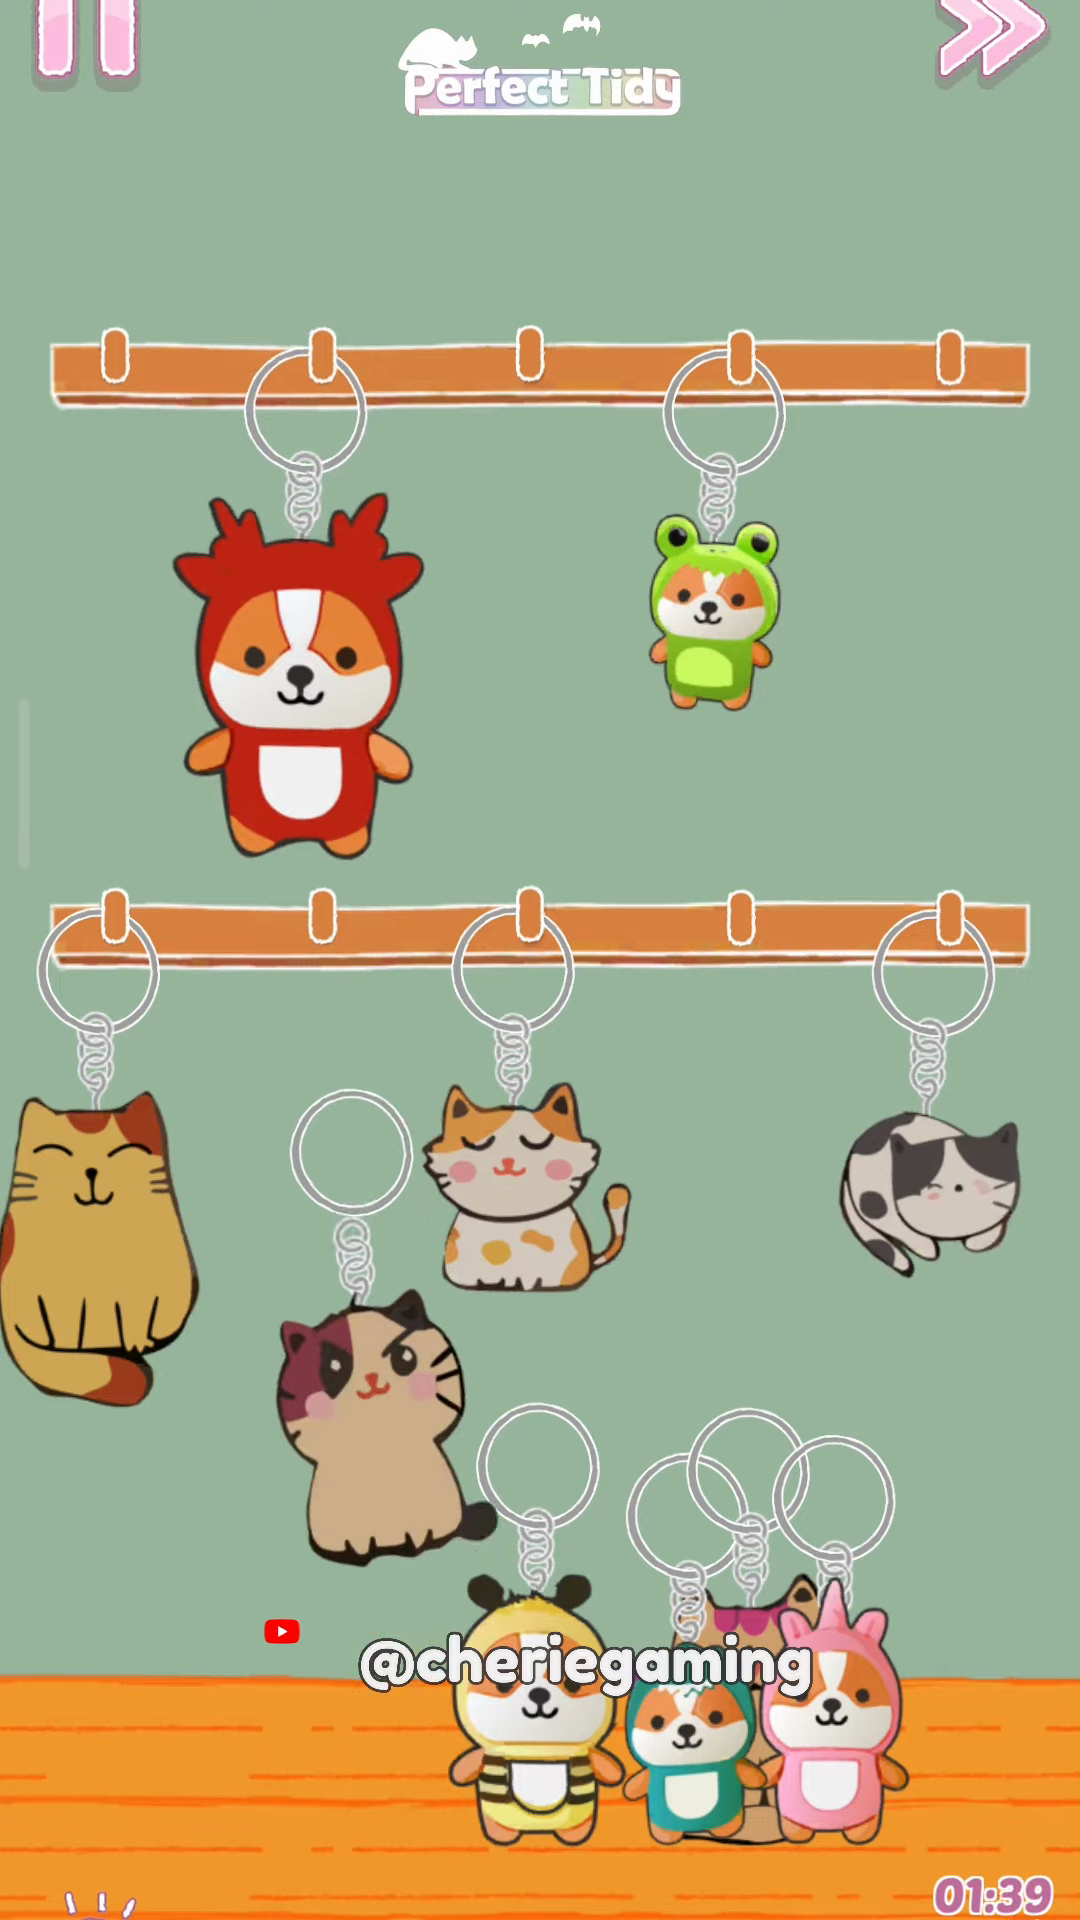
Step 4. Balance the Top Row
While following Perfect Tidy Level 53 Complete Walkthrough, arrange the top row evenly by placing larger toys toward the outer top hooks and medium ones centrally. Balancing weight reduces swing and gives clear drop paths for the remaining floor toys. Aim to leave final hooks accessible rather than filling them in a way that blocks others.
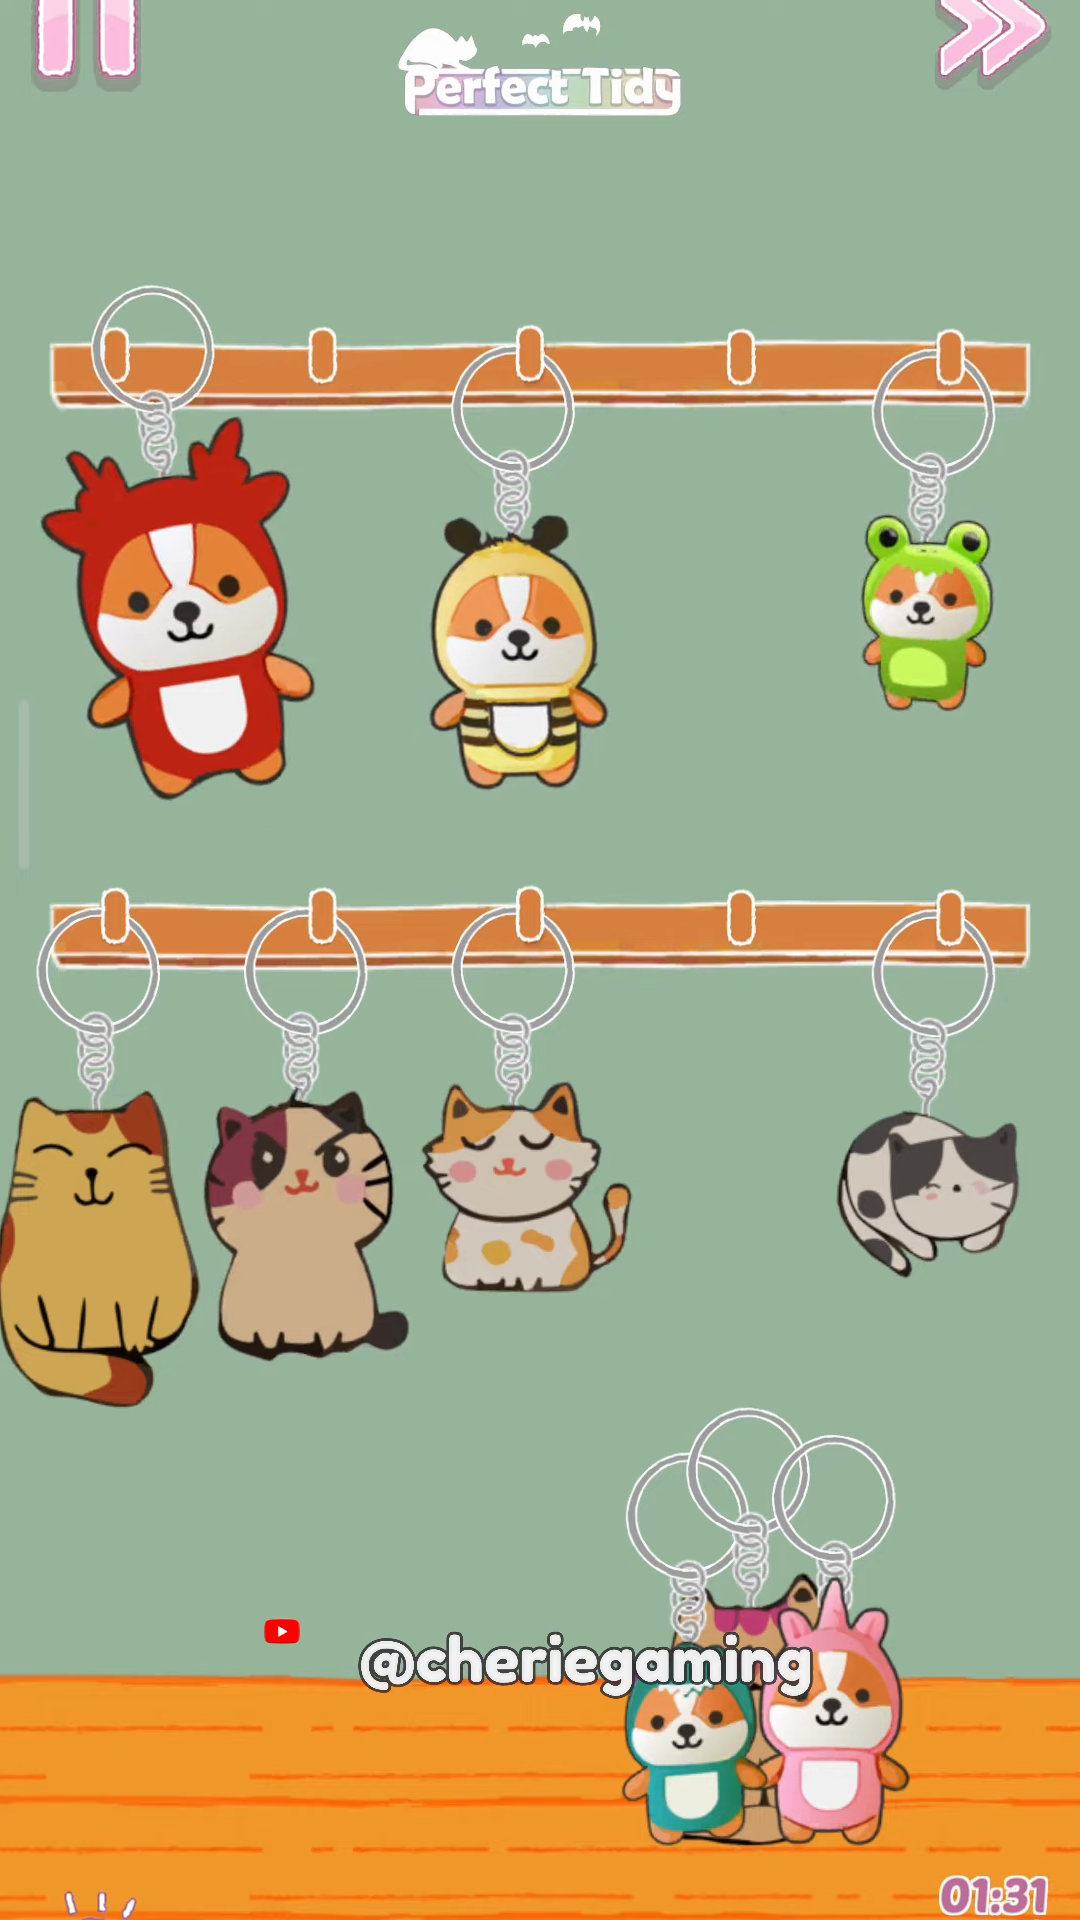
Step 5. Fill Remaining Hooks

Continue the Perfect Tidy Level 53 Complete Walkthrough by lifting the remaining floor toys into the last open hooks, working from the outside in. Use straight vertical drags and avoid overlapping paths so toys don't tangle mid-air. Keep an eye on any swinging toys and pause briefly if needed before the final placements.
Step 6. Final Placement & Clear
Finish Perfect Tidy Level 53 Complete Walkthrough by placing the last toy into the final hook and ensuring no collisions occur as toys settle. Confirm all hooks are occupied and wait for any swings to stop; this secures a clean clear and avoids restarting. Once settled, the level is complete.
Extra tip
- Perfect Tidy Level 53 Complete Walkthrough Prioritize clearing crowded floor areas first to reduce overlap when lifting.
- Drag in a straight vertical motion to avoid accidentally swapping adjacent toys.
- Use the outer hooks first so center placements have more room to settle.
- If a toy swings, wait a moment before placing the next to prevent collisions.