Level 050: Perfect Tidy Level 50 Complete Walkthrough
This concise guide walks through **Perfect Tidy Level 50 Complete Walkthrough**, showing each cleaning and reassembly phase for the battered eyeshadow palette so you can replicate the exact steps, tools, and timing demonstrated in the video.
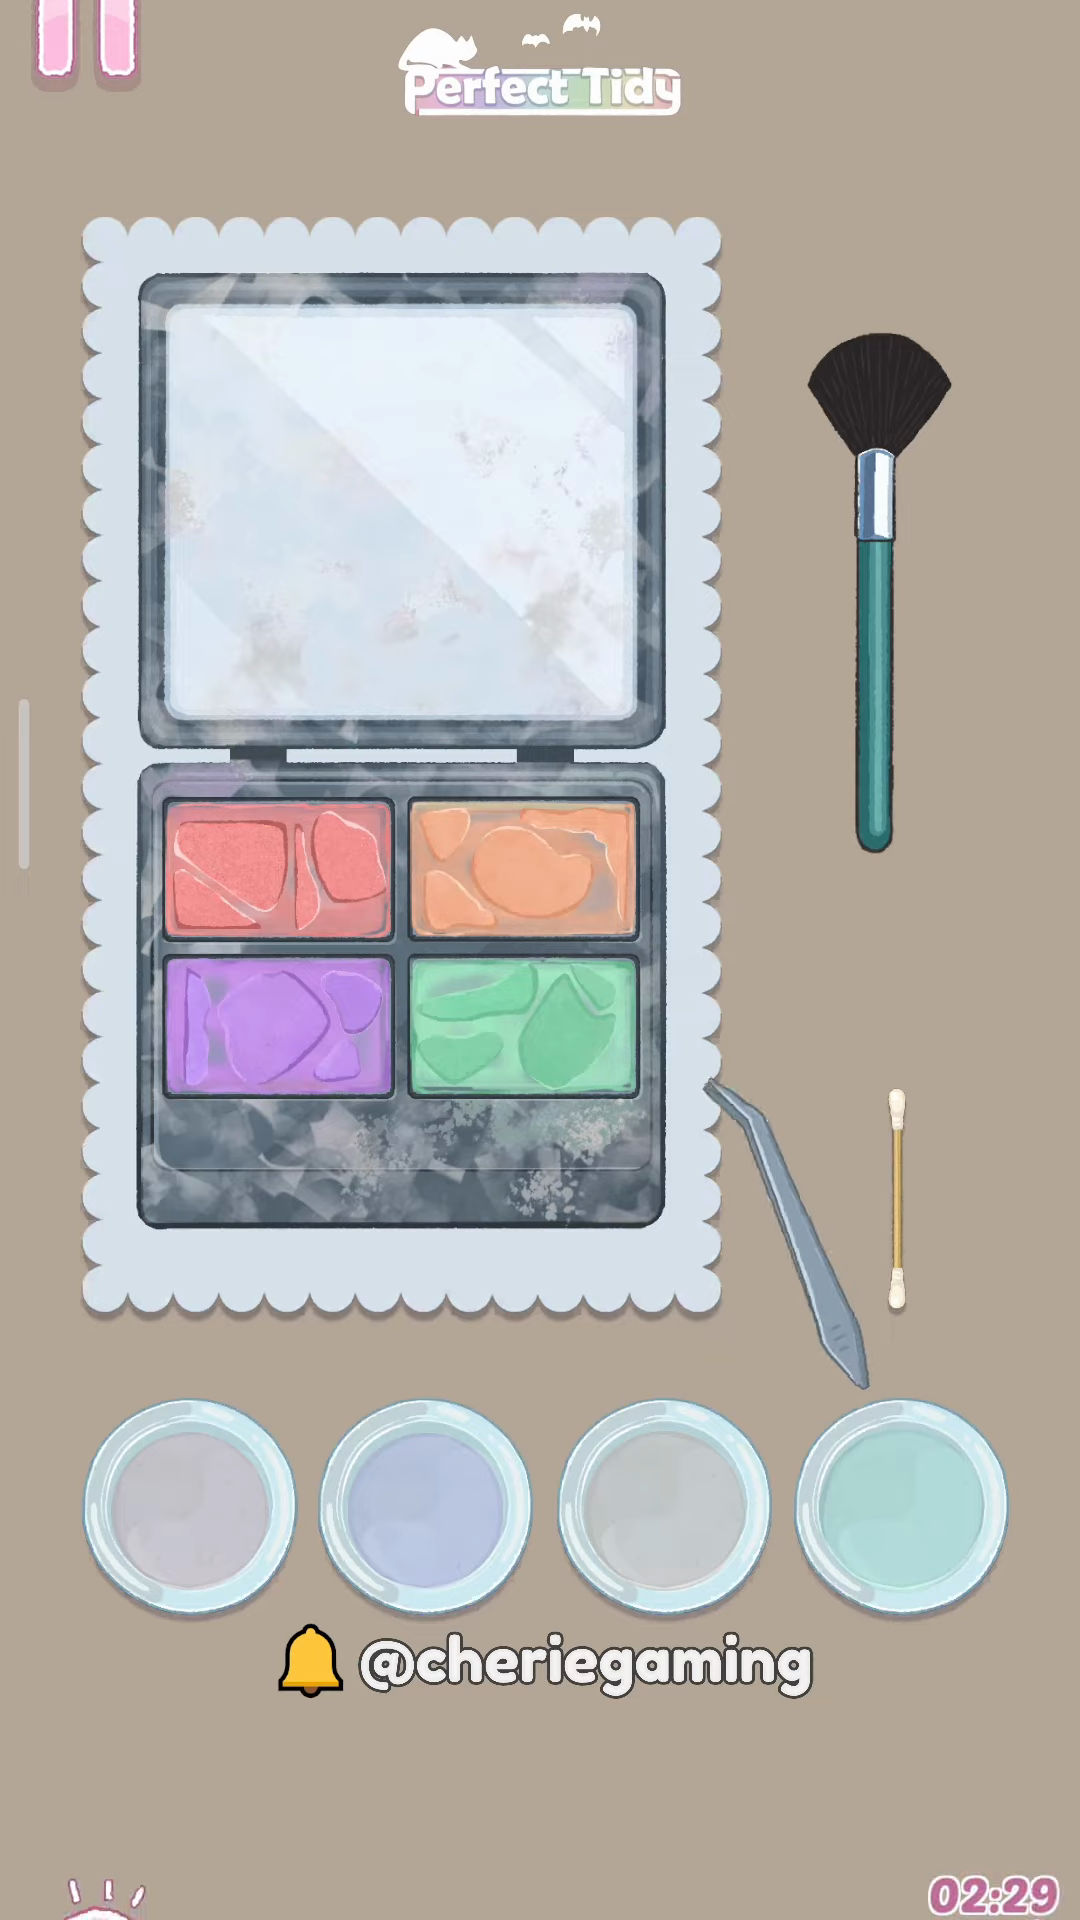
Level overview
This concise guide walks through Perfect Tidy Level 50 Complete Walkthrough, showing each cleaning and reassembly phase for the battered eyeshadow palette so you can replicate the exact steps, tools, and timing demonstrated in the video.
Step 1. Remove large broken pieces
Begin by removing the biggest shards so they don’t contaminate other pans. In this Perfect Tidy Level 50 Complete Walkthrough step use the tweezers to lift large fragments out of each pan carefully, keeping the palette stable as you work.
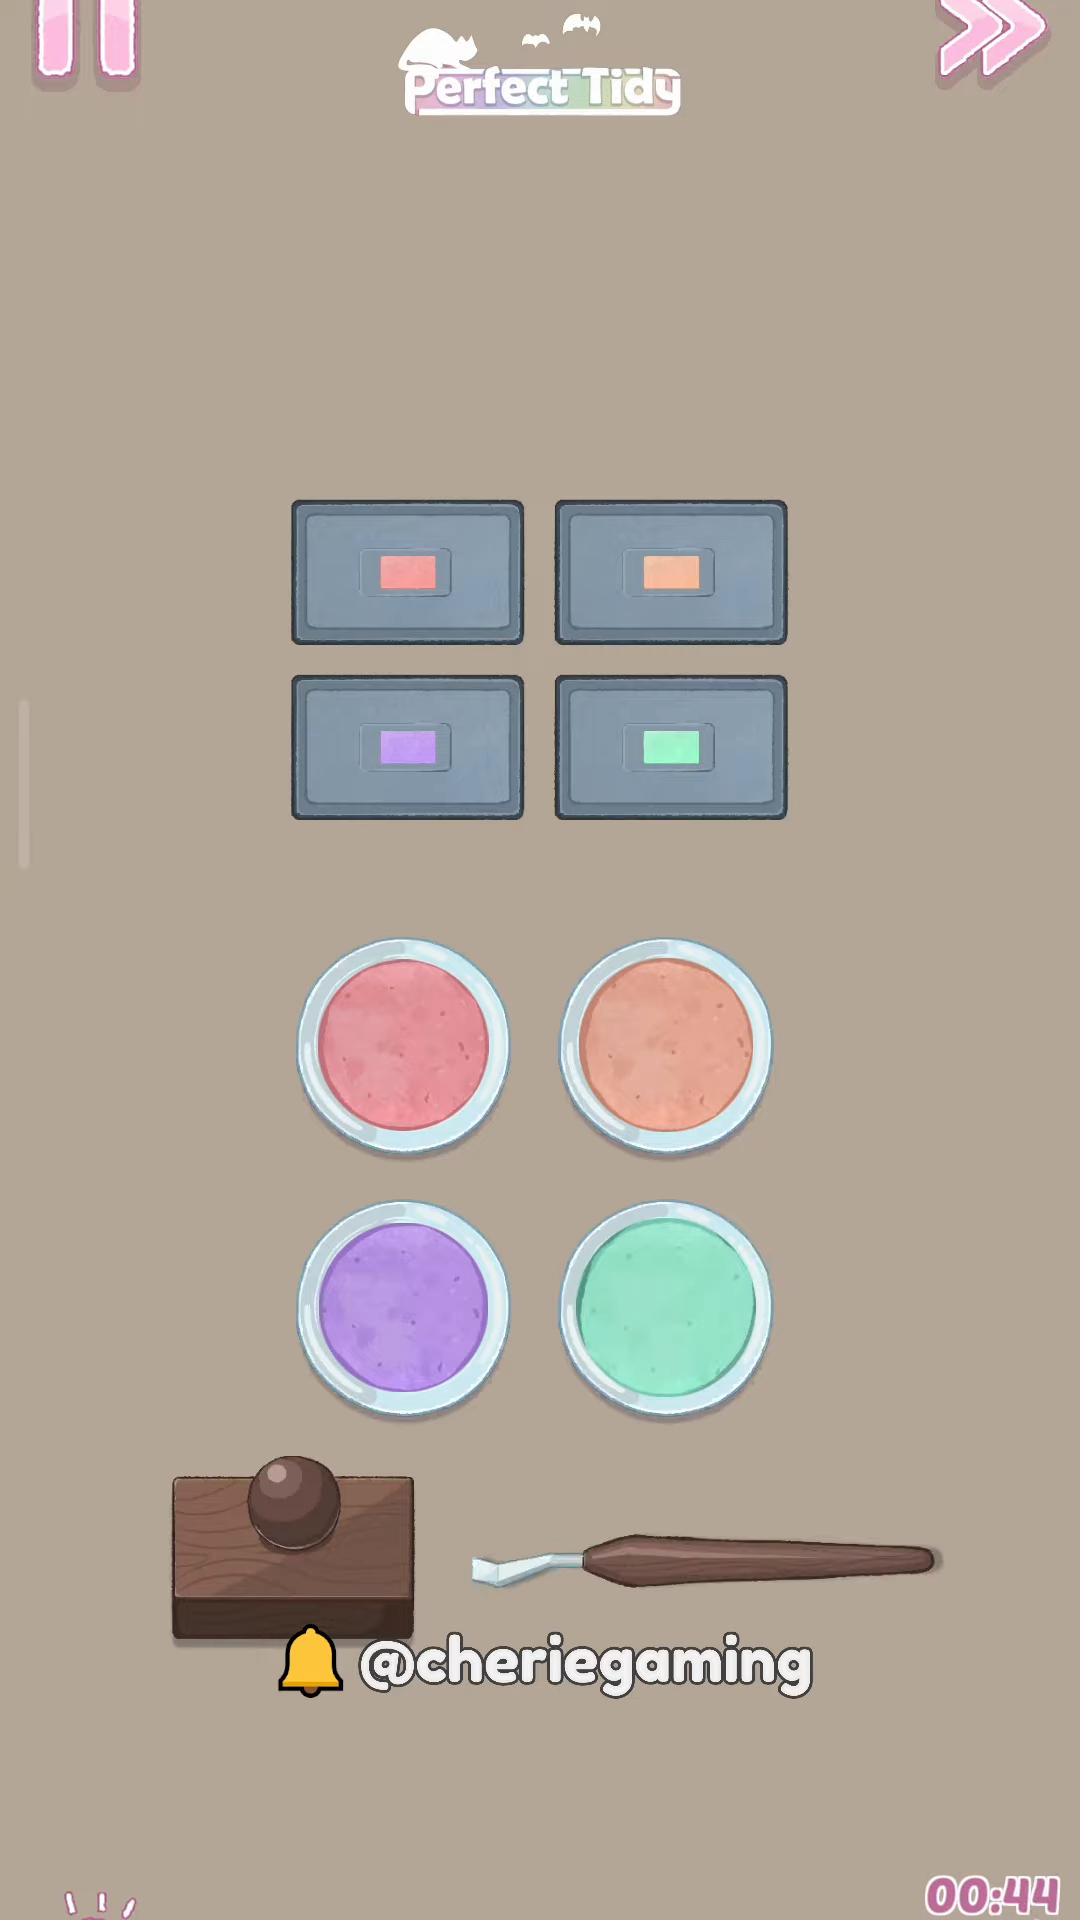
Step 2. Clear and organize loose pigment
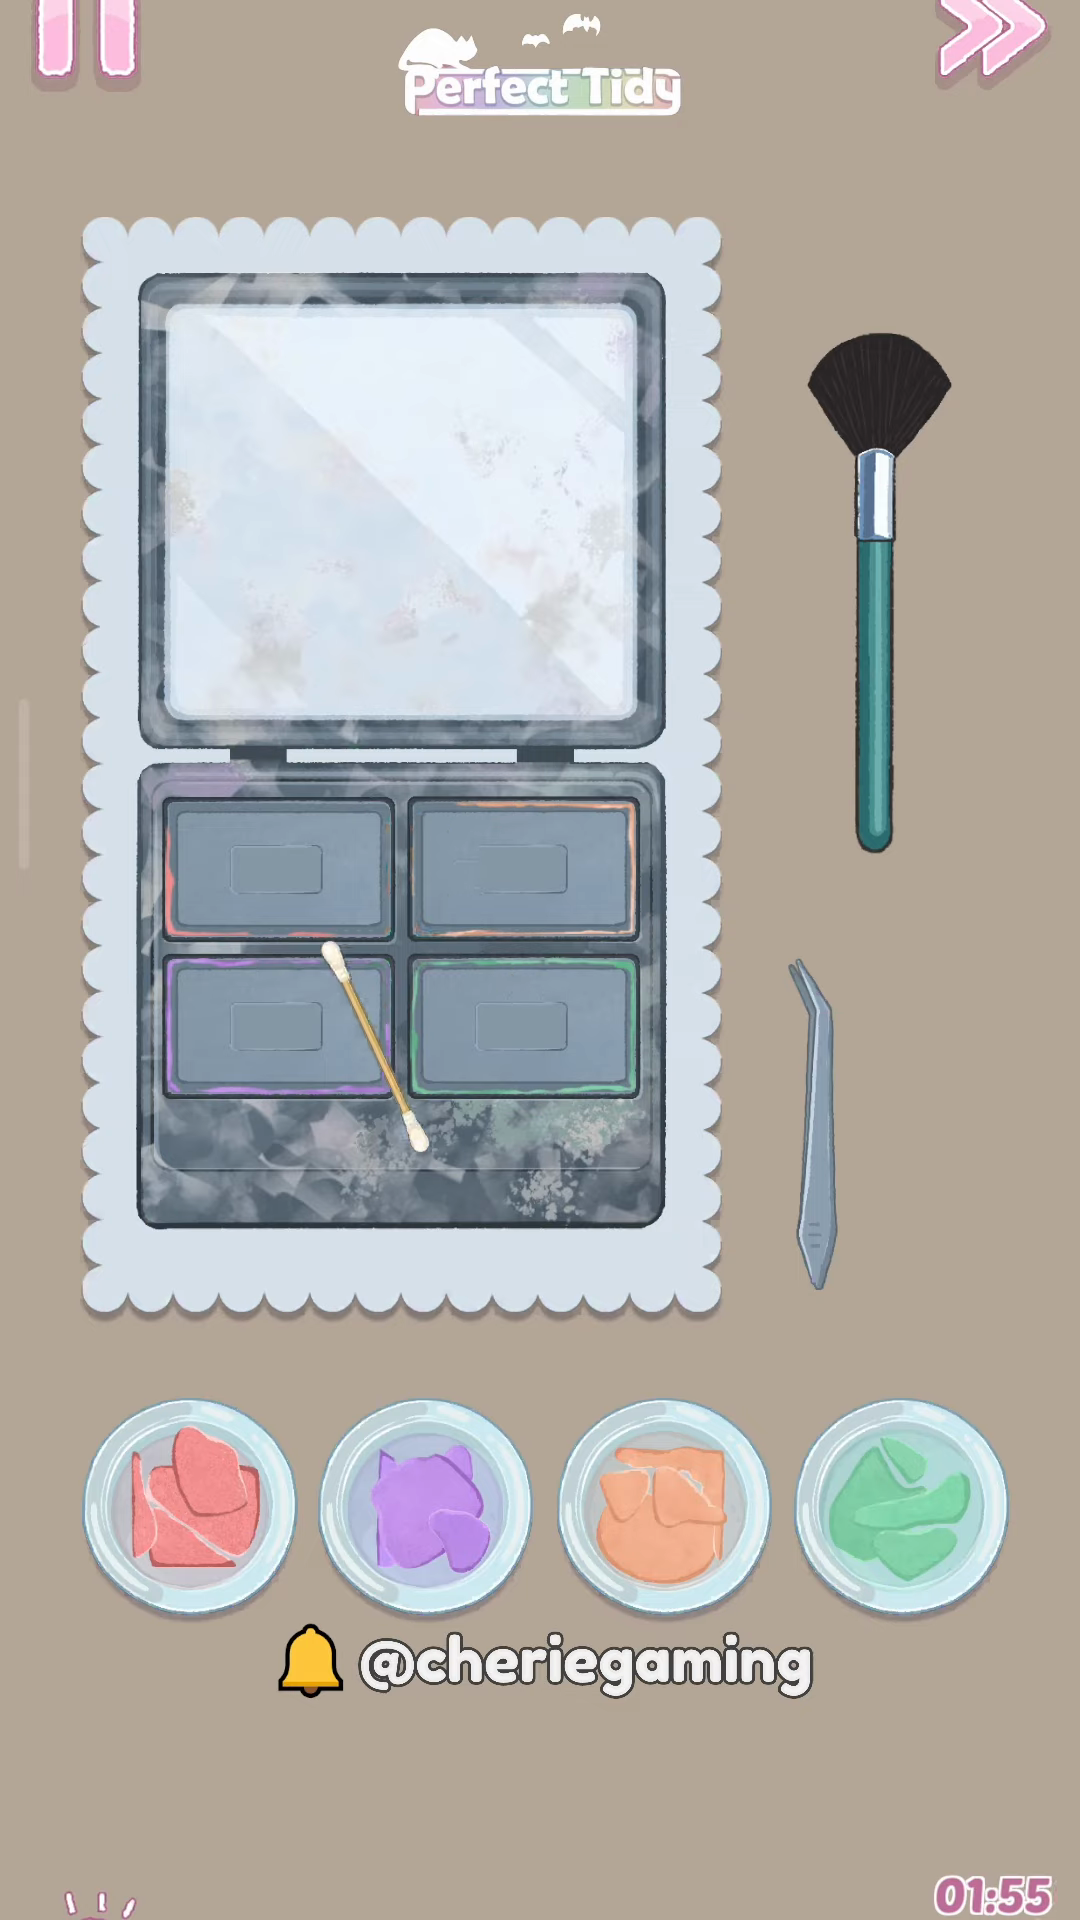
After removing big shards, sweep loose pigment into separate bowls to preserve colors for reuse. This Perfect Tidy Level 50 Complete Walkthrough frame shows the palette cleared and tools positioned to collect and sort each shade safely.
Step 3. Apply cleaning gel and scrub
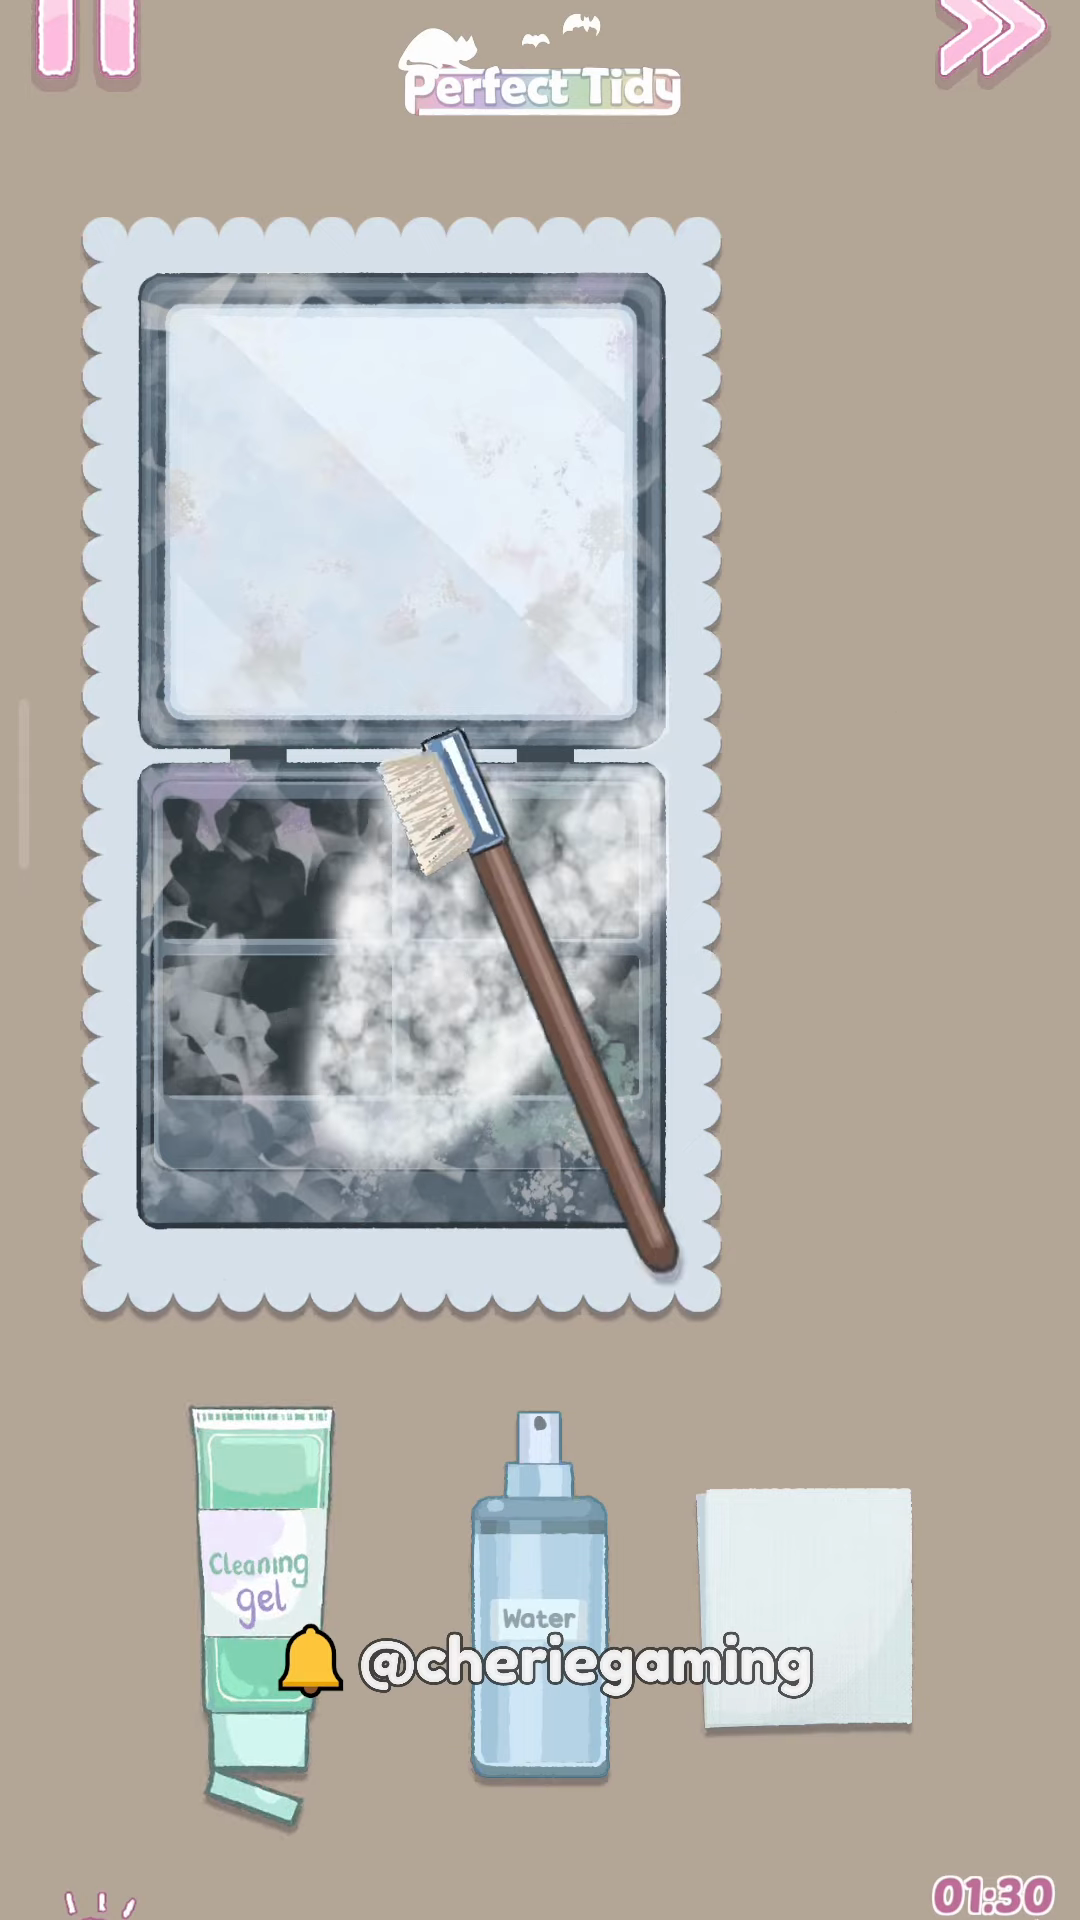
Use the cleaning gel and brush to lift ingrained grime from the palette surfaces before rinsing. The Perfect Tidy Level 50 Complete Walkthrough screenshot captures the scrubbing action and supplies (gel, water, cloth) needed for a deep clean.
Step 4. Rinse and let dry
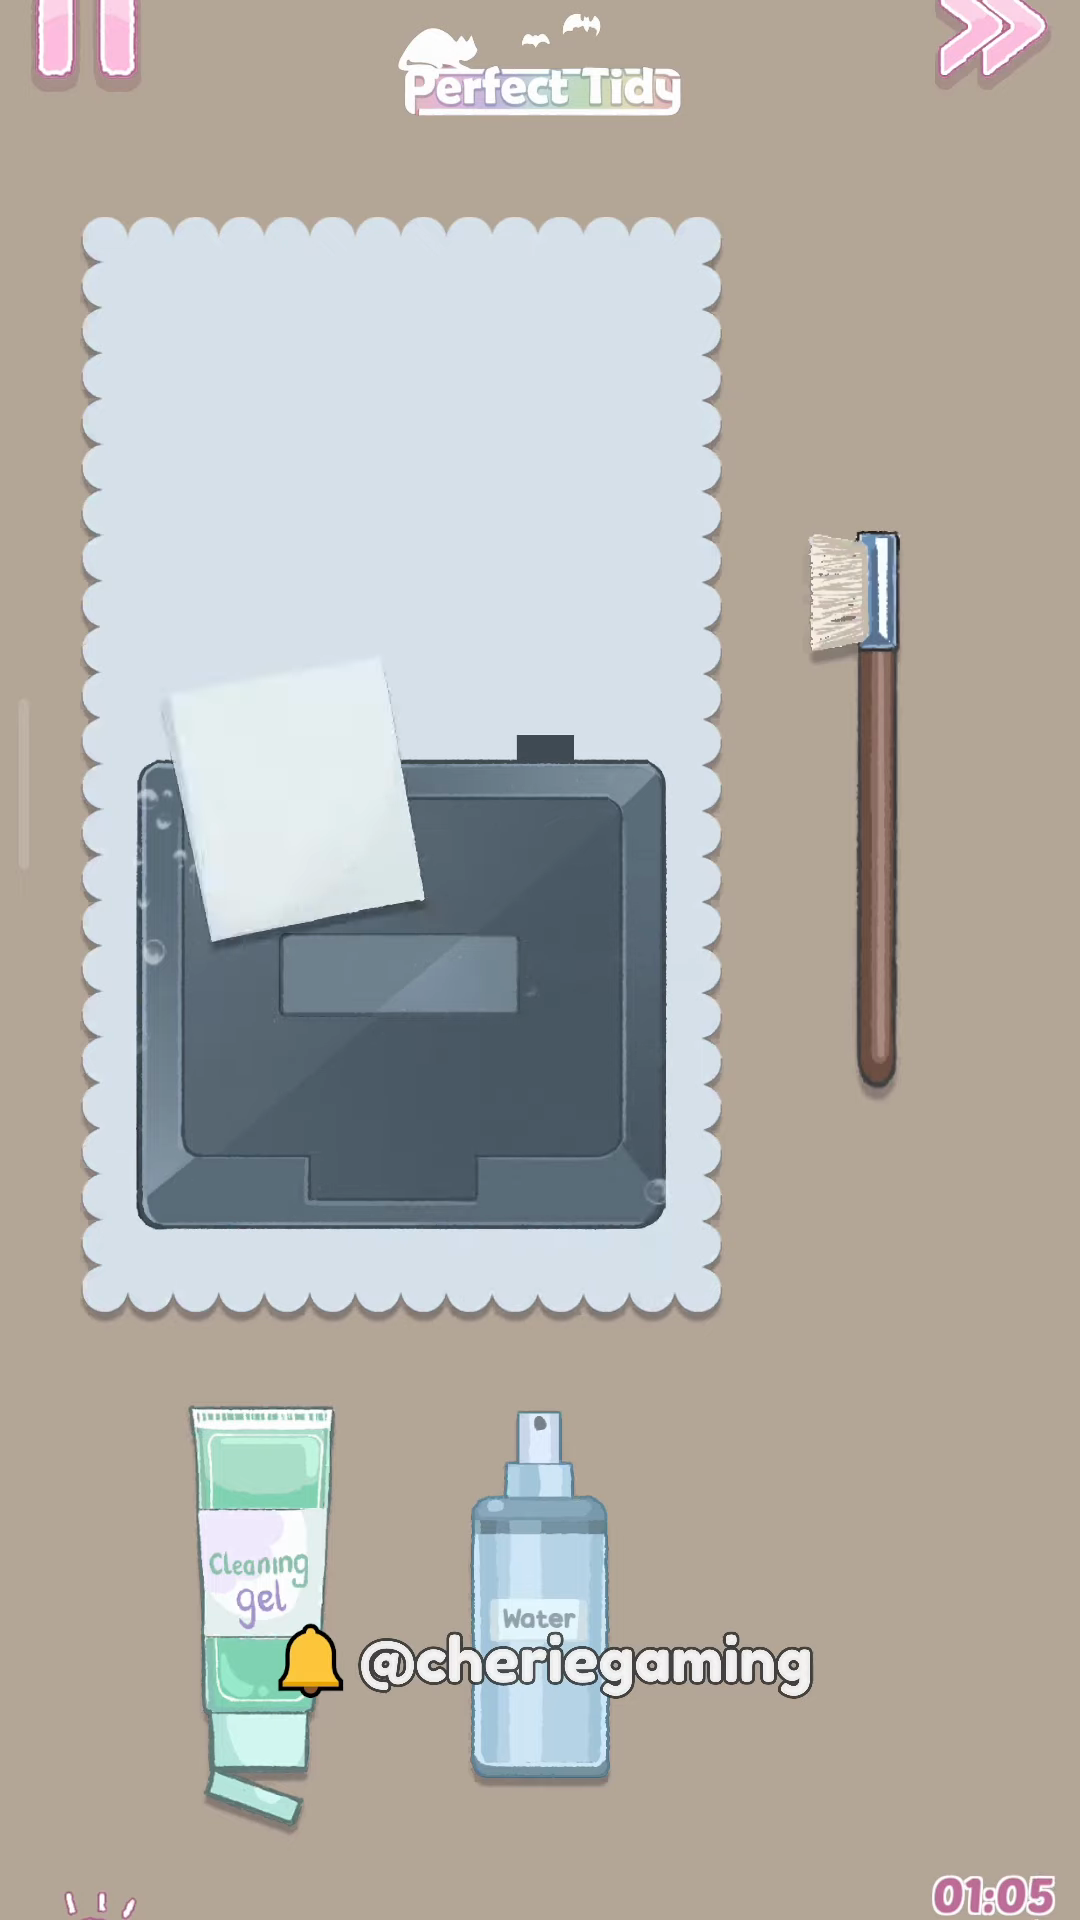
Rinse the palette with water spray and wipe down to remove residue, then let it air dry completely. In this Perfect Tidy Level 50 Complete Walkthrough frame the water spray is visible, illustrating the rinse-and-dry phase before reassembly.
Step 5. Mix pigments and press into pans
Mix the saved pigment fragments with binder and press each color firmly into its pan to reform solid discs. This Perfect Tidy Level 50 Complete Walkthrough image shows the spatula mixing pigment and the pressing tools ready to compact the pigments evenly.
Step 6. Glue pans back and finalize

Apply minimal glue to secure each reformed pan, place them into the palette, and wipe any excess for a polished finish. The final Perfect Tidy Level 50 Complete Walkthrough frame shows glue being applied and pans returned, completing the rebuild.
Extra tip
- Perfect Tidy Level 50 Complete Walkthrough Remove large shards first to avoid contaminating cleaned pans.
- Apply cleaning gel sparingly and wipe thoroughly to prevent residue.
- Press pigments firmly with the stamp for even pans and less fallout.
- Use minimal glue when reattaching pans to avoid overflow.