Level 153: Perfect Tidy Level 139 Complete Walkthrough
This concise guide walks you through **Perfect Tidy Level 139 Complete Walkthrough**, showing each assembly stage from parts layout to the finished decorated car so you can finish the level quickly and efficiently.
Level overview
This concise guide walks you through Perfect Tidy Level 139 Complete Walkthrough, showing each assembly stage from parts layout to the finished decorated car so you can finish the level quickly and efficiently.
Step 1. Open the toolbox

Start by opening the box and identifying parts in the Perfect Tidy Level 139 Complete Walkthrough. Confirm the battery and main chassis are present so you can assemble in the correct order.
Step 2. Lay out components
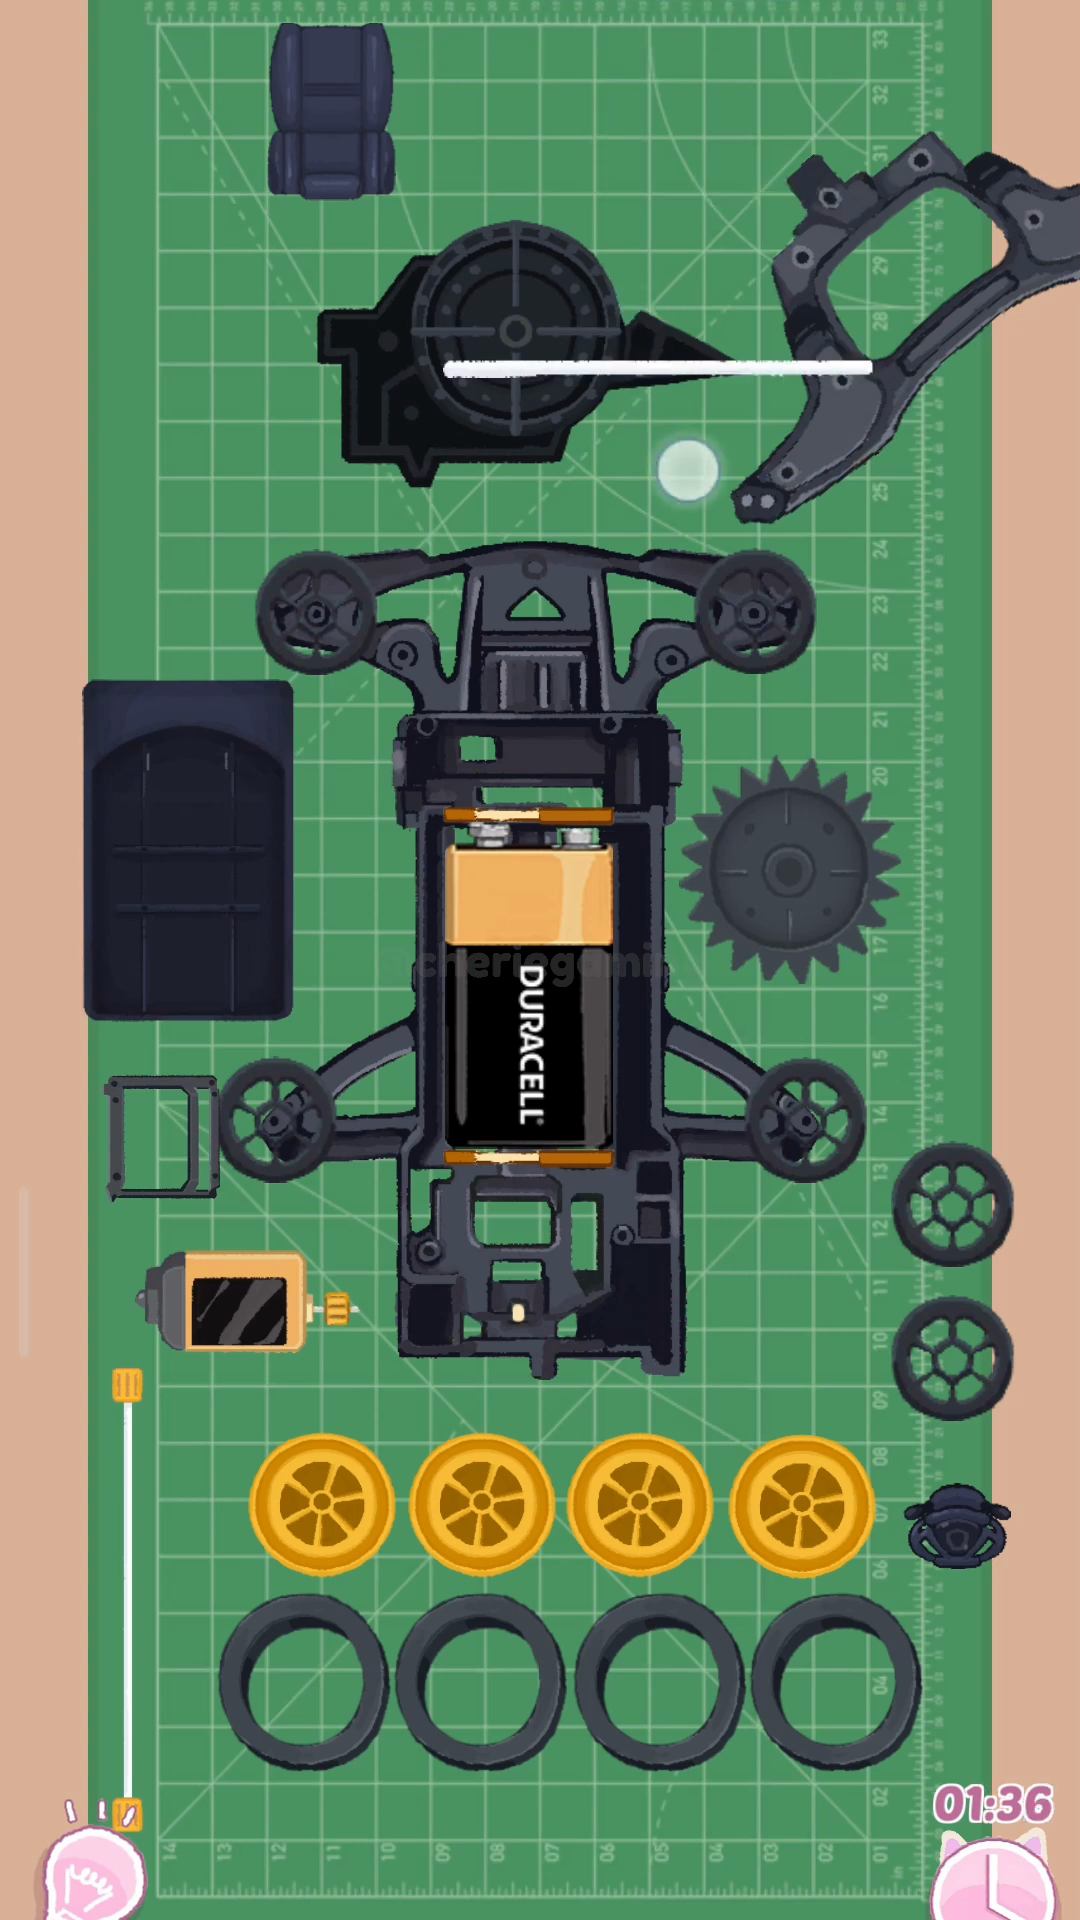
Arrange all components on the mat so you can follow the build order in the Perfect Tidy Level 139 Complete Walkthrough. Lay out wheels, axles, motor and body parts to speed placement and avoid searching during assembly.
Step 3. Assemble axles and install wheels
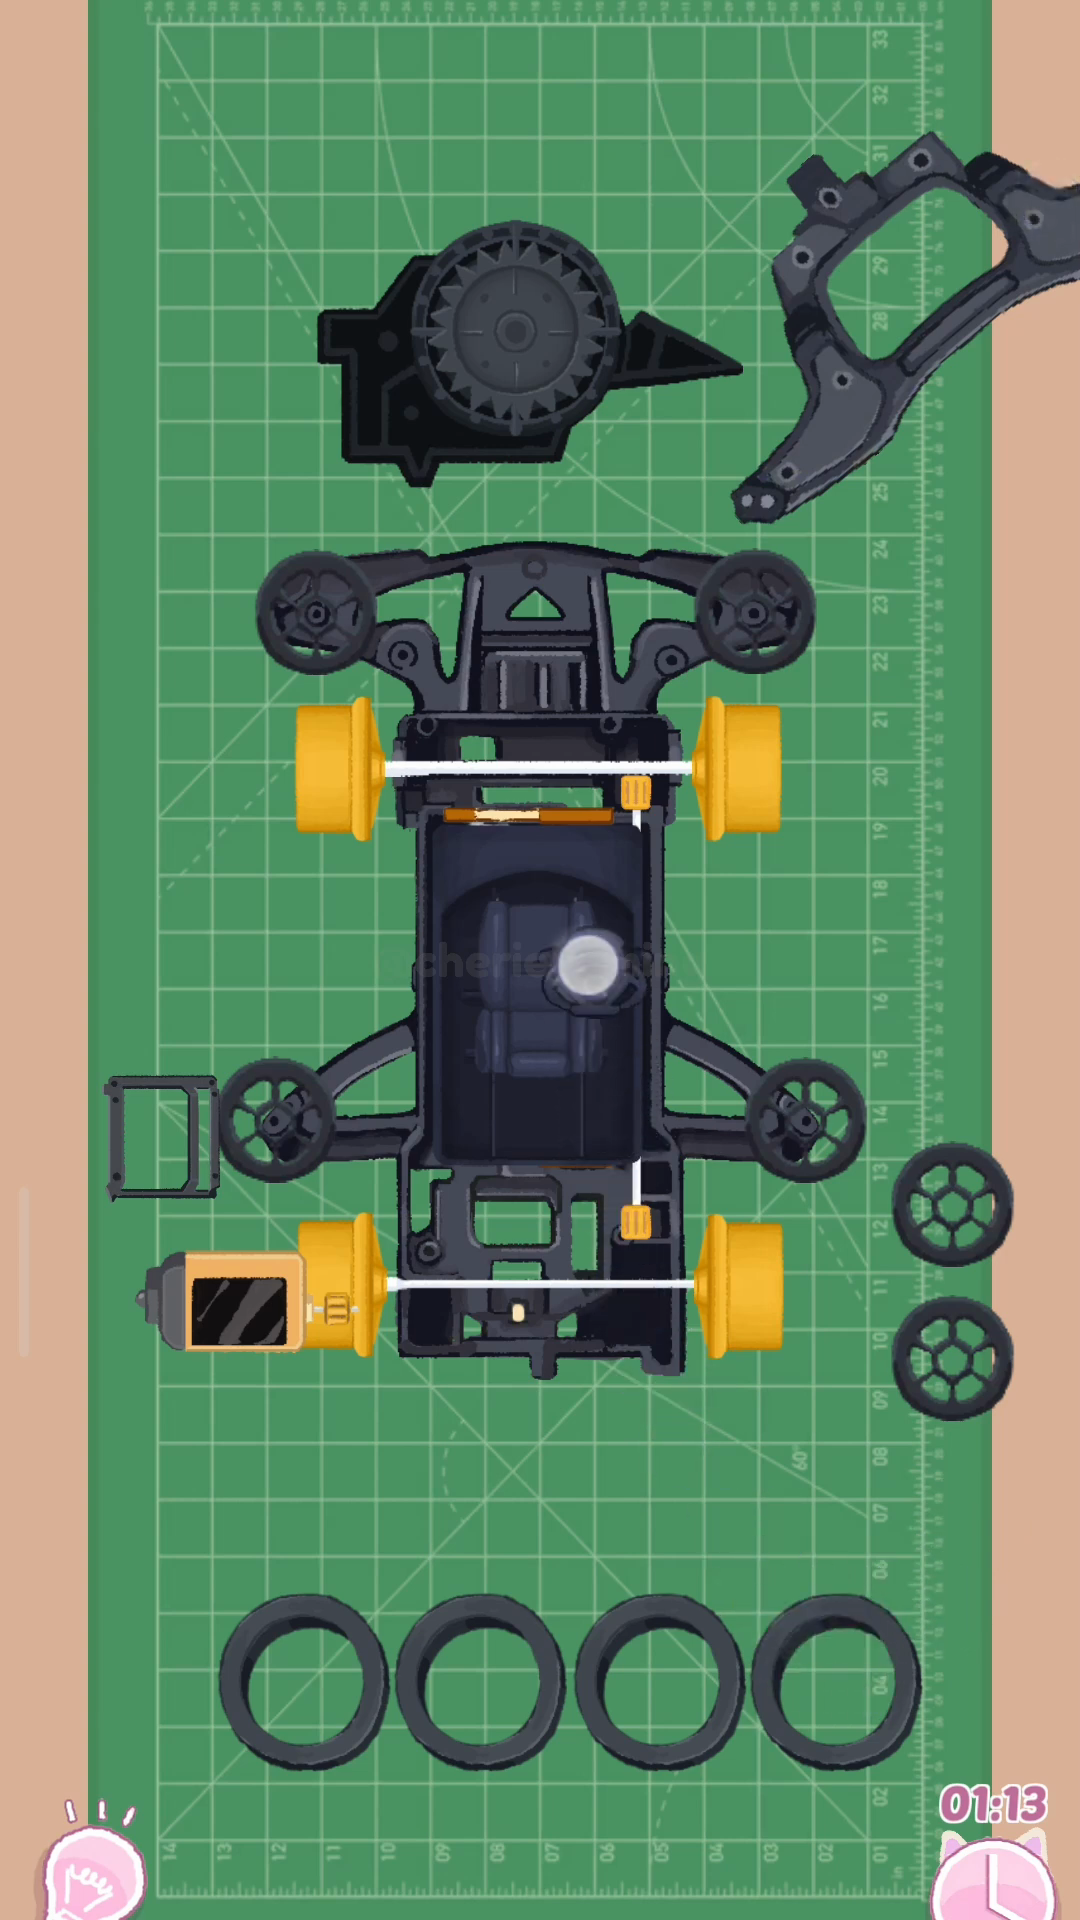
Attach axles and pre-fit wheels symmetrically as shown in the Perfect Tidy Level 139 Complete Walkthrough to maintain balance. Secure small connectors first, then slide tires onto rims to keep alignment precise.
Step 4. Fit the body and finalize
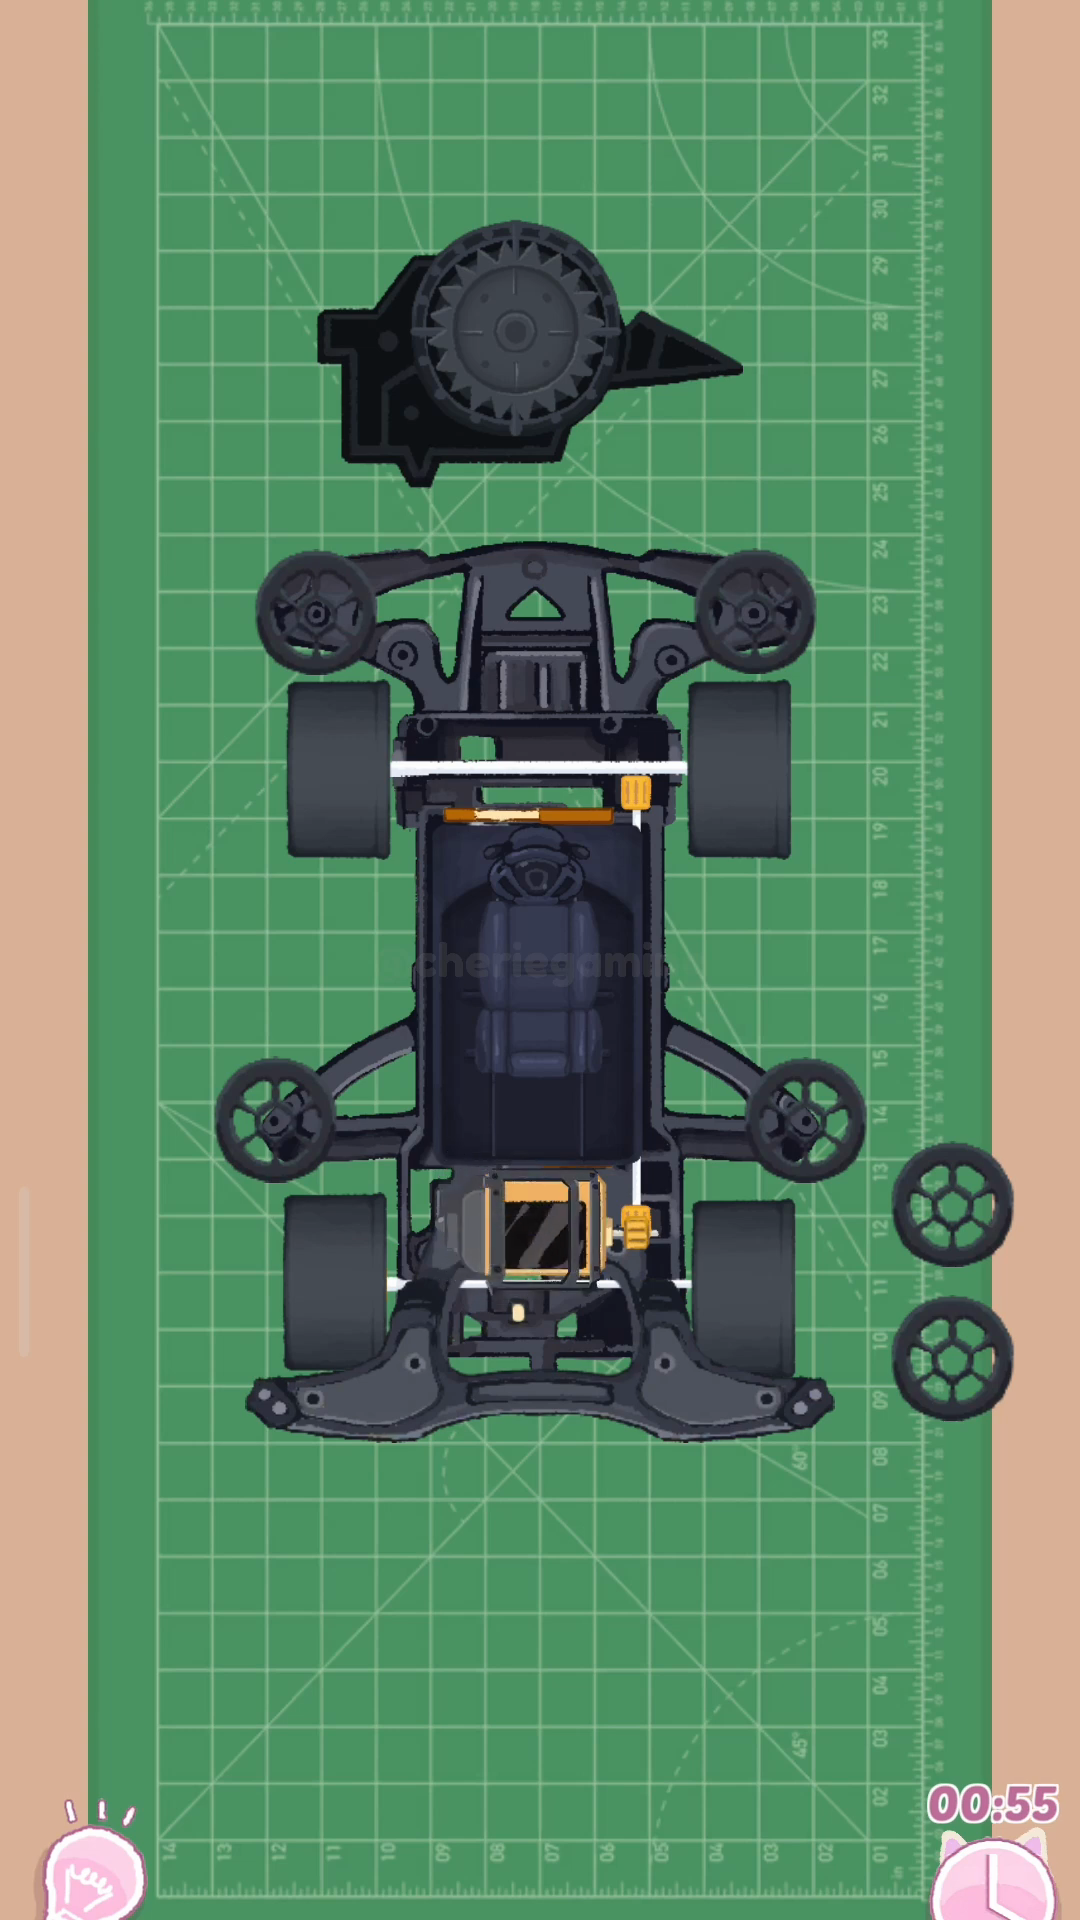
Place the main body, attach the final panels and add decals to finish the Perfect Tidy Level 139 Complete Walkthrough. Double-check the battery and motor connections before running the completed car.
Extra tip
- Perfect Tidy Level 139 Complete Walkthrough Place the battery early to use it as a visual alignment anchor for axles.
- Attach wheels in mirrored pairs to avoid imbalance and speed up placement.
- Fit the main body before decals so stickers align cleanly on the surface.
- Use on-screen alignment markers to snap thin rods straight.