Level 140: Perfect Tidy Level 127 Complete Walkthrough
This short, actionable guide explains the fastest route to win **Perfect Tidy Level 127 Complete Walkthrough**, showing the initial board, key cluster priorities, and the finishing moves so you can copy the exact sequence and hit full stars quickly.
Level overview
This short, actionable guide explains the fastest route to win Perfect Tidy Level 127 Complete Walkthrough, showing the initial board, key cluster priorities, and the finishing moves so you can copy the exact sequence and hit full stars quickly.
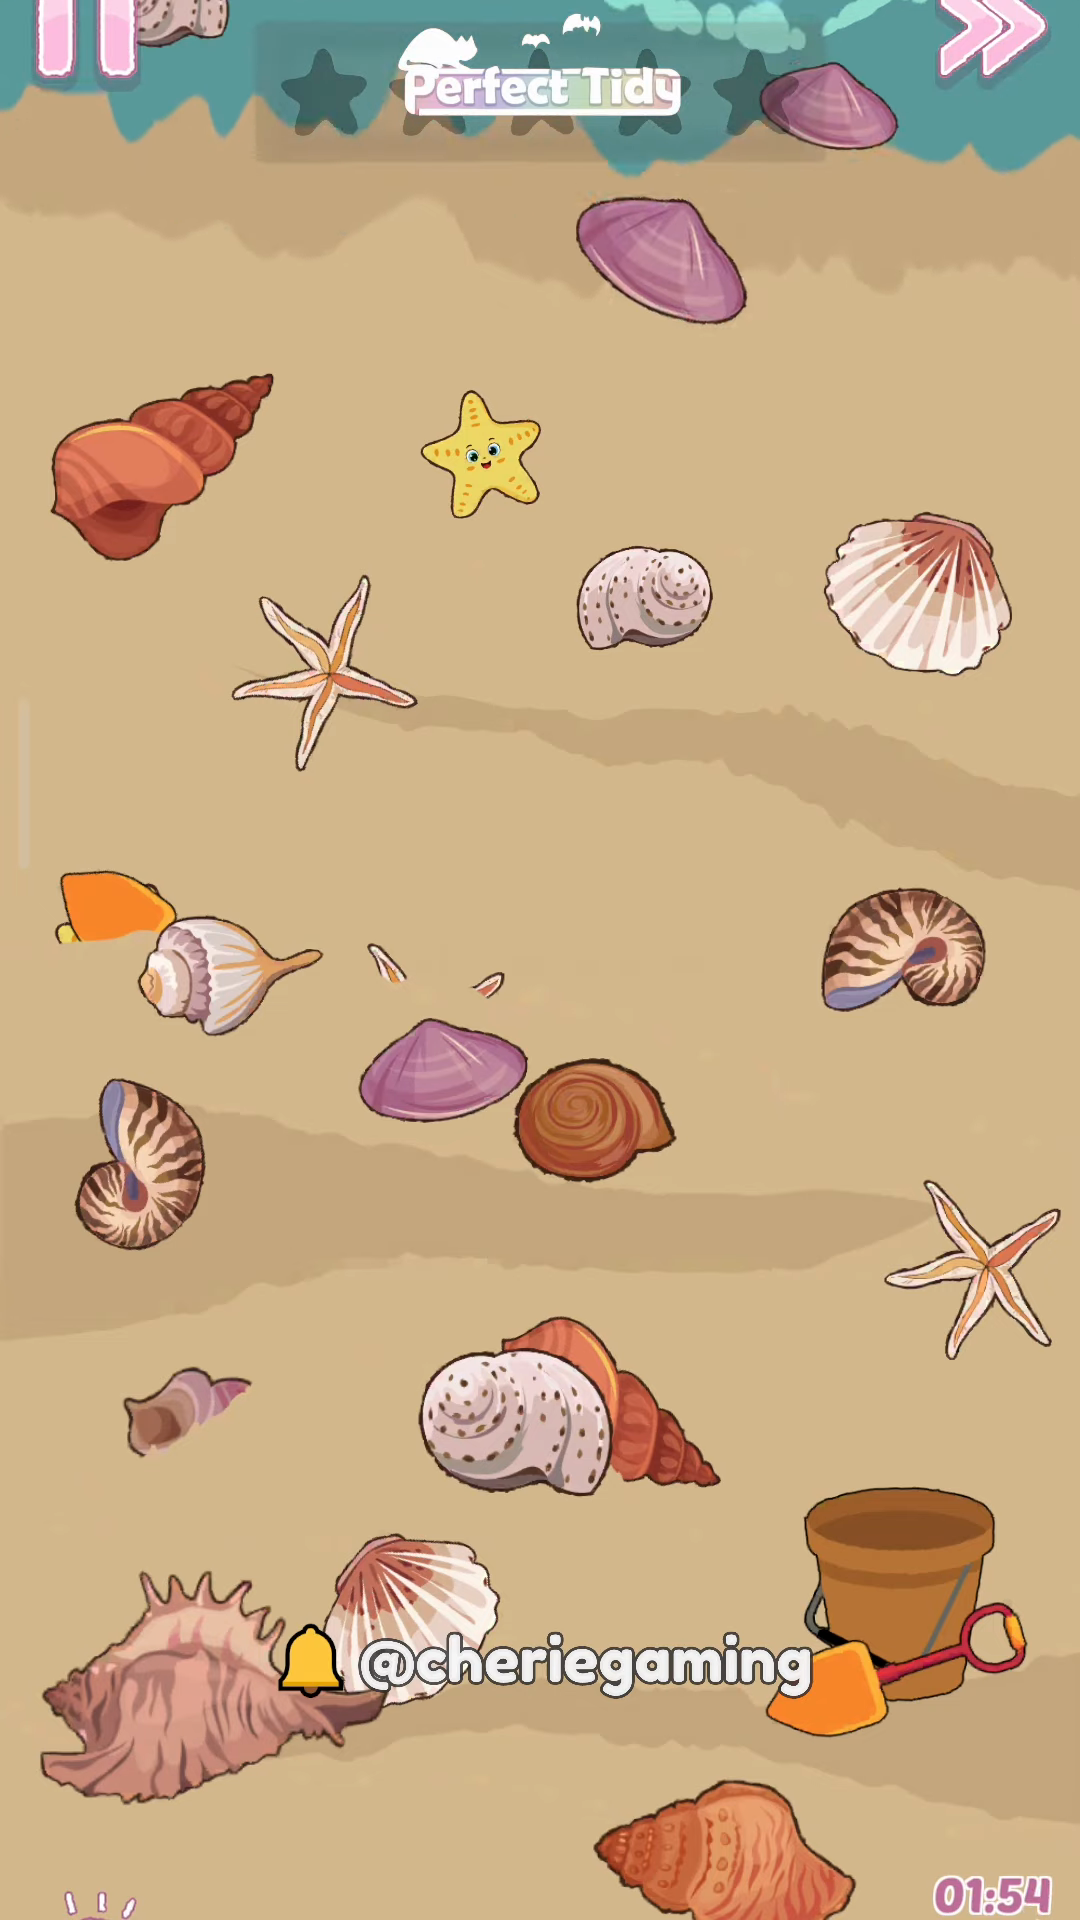
Step 1. Initial board layout

Start by studying the visible items on the screen so you can plan moves around grouped shells. The screenshot here shows the exact starting layout used in the Perfect Tidy Level 127 Complete Walkthrough, so note the clusters at the top and bottom before tapping.
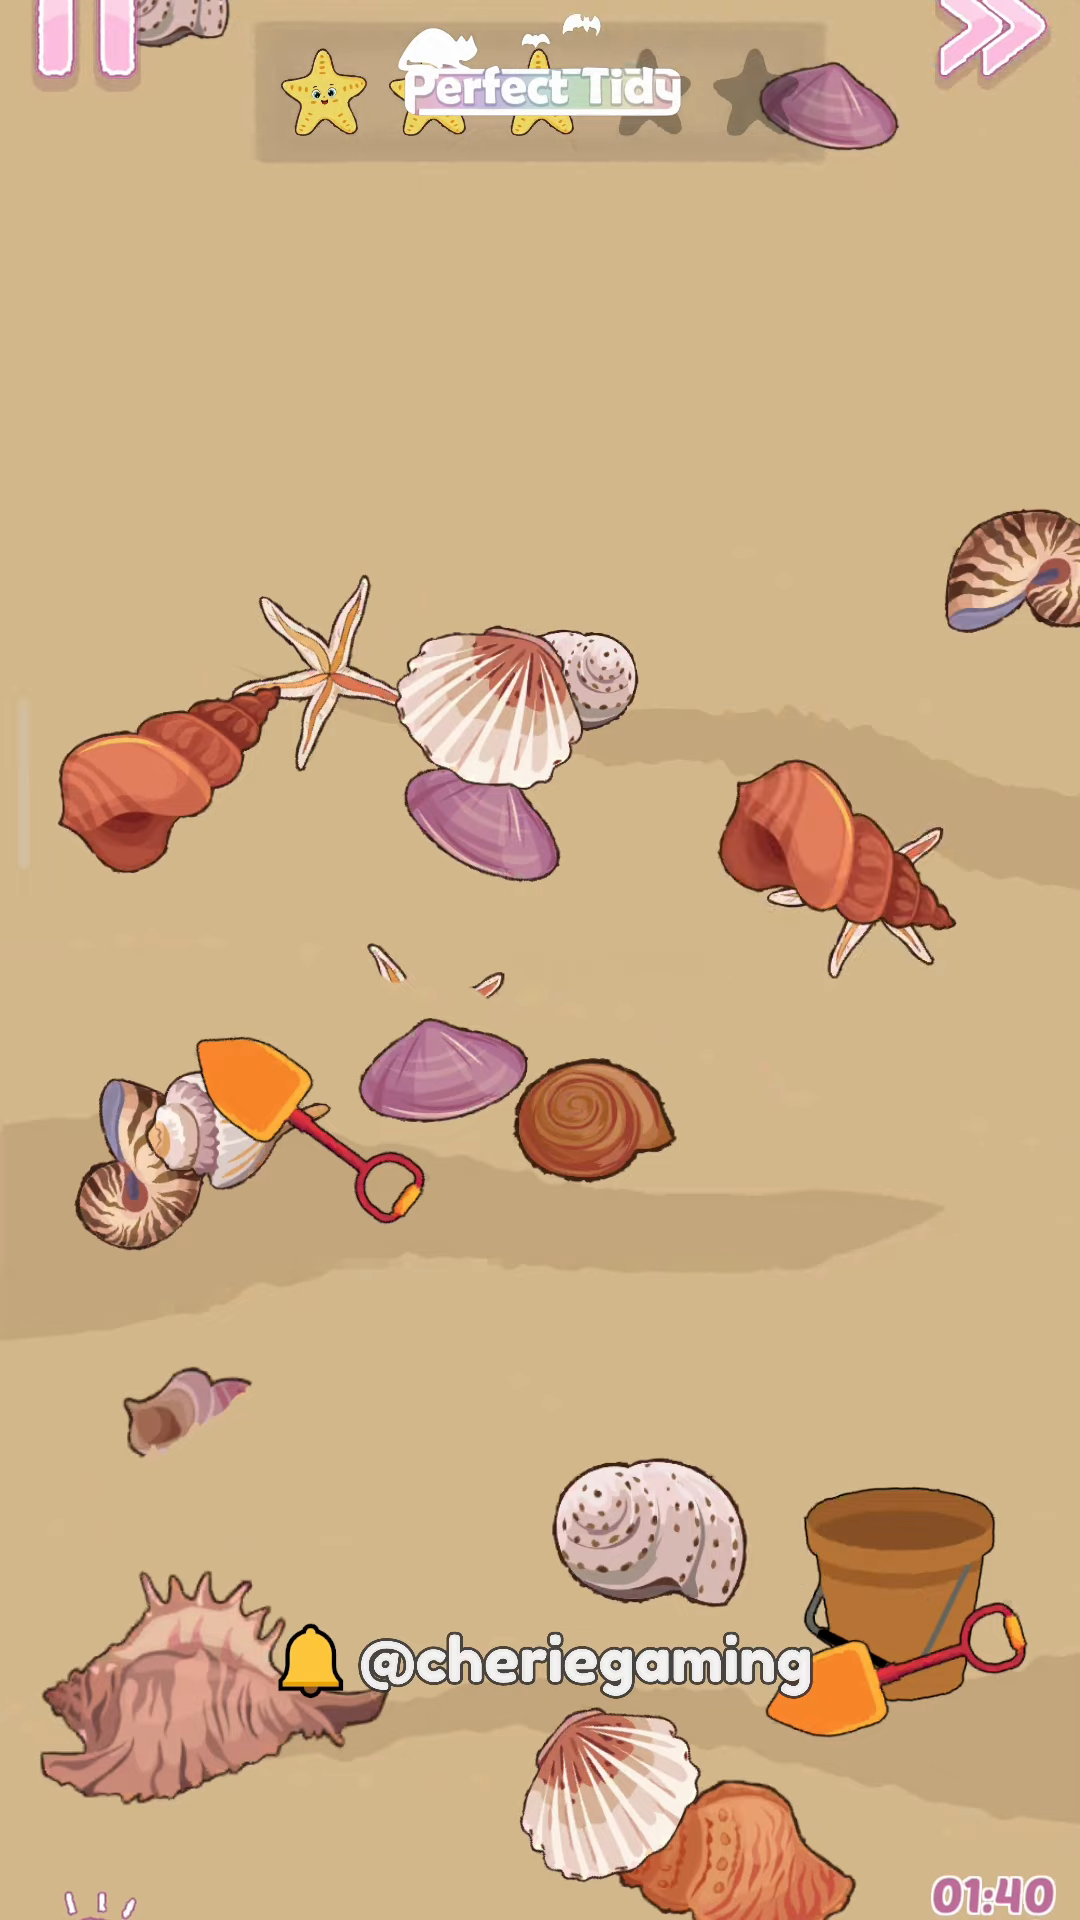
Step 2. Prioritize grouped clusters
Target the largest clusters first to increase star meter gains and open space for later moves. This image captures the early clear sequence from the Perfect Tidy Level 127 Complete Walkthrough, highlighting which shell groupings to tap together for maximum efficiency.
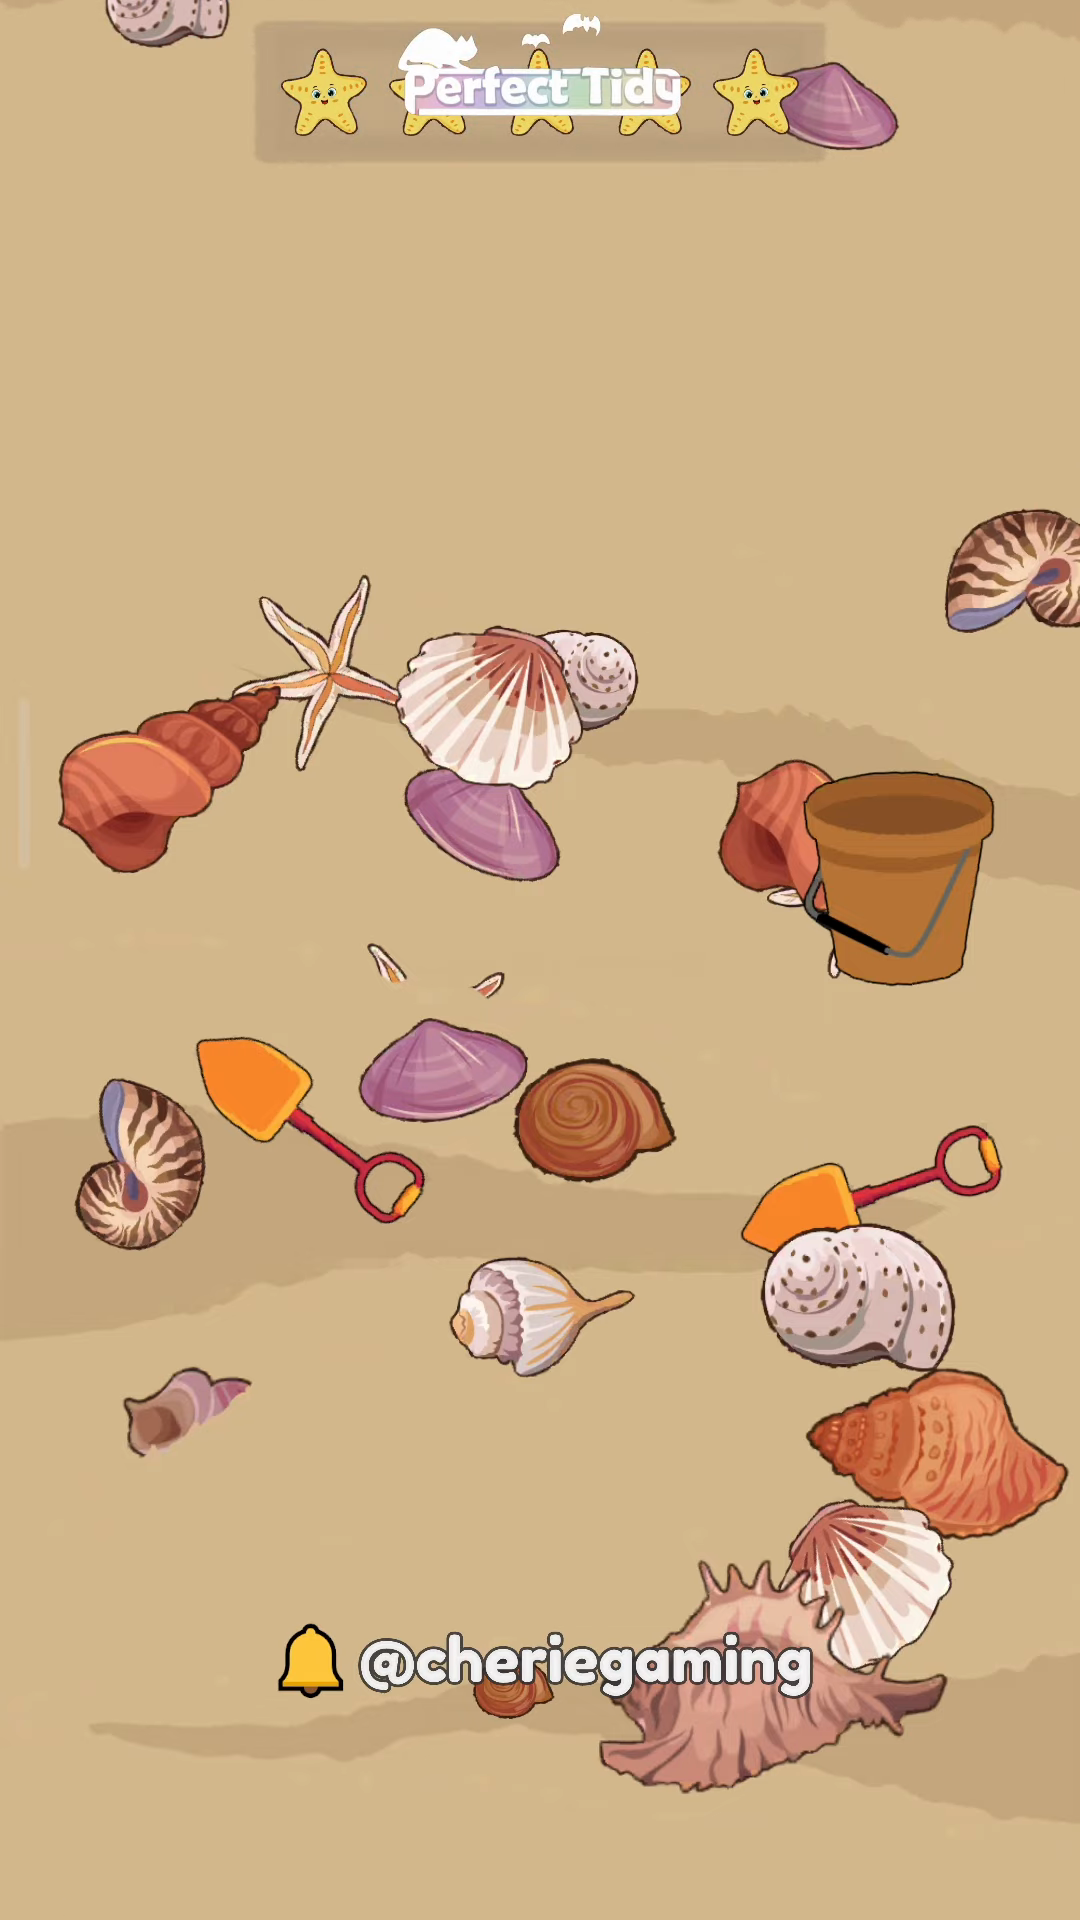
Step 3. Use tools on overlapping items
When shells overlap, use shovels or buckets to remove multiple items in one action to save moves. The screenshot demonstrates the tool use shown in the Perfect Tidy Level 127 Complete Walkthrough, where a shovel clears stacked shells to preserve move economy.
Step 4. Finish to full stars
Clean remaining isolated shells and confirm the star meter fills for a perfect finish. The closing frame shows the endgame state from the Perfect Tidy Level 127 Complete Walkthrough, so mimic these last taps to replicate the same full-star result.
Extra tip
- Perfect Tidy Level 127 Complete Walkthrough Prioritize grouped clusters to maximize star meter gains per move.
- Use shovels/buckets to clear overlapping items faster than single taps.
- Work from edges inward to avoid blocking access to central clusters.