Level 120: Perfect Tidy Level 110 Complete Walkthrough
**Perfect Tidy Level 110 Complete Walkthrough** shows a fast, reliable route to clear Level 110 by removing loose keycaps, spraying and foaming the board, scrubbing stubborn grime, then reattaching and polishing for a spotless finish. This **Perfect Tidy Level 110 Complete Walkthrough** focuses on efficient tool order and timing so players can replicate the three-star result quickly. Follow each step to minimize mistakes and hit the Bravo screen with time to spare in **Perfect Tidy Level 110 Complete Walkthrough**.
Level overview
Perfect Tidy Level 110 Complete Walkthrough shows a fast, reliable route to clear Level 110 by removing loose keycaps, spraying and foaming the board, scrubbing stubborn grime, then reattaching and polishing for a spotless finish. This Perfect Tidy Level 110 Complete Walkthrough focuses on efficient tool order and timing so players can replicate the three-star result quickly. Follow each step to minimize mistakes and hit the Bravo screen with time to spare in Perfect Tidy Level 110 Complete Walkthrough.
Step 1. Remove loose items and large debris
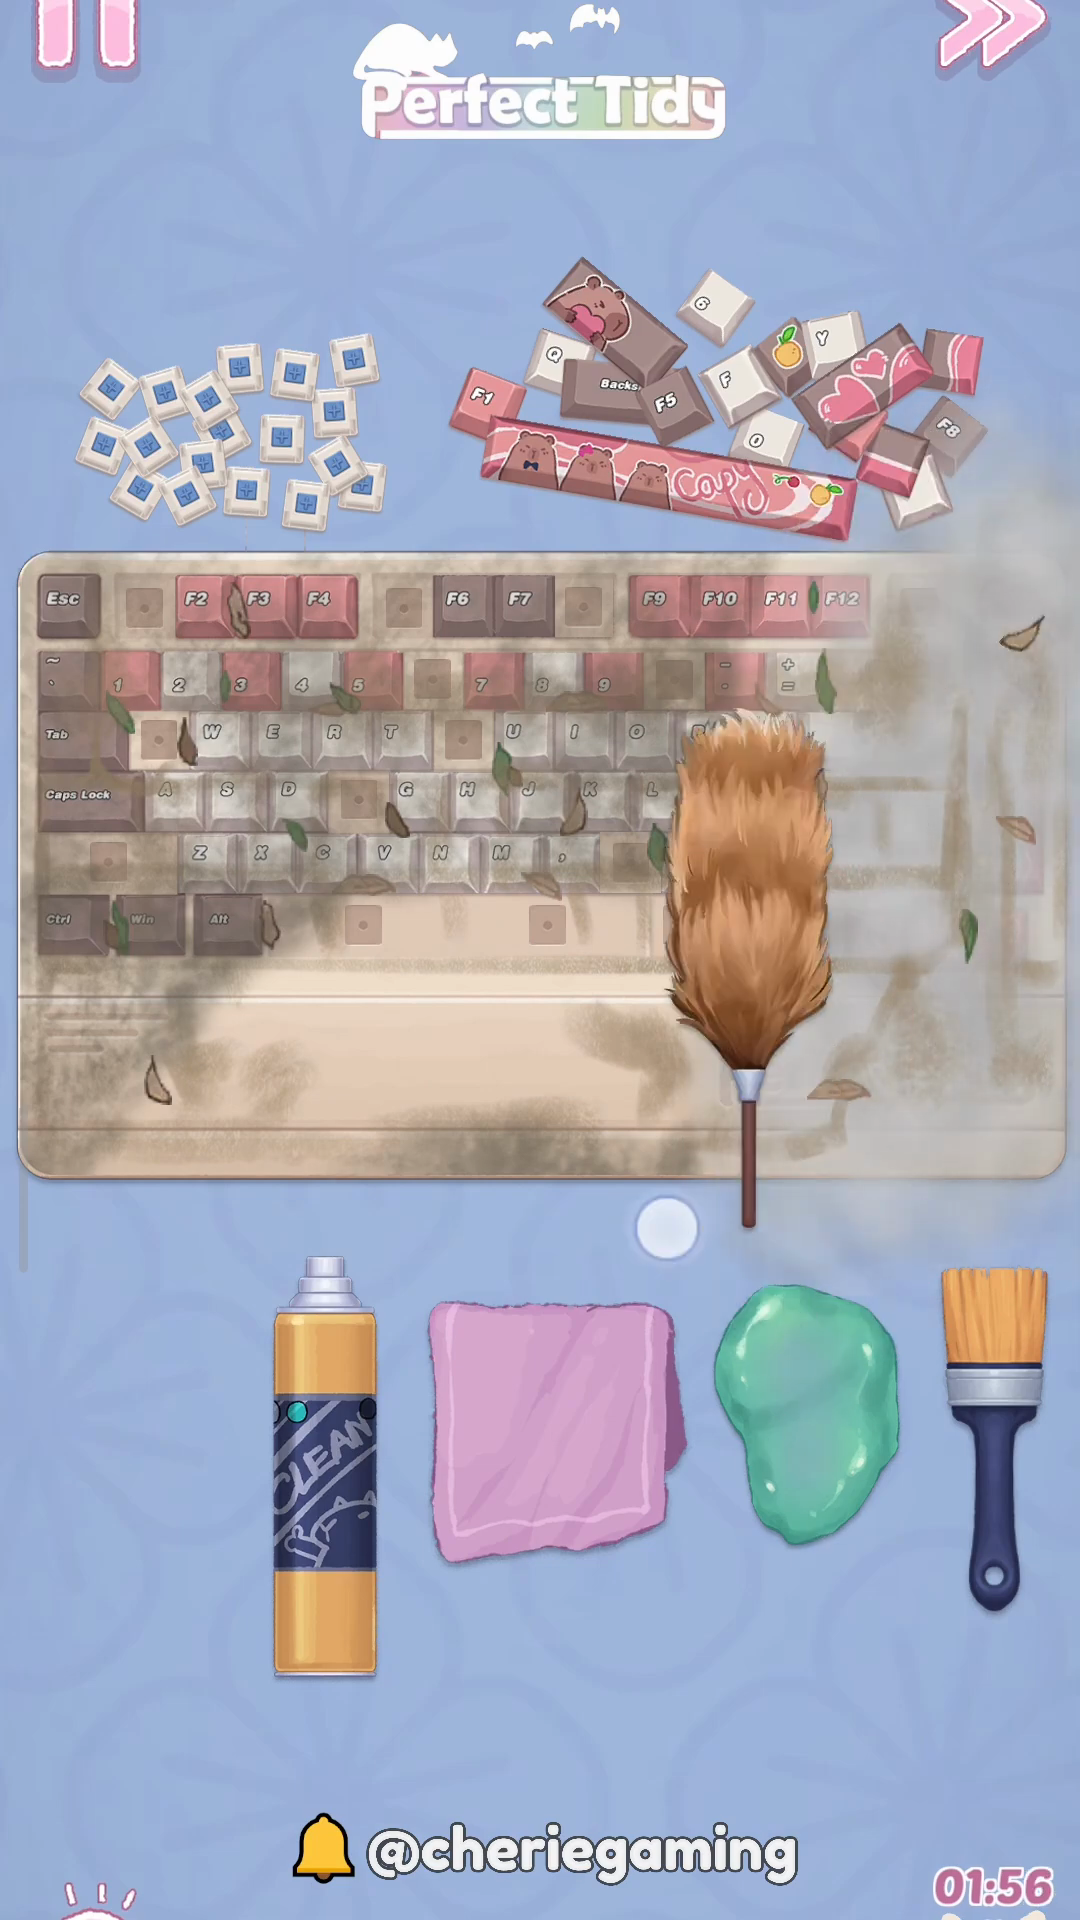
Perfect Tidy Level 110 Complete Walkthrough: start by removing loose keycaps and picking up large debris so the surface is clear before deeper cleaning. In Perfect Tidy Level 110 Complete Walkthrough, group removed keycaps at the top to speed reattachment later and use the duster to sweep visible dust away. Keep this step quick and methodical to avoid blocking access to stubborn grime beneath the caps.
Step 2. Spray and foam-clean the board
Perfect Tidy Level 110 Complete Walkthrough: apply spray or foam lightly across the dirty areas and let it sit briefly to loosen grime before wiping. For Perfect Tidy Level 110 Complete Walkthrough, use short bursts of spray to avoid streaks and follow with the cloth tool for even coverage. Timing the dwell helps lift stains so the next scrubbing step is faster and more effective.
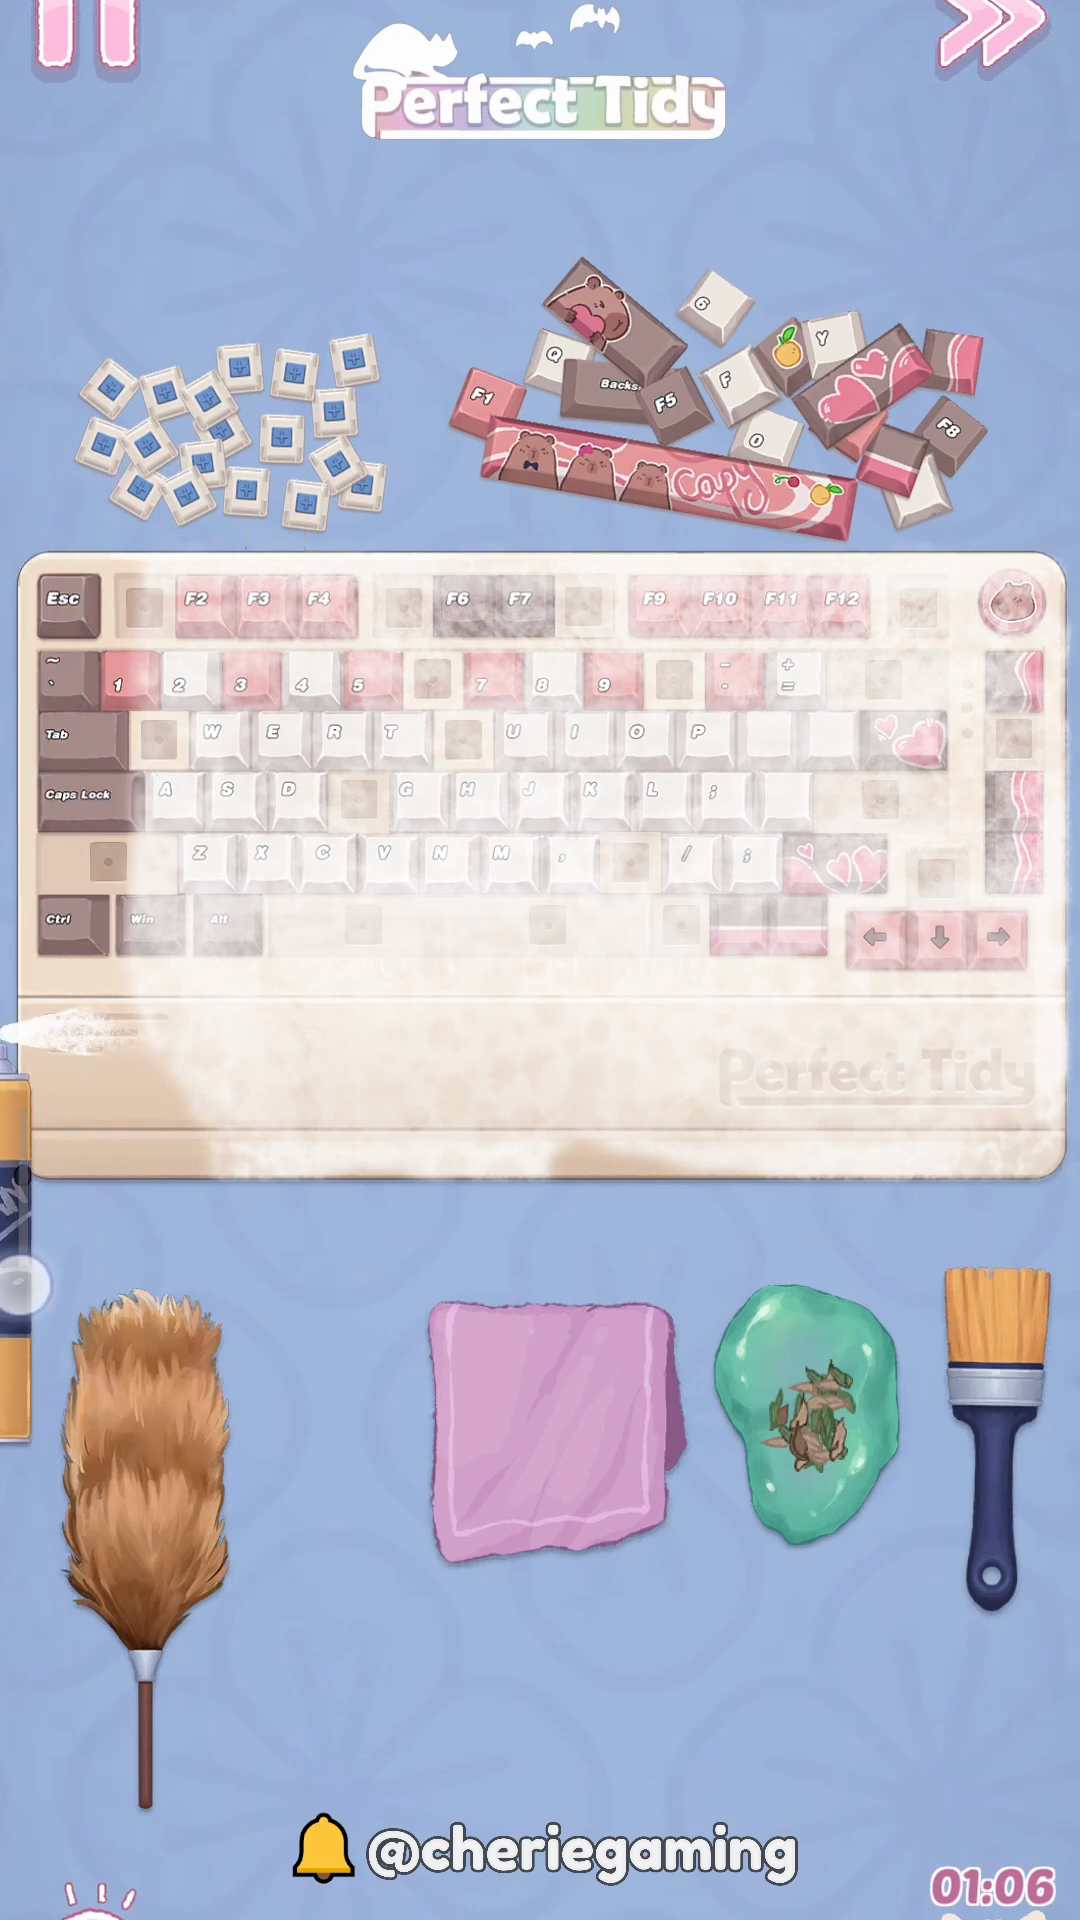
Step 3. Wipe and scrub stubborn grime
Perfect Tidy Level 110 Complete Walkthrough: focus on scrubbing stained areas with the cloth and brush, working in small circles until grime lifts. During Perfect Tidy Level 110 Complete Walkthrough, target corners and between keys where dirt accumulates, then wipe away residue to reveal cleaner switch housings. Keep re-checking previously cleaned areas to ensure no spots are missed before reassembly.
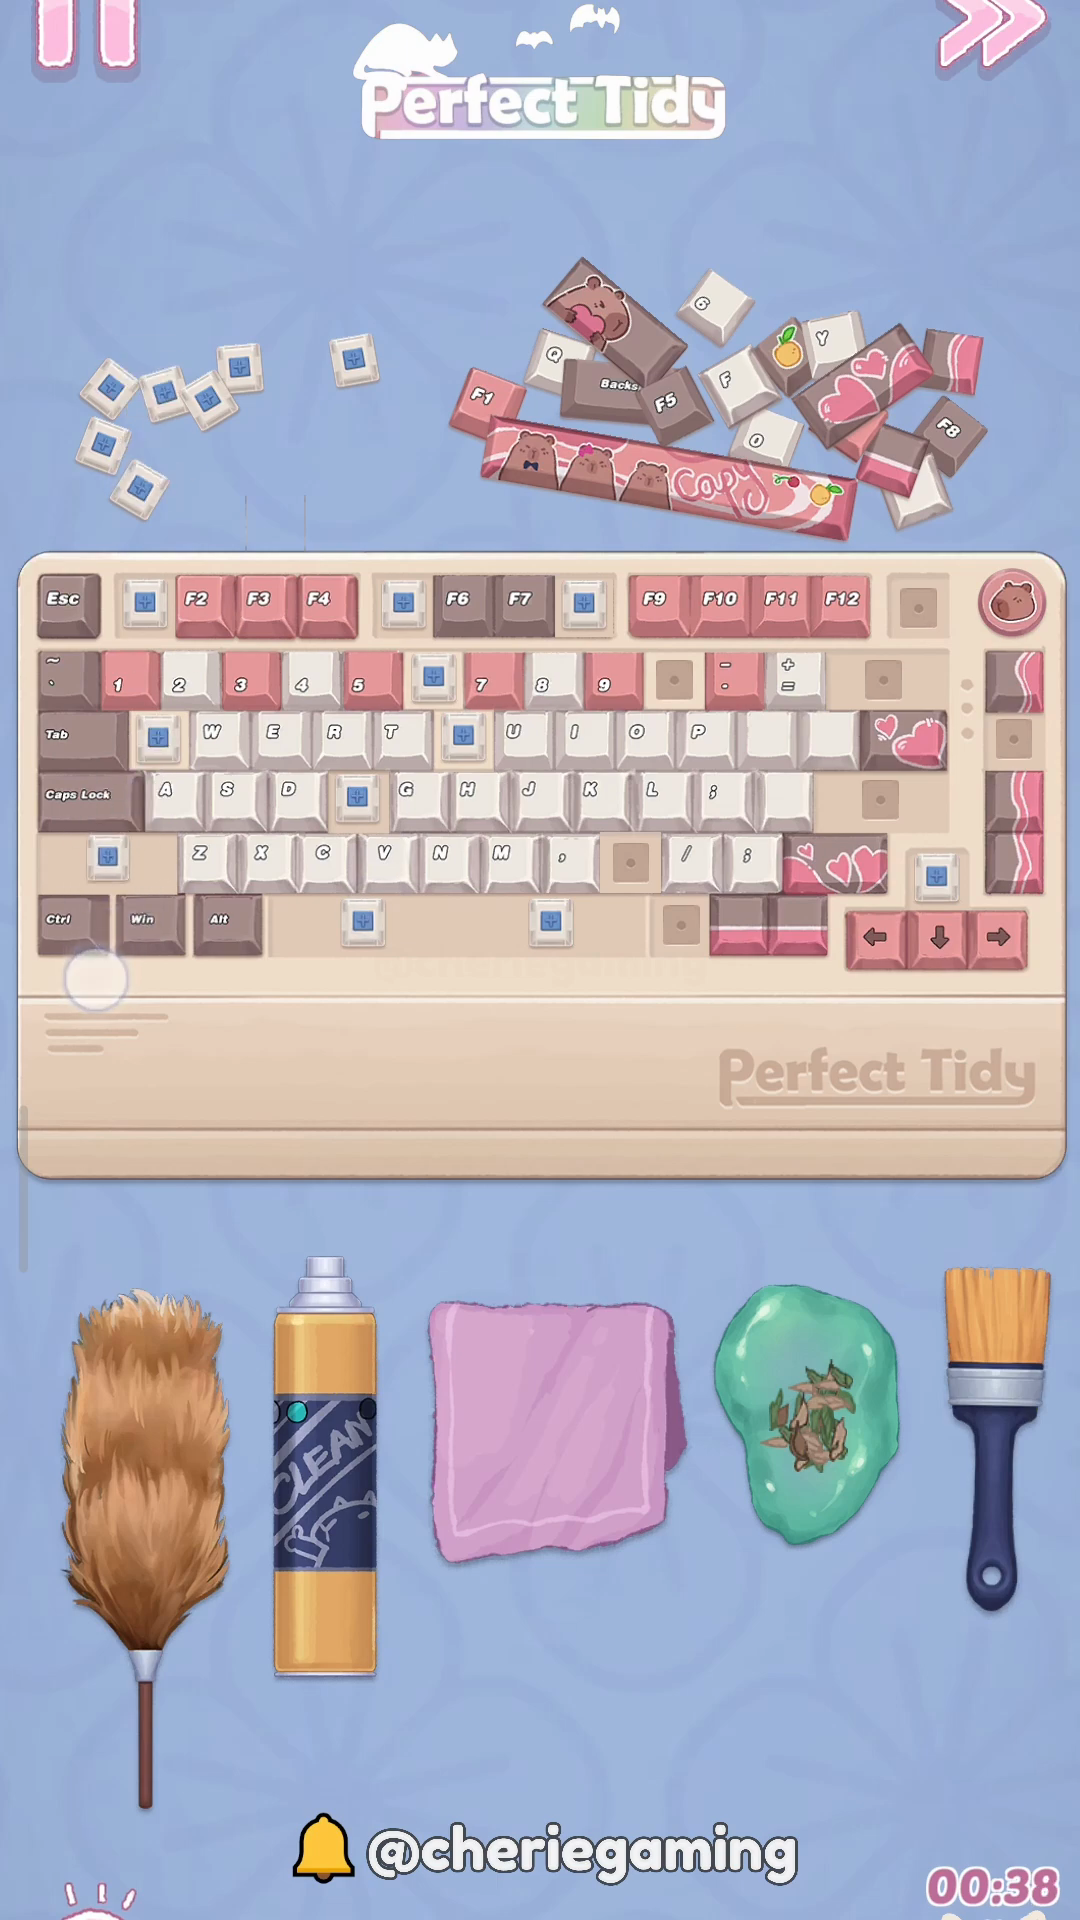
Step 4. Reattach keycaps and polish to finish

Perfect Tidy Level 110 Complete Walkthrough: reattach grouped keycaps in logical order, leaving stabilizers for last, then polish the surface for a final shine. In Perfect Tidy Level 110 Complete Walkthrough, double-check alignment and give a final dusting so the Bravo screen appears with a perfect board. This final polish ensures you keep the three-star result and tidy appearance.
Extra tip
- Perfect Tidy Level 110 Complete Walkthrough Start by grouping removed keycaps so reattachment is faster.
- Spray lightly and wait a moment before wiping to avoid streaks.
- Use the duster for corners and the cloth for broad surfaces.
- Reattach larger stabilizer keys last to keep alignment easy.