Level 113: Perfect Tidy Level 105 Complete Walkthrough
This concise guide shows the fastest solution for **Perfect Tidy Level 105 Complete Walkthrough**, outlining the optimal order: survey pieces, build the outer frame, fill edges, then finish the center to reveal the final image.
Level overview
This concise guide shows the fastest solution for Perfect Tidy Level 105 Complete Walkthrough, outlining the optimal order: survey pieces, build the outer frame, fill edges, then finish the center to reveal the final image.
Step 1. Survey and sort pieces
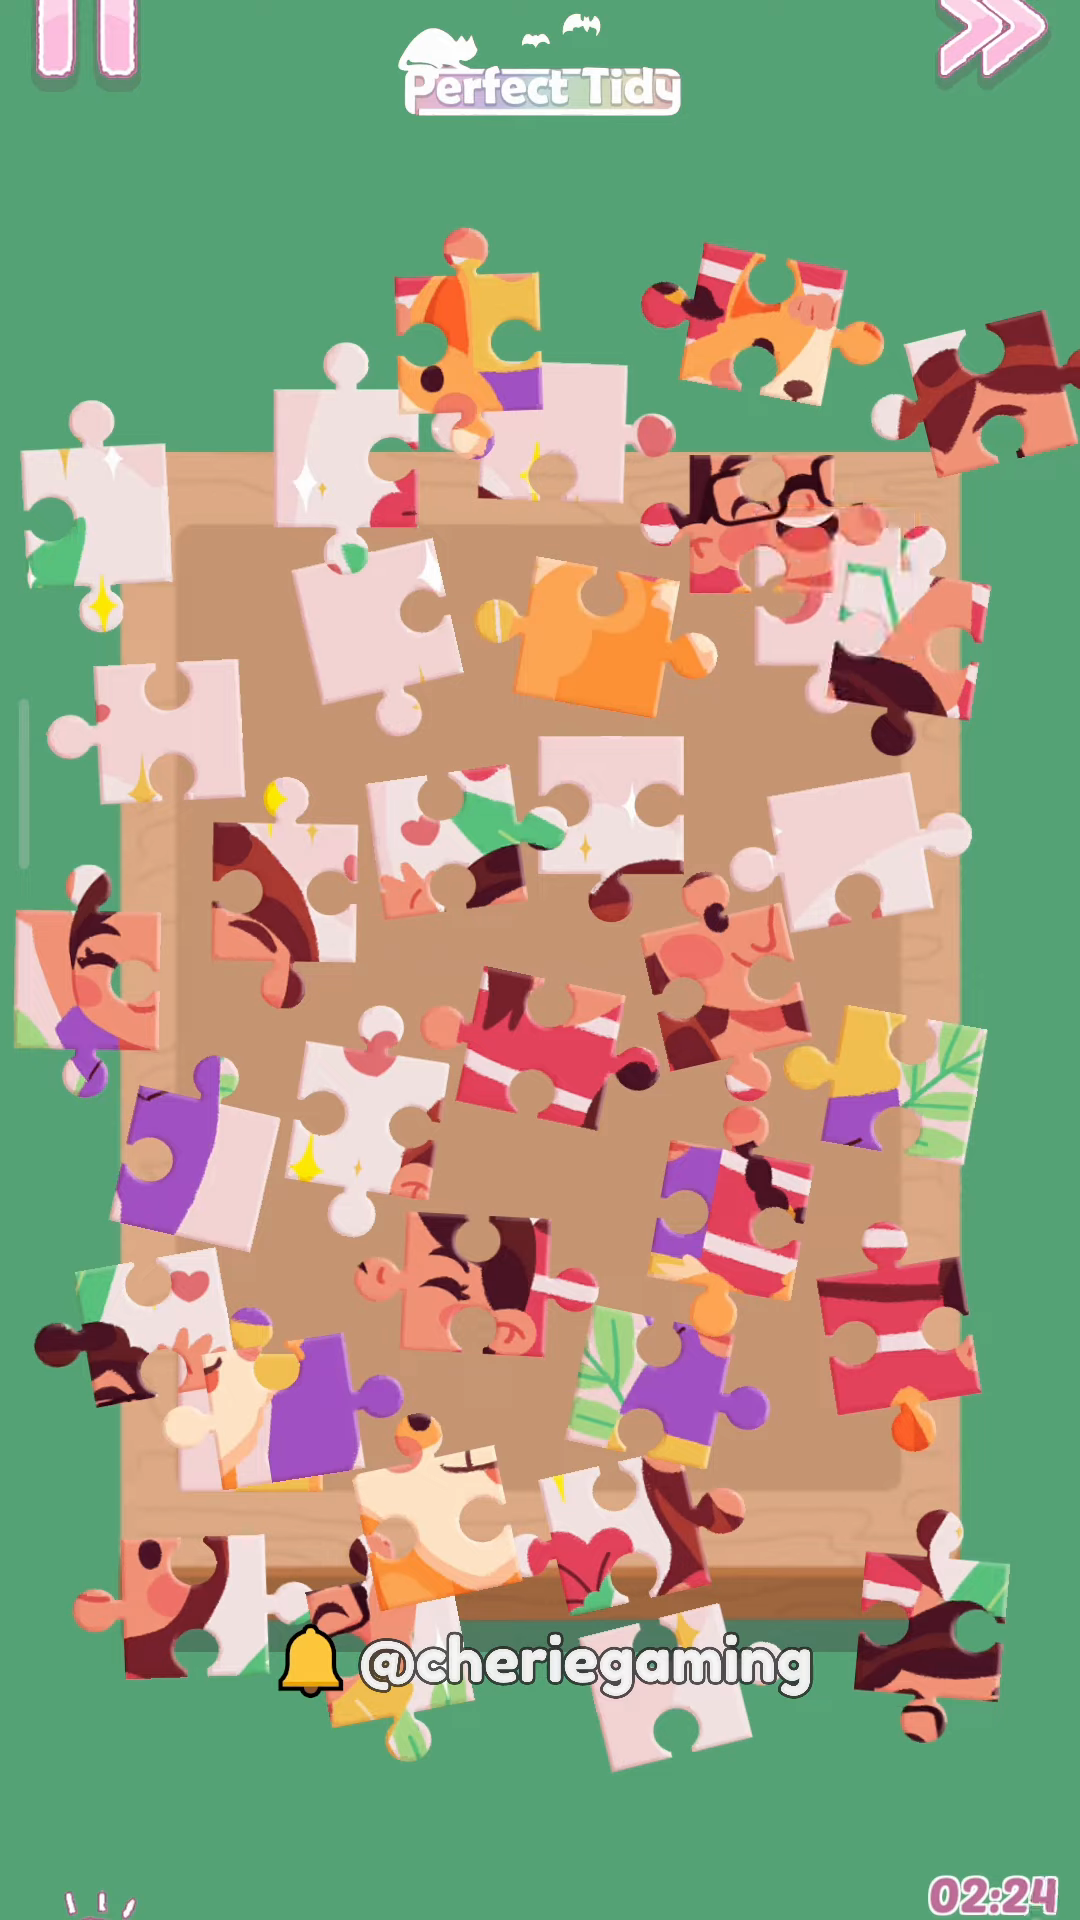
Start by surveying all pieces to find corners and distinct colors — this first pass speeds every move in Perfect Tidy Level 105 Complete Walkthrough. Quickly group corner pieces and strong color patterns so you can lock the frame later.
Step 2. Build the outer frame

Place the corner pieces and connect edge pieces to form the border first to anchor the puzzle in Perfect Tidy Level 105 Complete Walkthrough. Focus on matching wood trim and plain background tiles to quickly close the frame.
Step 3. Fill the edges and key anchors

After the border, fill obvious edge clusters and anchor pieces with facial features or stripes to speed assembly in Perfect Tidy Level 105 Complete Walkthrough. Use color blocks and repeated patterns to reduce searching time for interior pieces.
Step 4. Assemble the center anchors
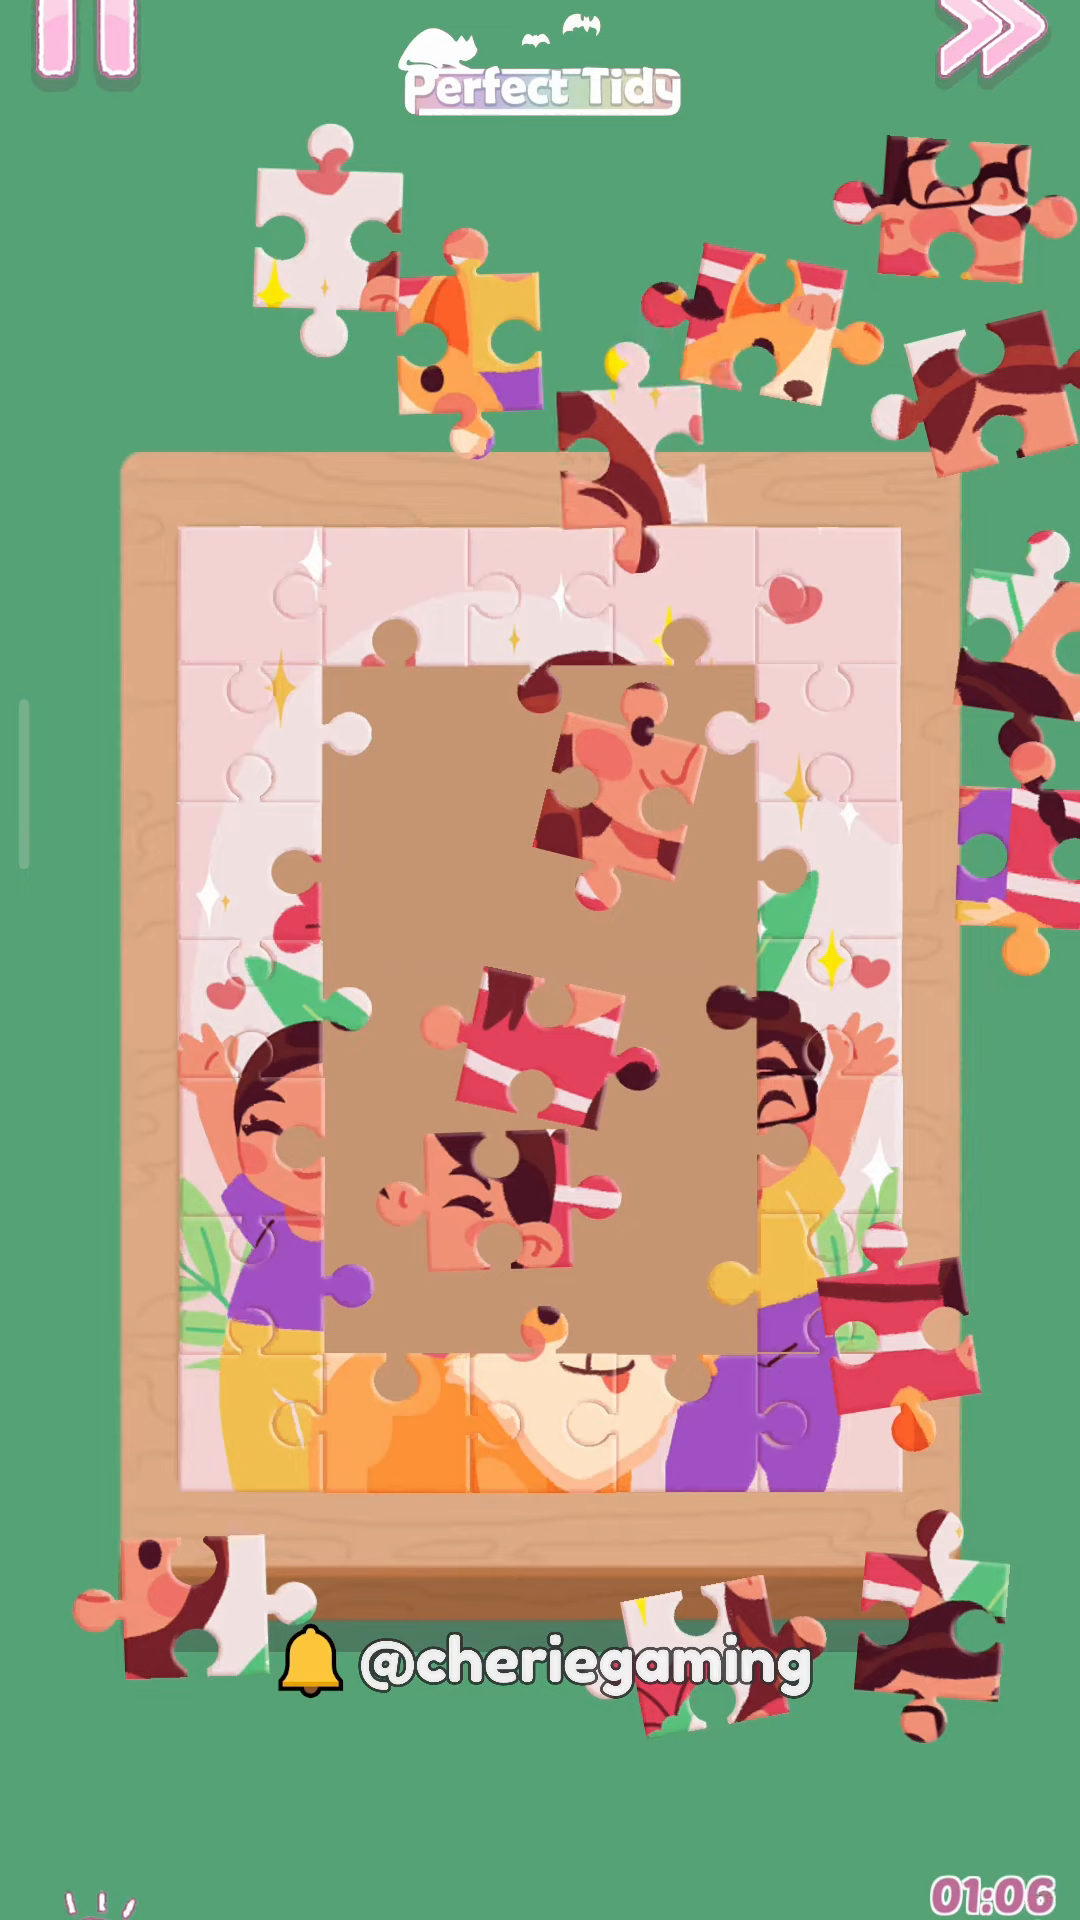
Work inward from the edges and place facial and clothing anchors to close large gaps in Perfect Tidy Level 105 Complete Walkthrough. Prioritize pieces with unique features (eyes, glasses, stripes) to align adjacent pieces quickly.
Step 5. Final pieces and reveal
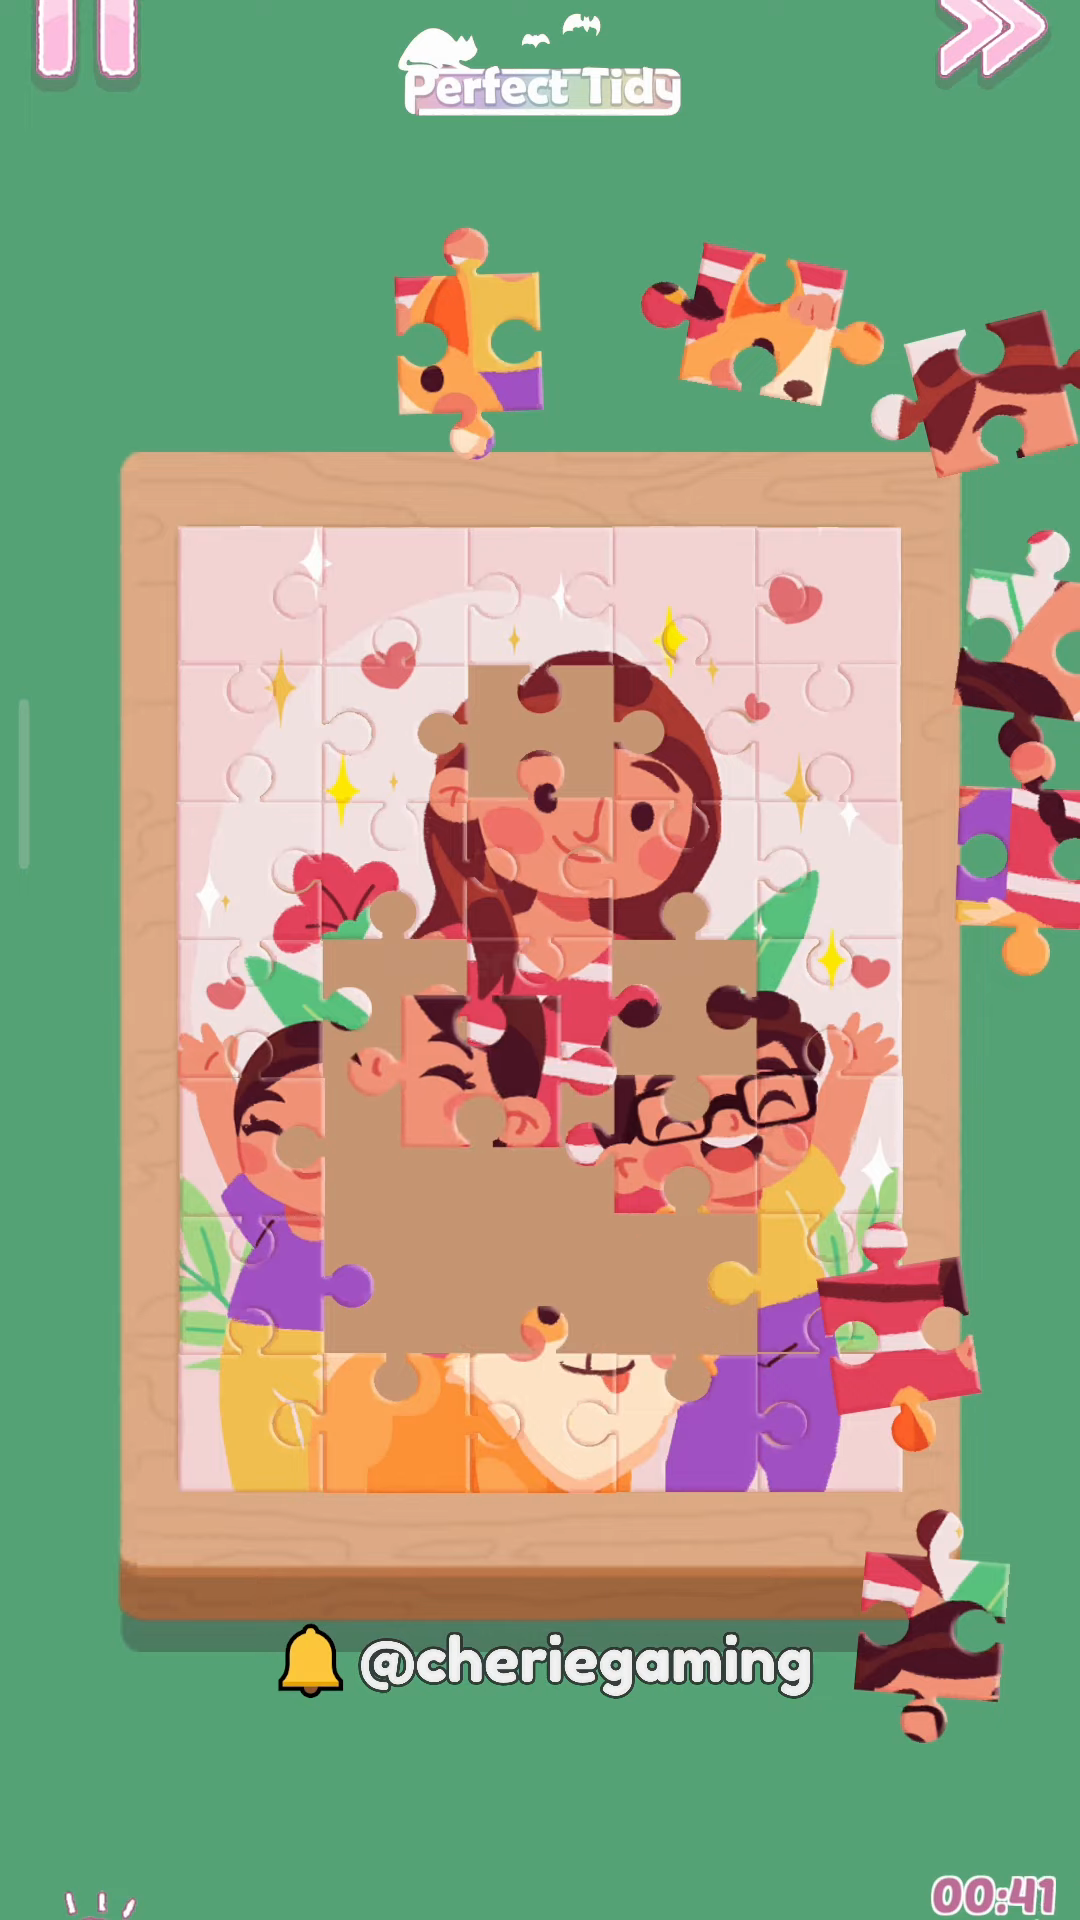
Place the remaining interior pieces to complete the image and reveal the final picture in Perfect Tidy Level 105 Complete Walkthrough. Double-check edges for rotated pieces and finish any last anchors for a clean reveal.
Extra tip
- Perfect Tidy Level 105 Complete Walkthrough Start by locking corner pieces first to simplify edge placement
- Group similar color/pattern pieces near the board edge before matching
- Work from the frame inward to reduce piece movement
- Use visible facial features and clothing stripes as anchors for center assembly