Level 108: Perfect Tidy Level 101 Complete Walkthrough
This short guide walks through **Perfect Tidy Level 101 Complete Walkthrough**, showing the exact order to lock edges and fill shapes so you can finish the level quickly and cleanly.
Level overview
This short guide walks through Perfect Tidy Level 101 Complete Walkthrough, showing the exact order to lock edges and fill shapes so you can finish the level quickly and cleanly.
Step 1. Identify the base structure

Start by examining the base connections shown in Perfect Tidy Level 101 Complete Walkthrough and lock the long straight edges first. Identifying the primary nodes early prevents unnecessary re-crossing when you begin untangling.
Step 2. Untangle the central star
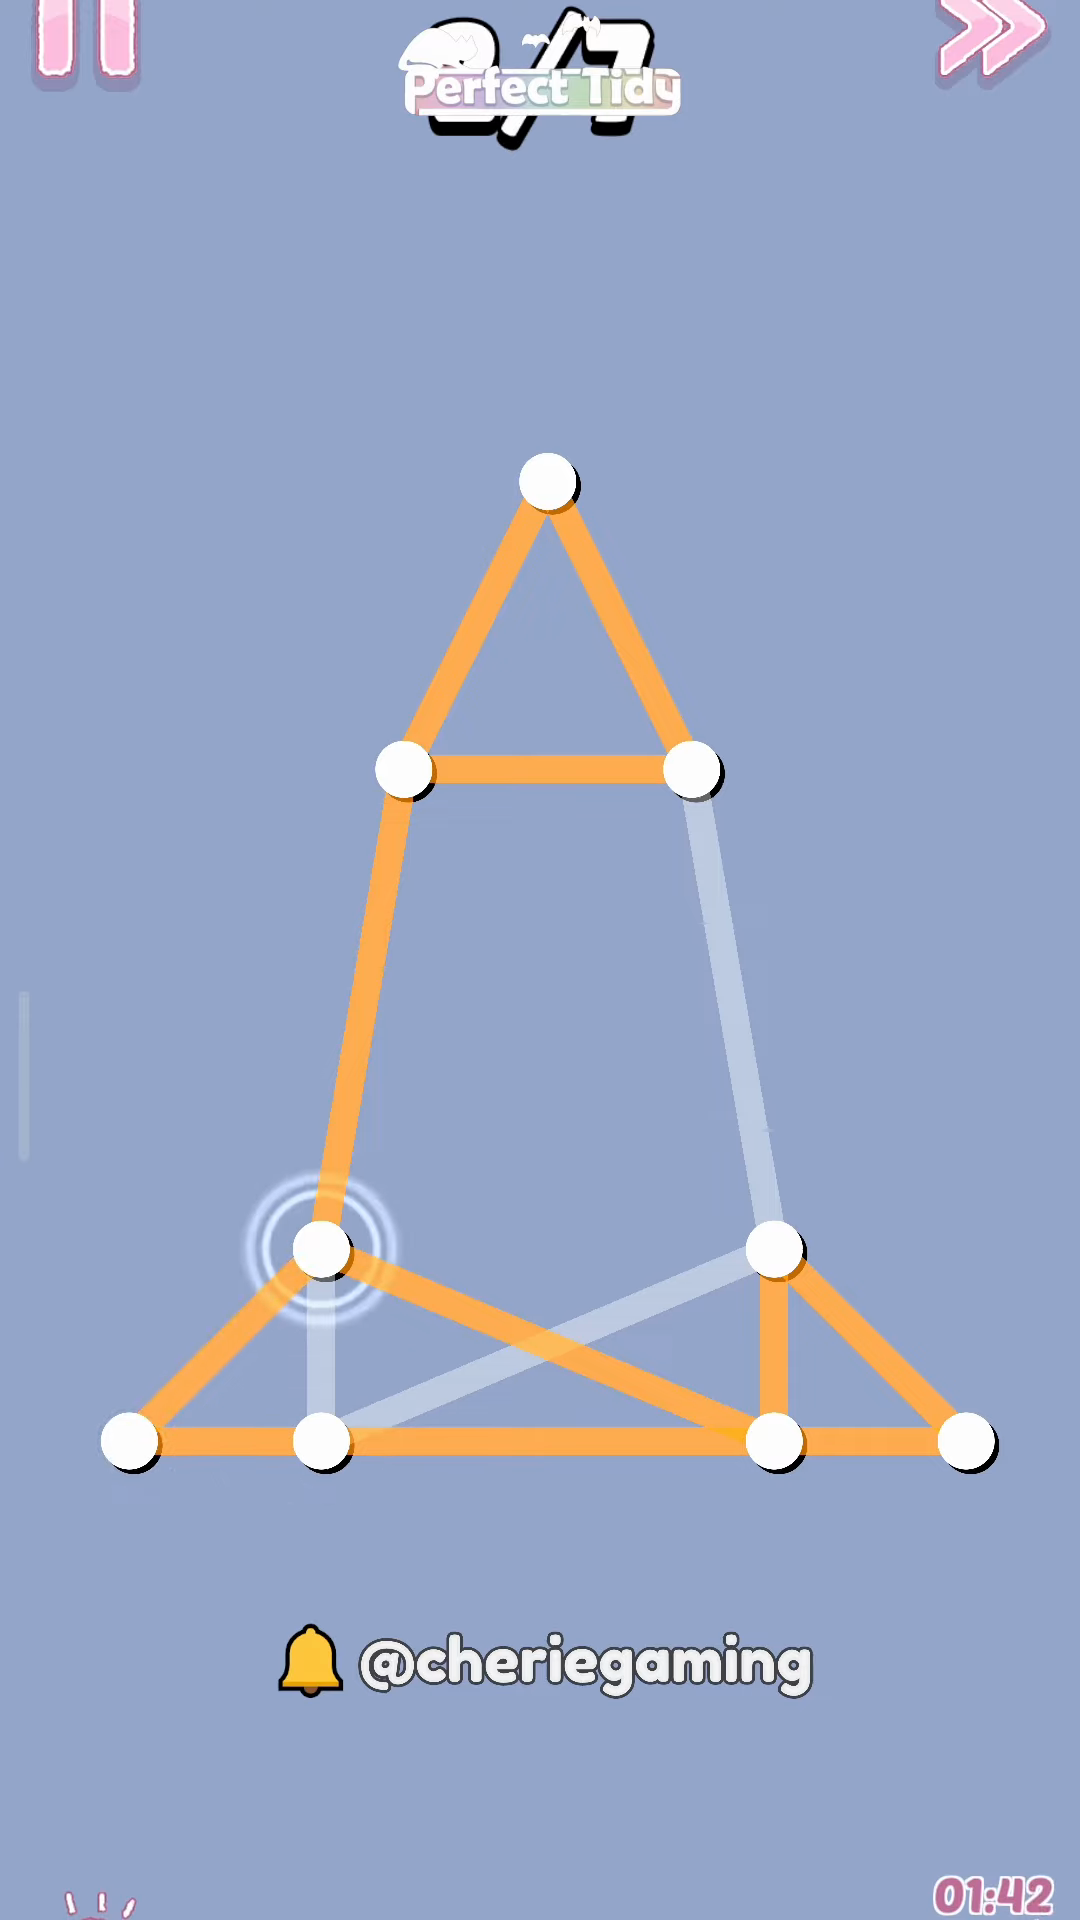
Work from inner nodes outward as you resolve crossings in Perfect Tidy Level 101 Complete Walkthrough, starting at the central intersections. Clearing the center first makes the outer connections straightforward and preserves previously fixed segments.
Step 3. Lock verticals and diagonals
After untangling the core, lock the vertical and diagonal lines visible in Perfect Tidy Level 101 Complete Walkthrough to stabilize the shape. Securing these key segments reduces later adjustments and speeds up completion.
Step 4. Fill key connecting segments

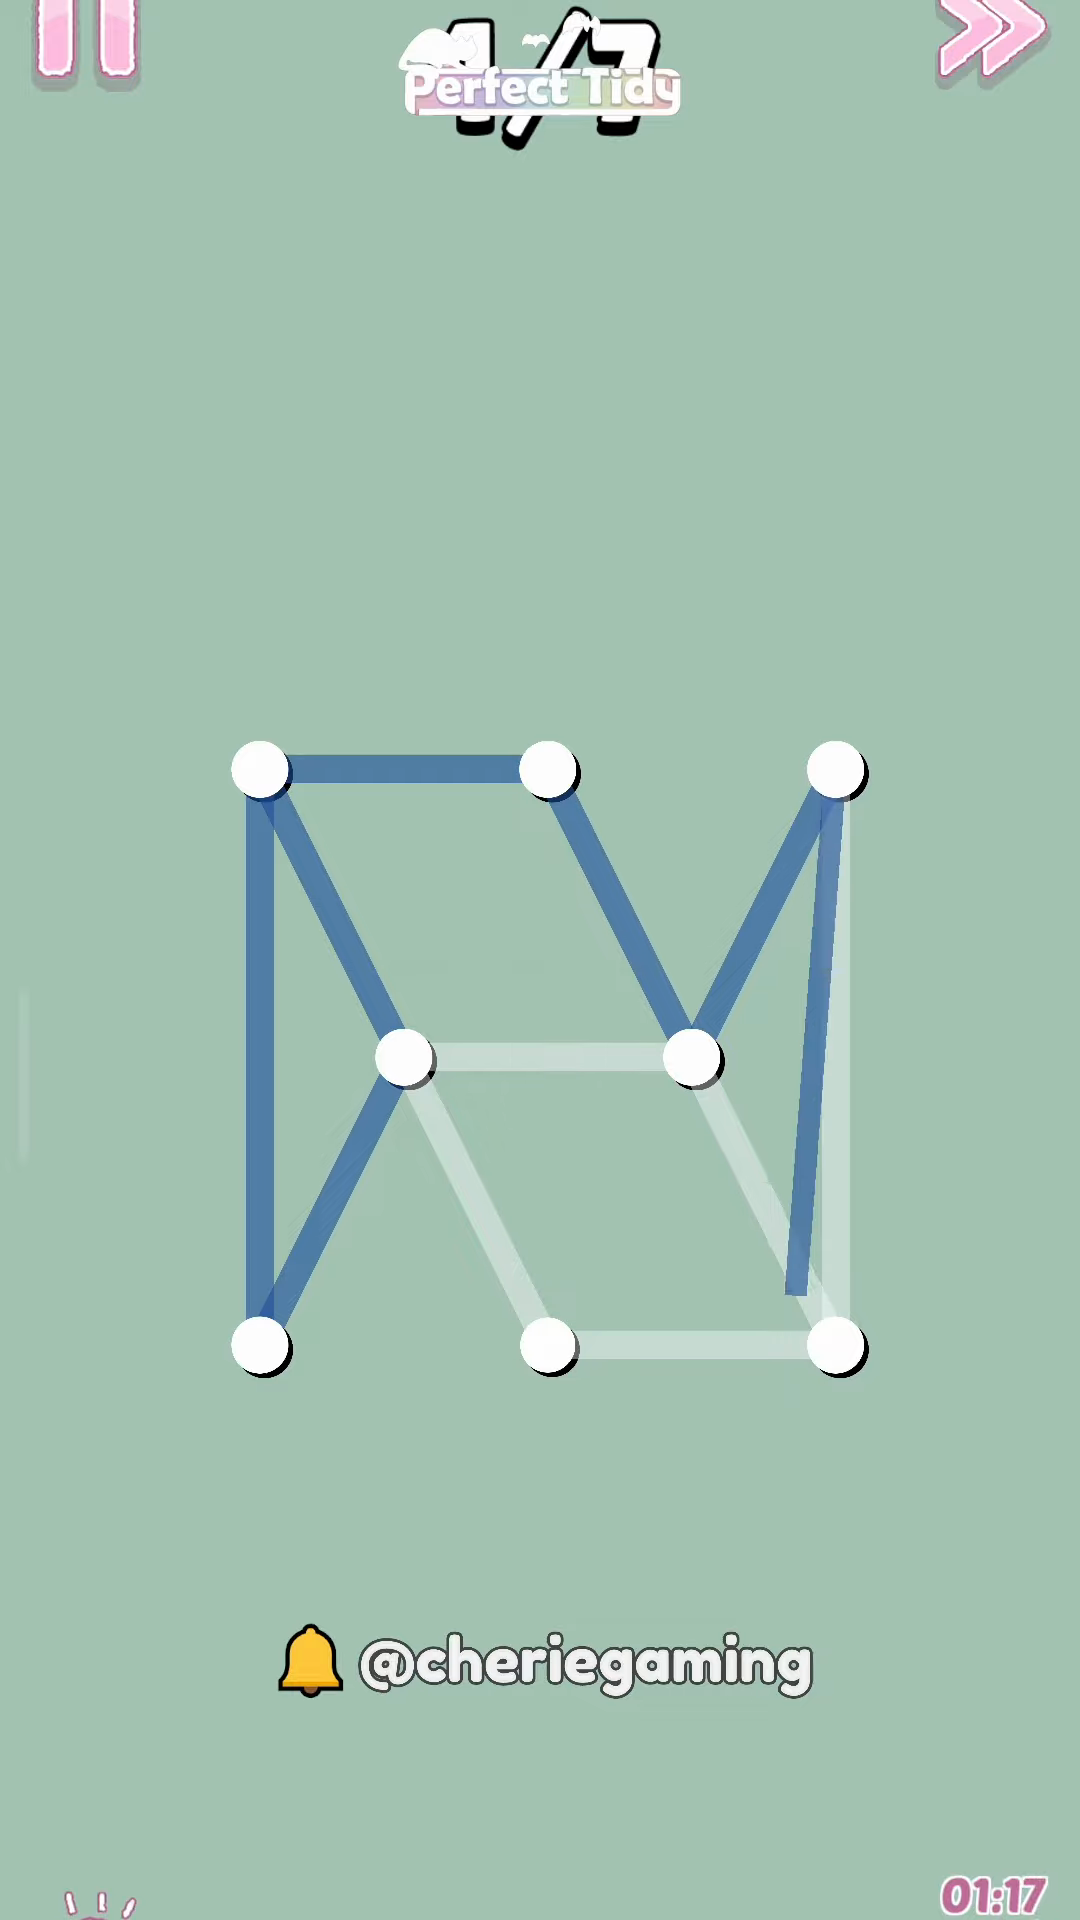
Focus on the brightest color transitions in Perfect Tidy Level 101 Complete Walkthrough as confirmation each connection is correct, then fill the remaining connecting segments. Prioritize segments that bridge multiple nodes to minimize rework.
Step 5. Complete the lower triangle
Finish the lower triangle and inner shapes shown in Perfect Tidy Level 101 Complete Walkthrough, filling from the anchored nodes toward the free nodes. Use locked edges as guides so the last segments snap into place cleanly.
Step 6. Finish and verify completion

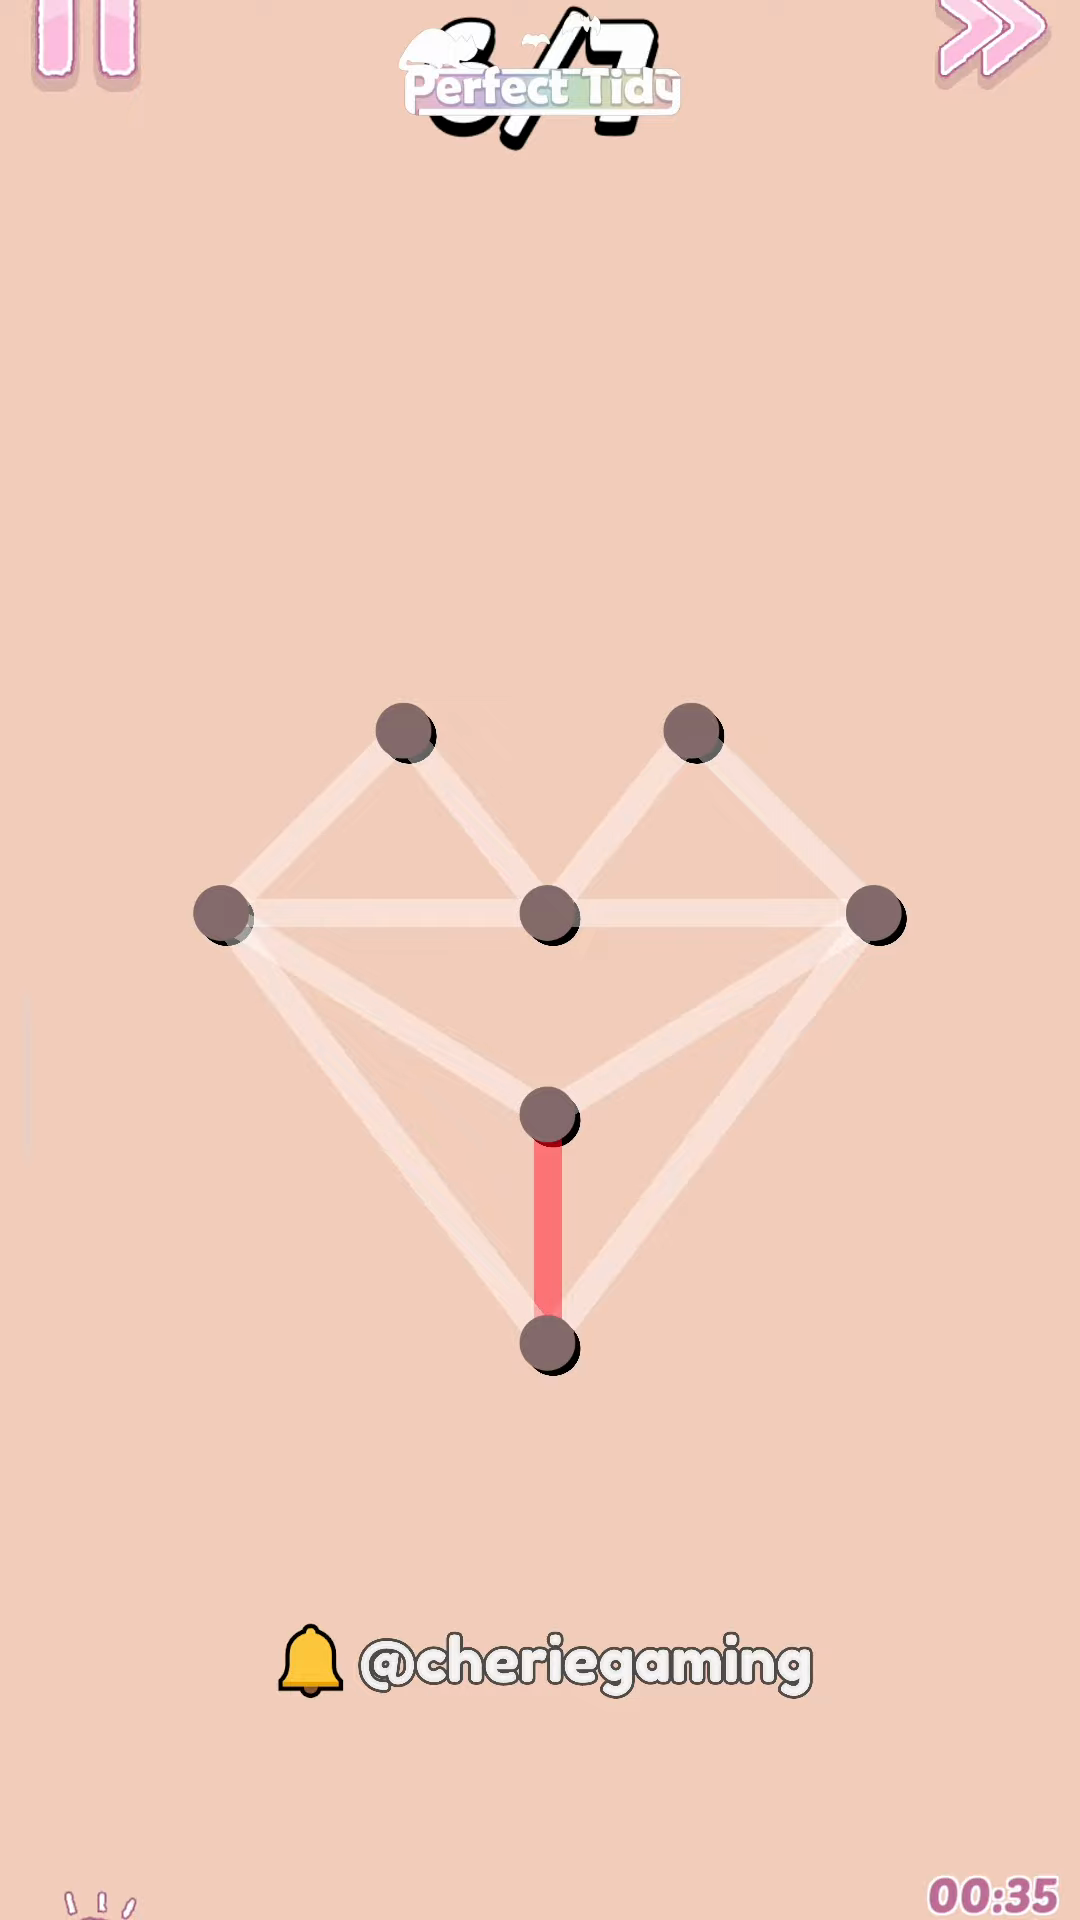
Confirm every segment is lit and the full shape is green in Perfect Tidy Level 101 Complete Walkthrough, then verify there are no remaining crossings. A final sweep from center to edges ensures a perfect tidy finish.
Extra tip
- Perfect Tidy Level 101 Complete Walkthrough Work from inner nodes outward to prevent re-crossing lines.
- Lock long straight edges first to reduce later adjustments.
- Use the brightest color transitions as confirmation a segment is correct.