Level 106: Perfect Tidy Level 100 Complete Walkthrough (Old Version)
**Perfect Tidy Level 100 Complete Walkthrough (Old Version)** - A short, focused guide showing the fastest way to assess the stack and complete Level 100 in the old version. This walkthrough highlights initial block arrangement, safe top-piece moves, and the final alignment needed to finish quickly.
Level overview
Perfect Tidy Level 100 Complete Walkthrough (Old Version) - A short, focused guide showing the fastest way to assess the stack and complete Level 100 in the old version. This walkthrough highlights initial block arrangement, safe top-piece moves, and the final alignment needed to finish quickly.
Step 1. Open Level and Inspect Stack
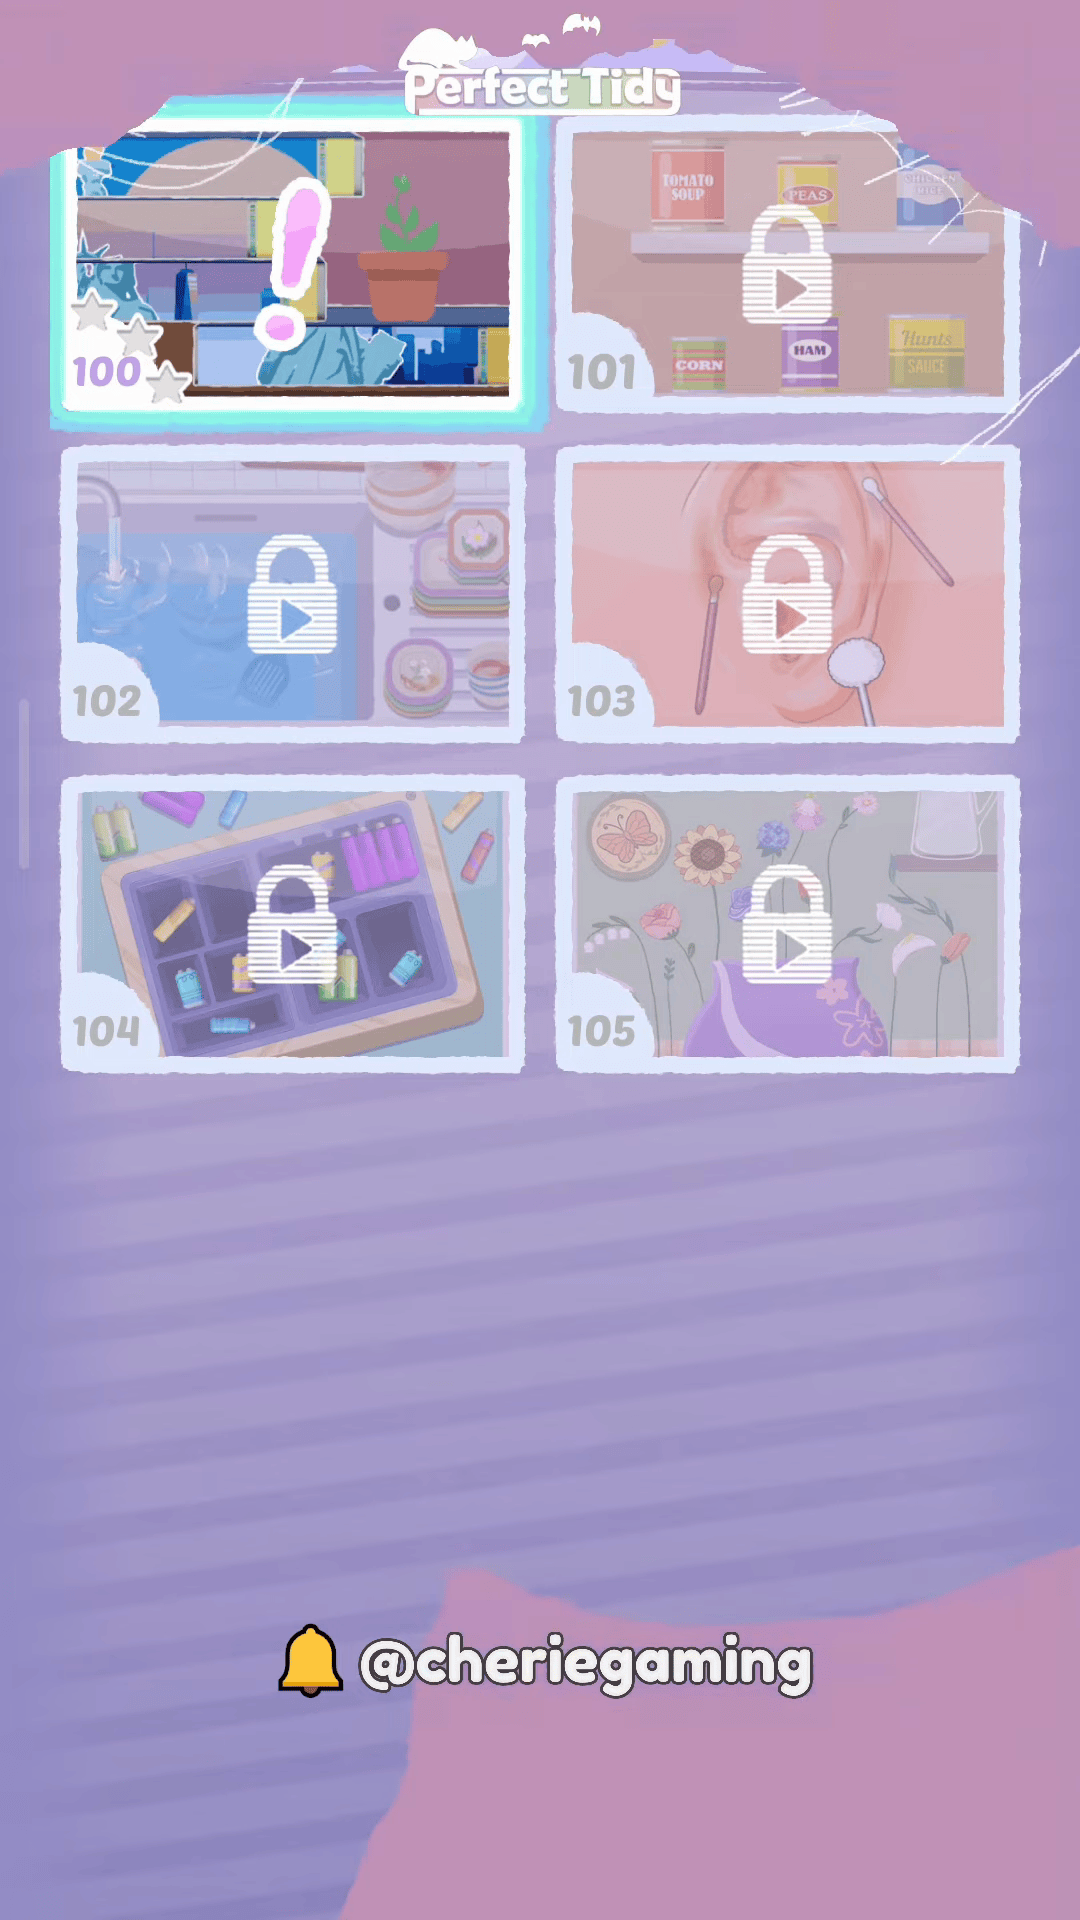
Start by loading Perfect Tidy Level 100 Complete Walkthrough (Old Version) and visually inspect the initial block arrangement from the selection screen. Note any large overhangs and which rows contain matching artwork so you can prioritize safe removals.
Step 2. Stabilize Top Pieces
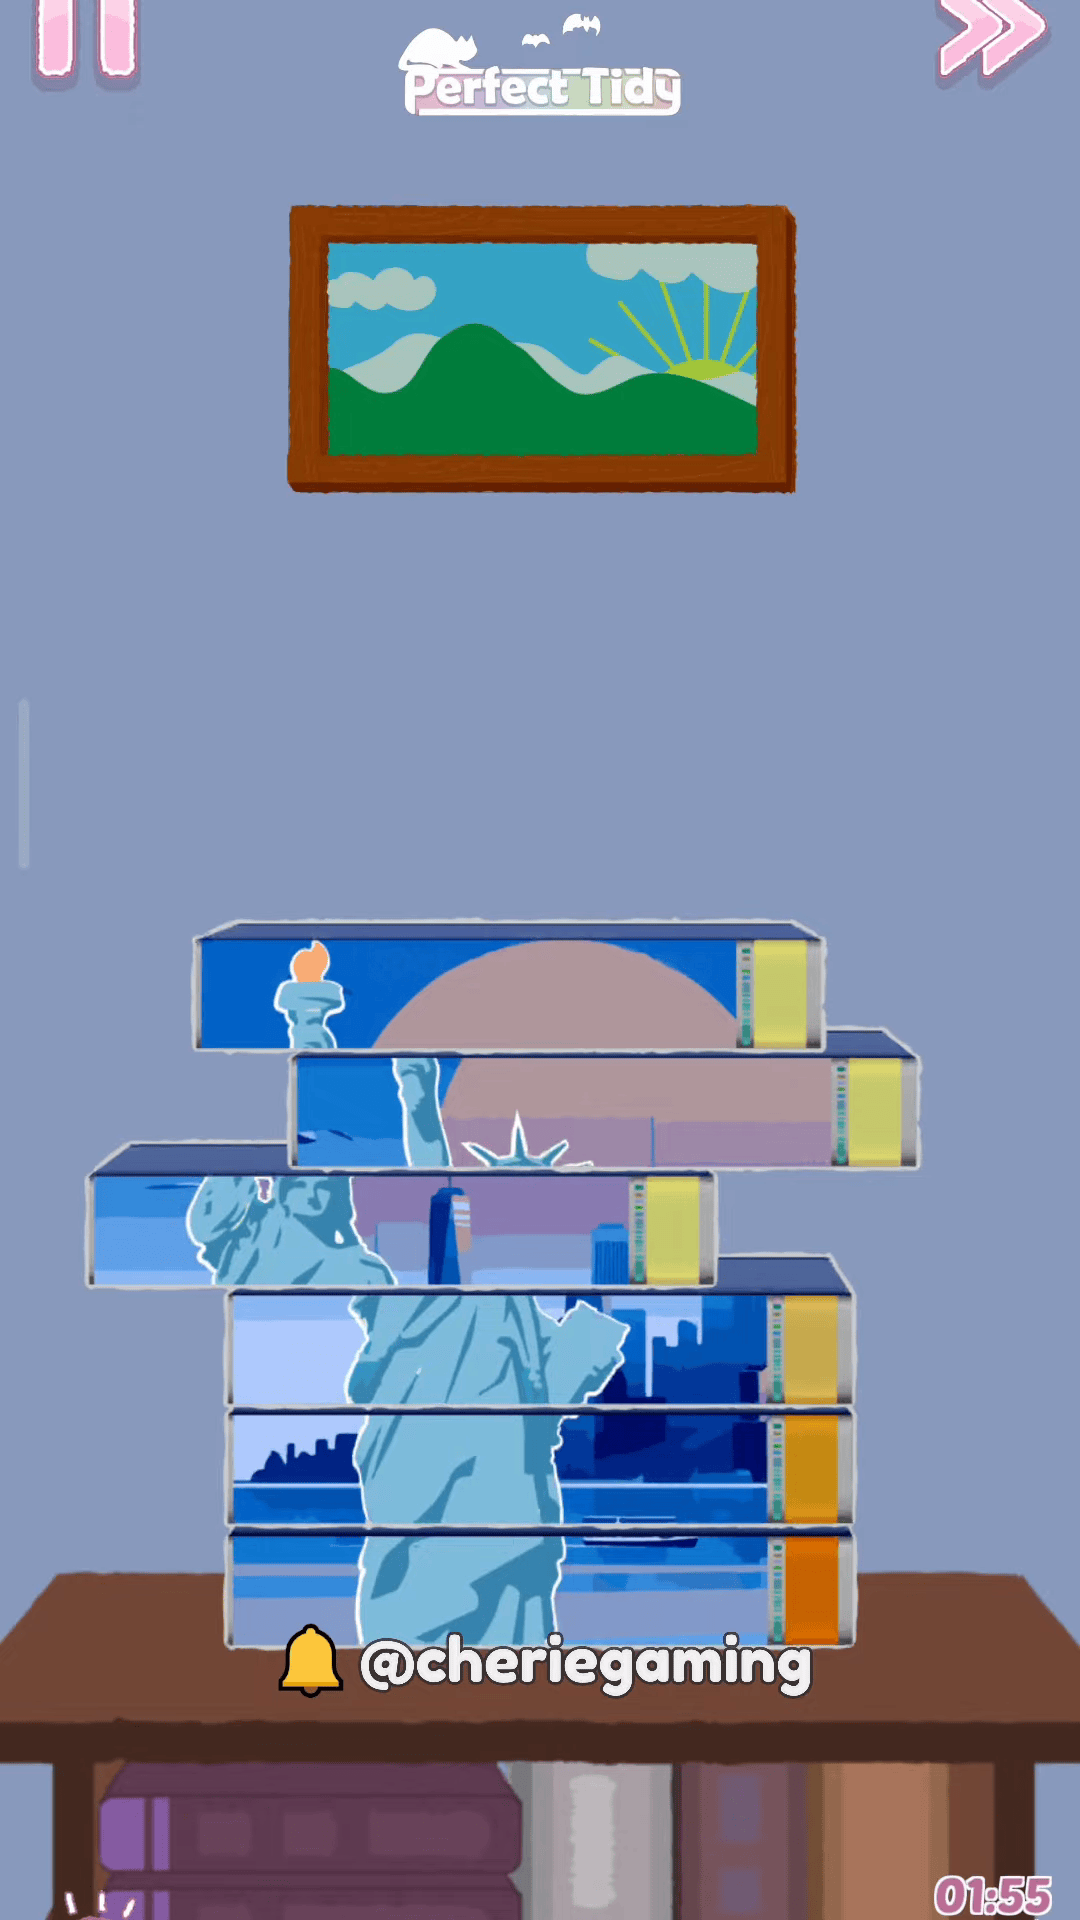
While following Perfect Tidy Level 100 Complete Walkthrough (Old Version) strategies, begin by removing or nudging the topmost overhanging pieces gently to avoid sudden shifts. Prioritize moves that reduce top weight and keep the central column aligned for easier lower removals.
Step 3. Align Mid-Section Carefully
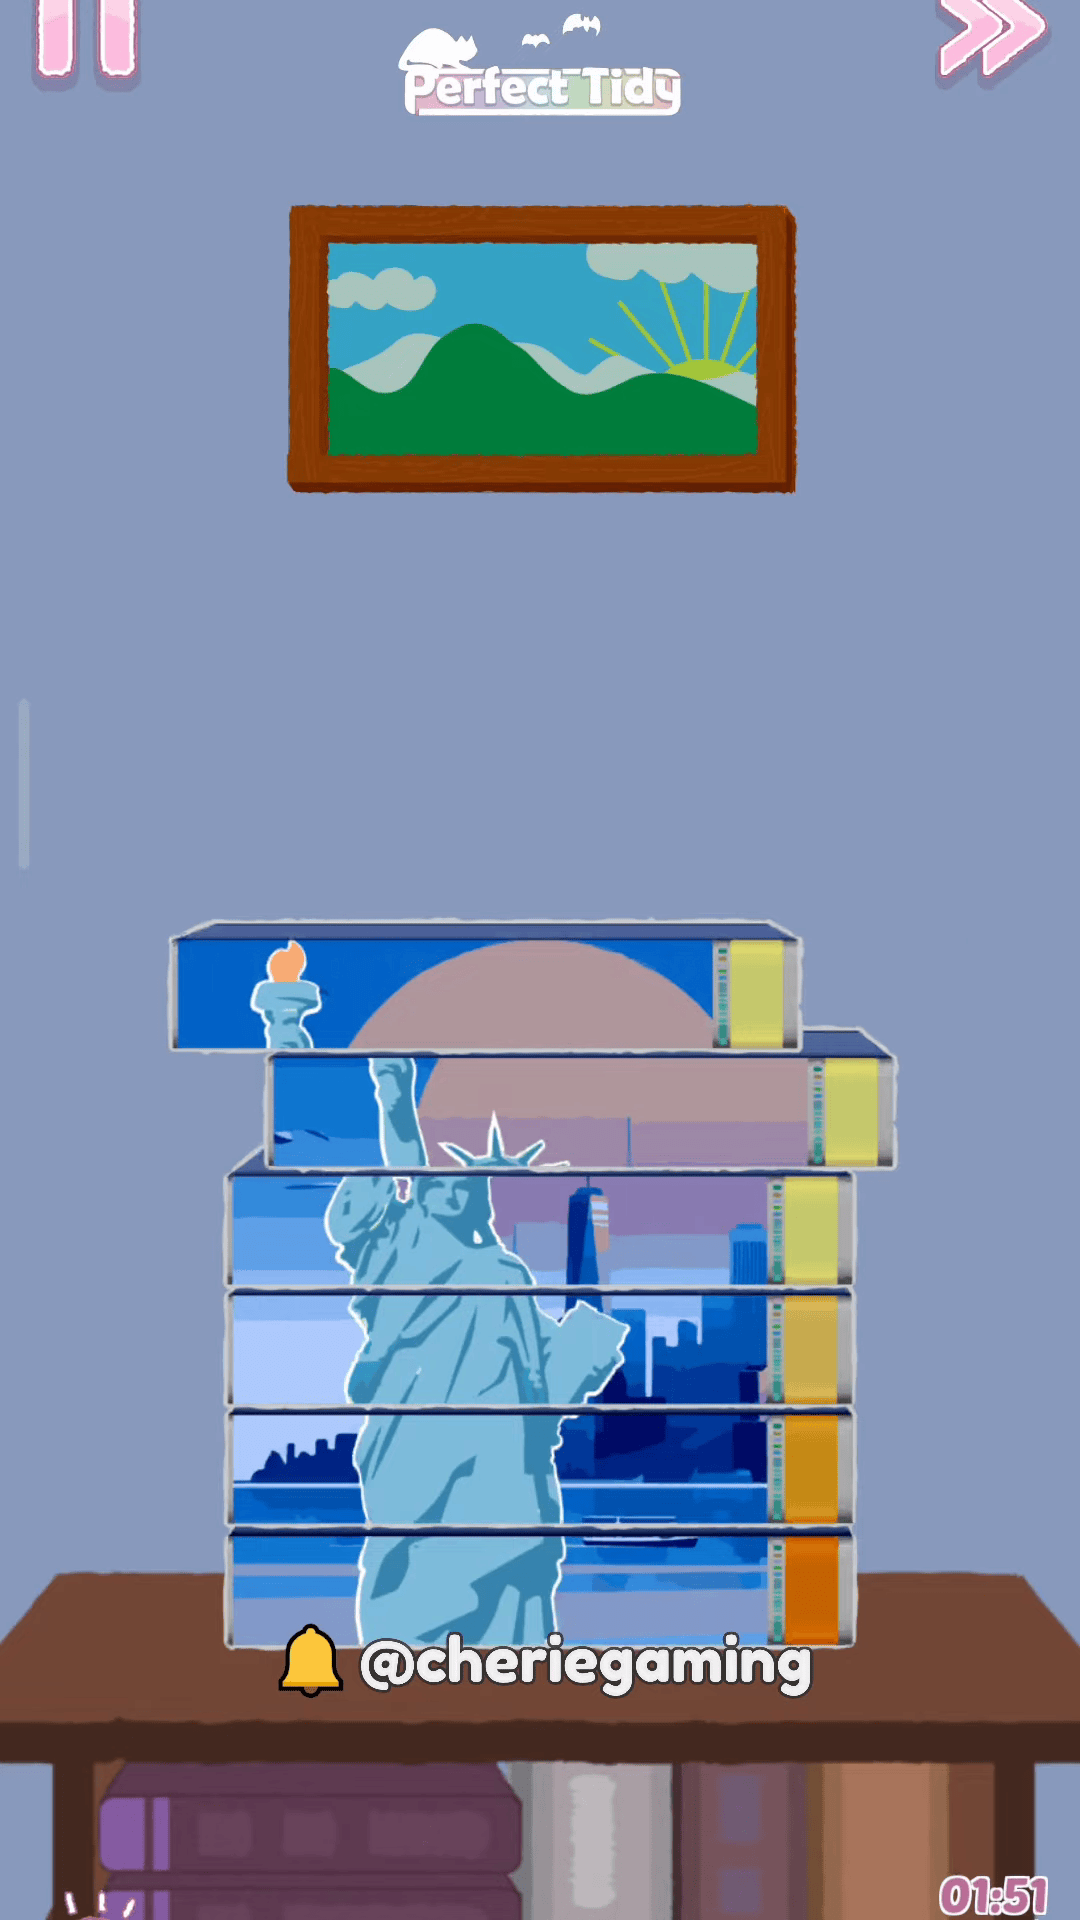
Continue the method in Perfect Tidy Level 100 Complete Walkthrough (Old Version) by making small, precise nudges on the middle rows to line up artwork edges. Work top-to-bottom so the stack remains balanced and avoid large lateral moves that can trigger a collapse.
Step 4. Finish and Confirm Completion

Finish the play-through following Perfect Tidy Level 100 Complete Walkthrough (Old Version) by making the final small adjustments until the puzzle locks and the completion banner appears. Confirm the aligned artwork and watch for the ‘You did it!’ screen to ensure the level is fully cleared.
Extra tip
- Perfect Tidy Level 100 Complete Walkthrough (Old Version) Tap gently when removing overhanging segments to avoid sudden shifts.
- Work top-to-bottom: stabilizing upper pieces first prevents chain reactions below.
- Use small nudges to align artwork edges rather than large, risky moves.