Level 010: Perfect Tidy Level 10 Complete Walkthrough
This concise guide covers the mobile mini-game shown in **Perfect Tidy Level 10 Complete Walkthrough**, describing the visible steps to cook and arrange multiple fried eggs in the pan from start to near-completion for quick reference and search.
Level overview
This concise guide covers the mobile mini-game shown in Perfect Tidy Level 10 Complete Walkthrough, describing the visible steps to cook and arrange multiple fried eggs in the pan from start to near-completion for quick reference and search.
Step 1. Start the Level

Begin the stage shown in Perfect Tidy Level 10 Complete Walkthrough by loading the pan and preparing the workspace. This frame shows the empty pan and background so you can orient placements before adding eggs.
Step 2. Add First Eggs

Place the initial eggs into the pan as demonstrated in Perfect Tidy Level 10 Complete Walkthrough, starting from one side to avoid early overcrowding. The chosen frame captures the moment when the first few eggs are in place so you can mimic spacing and timing.
Step 3. Spread and Cook Eggs

Use gentle drags to spread and slightly rotate pieces while cooking in Perfect Tidy Level 10 Complete Walkthrough so shapes fit together. The selected image shows mid-cook egg placement and overlap patterns to replicate for a compact layout.
Step 4. Fill the Pan

Continue adding and nudging eggs toward the center to fill gaps as seen in Perfect Tidy Level 10 Complete Walkthrough; work from the edges inward. The frame selected shows more completed filling and helps you identify remaining gaps to target next.
Step 5. Final Adjustments
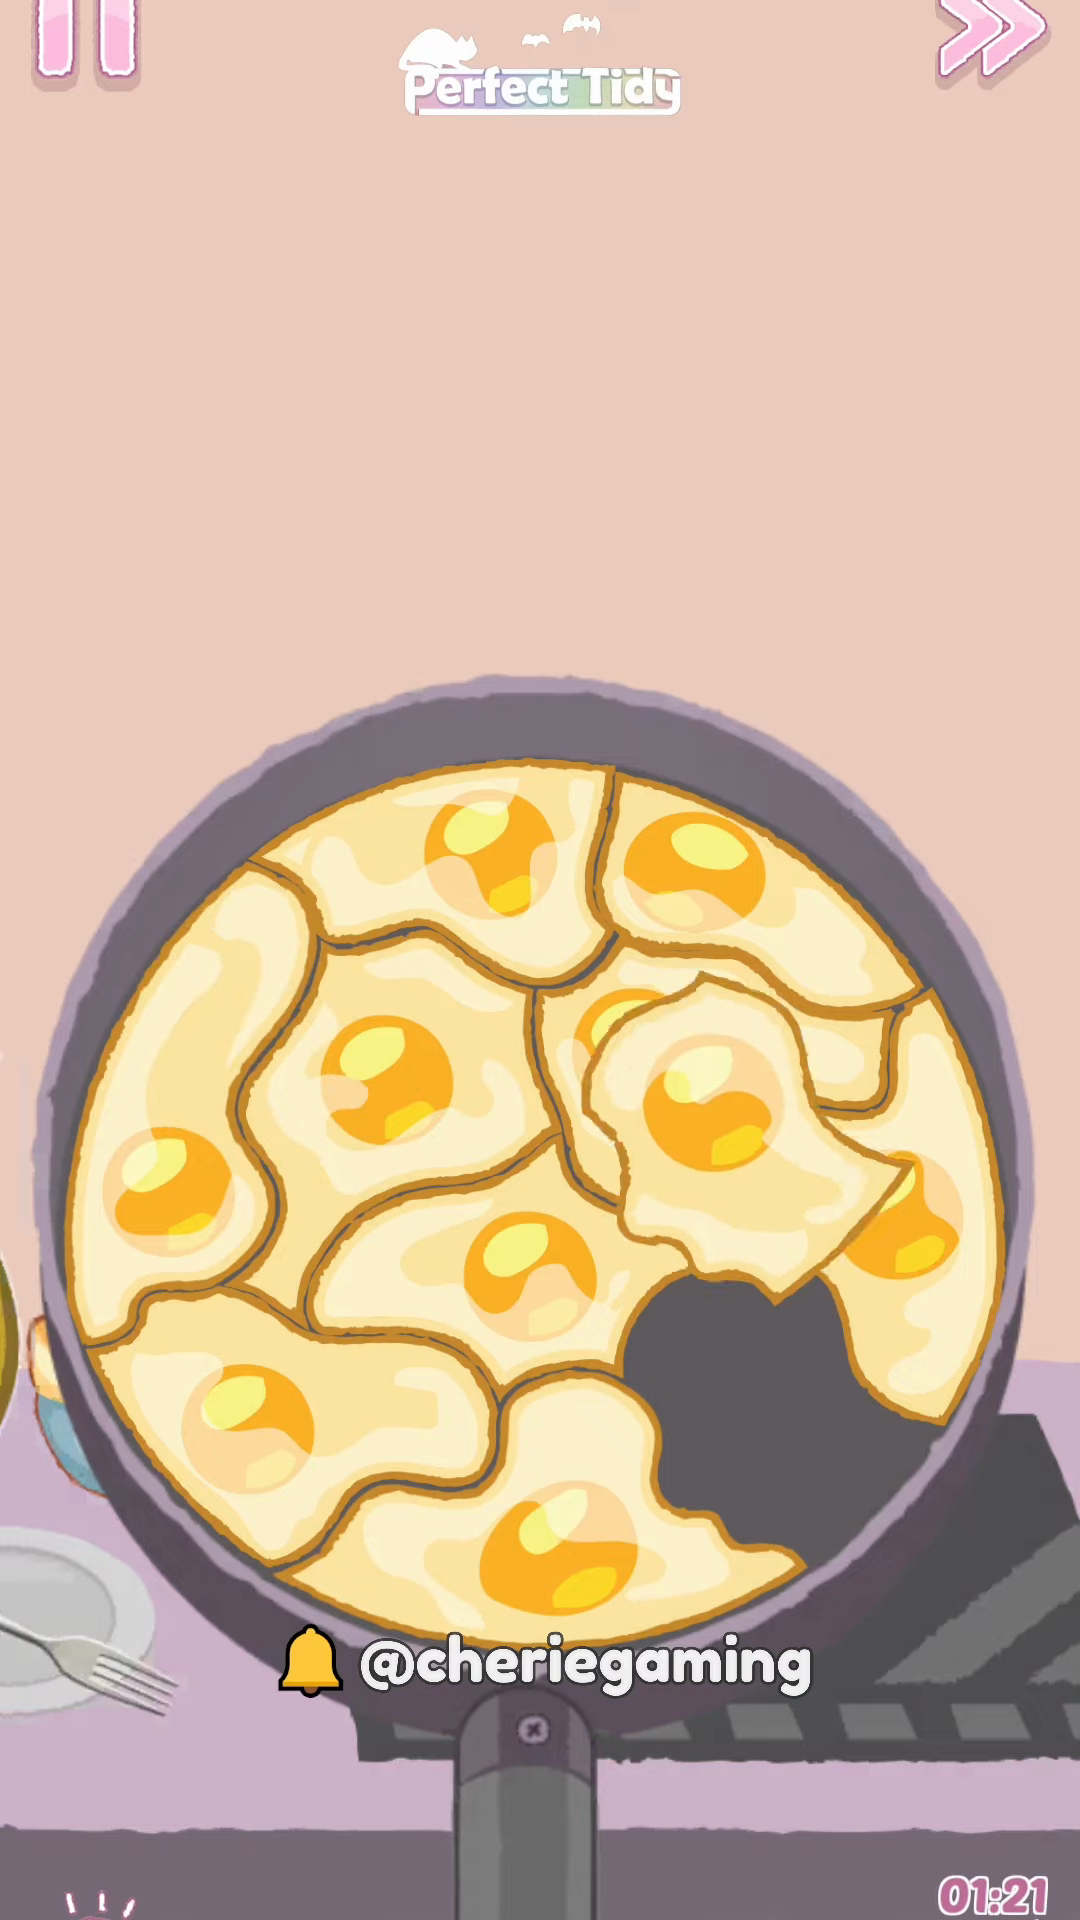
Make small final shifts to close any remaining gaps and finish the cook in Perfect Tidy Level 10 Complete Walkthrough, aiming for a snug, complete pan. The final frame shows the near-complete layout so you can copy the last micro-adjustments for a perfect tidy result.
Extra tip
- Perfect Tidy Level 10 Complete Walkthrough Work from the edges inward to minimize gaps as you add eggs.
- Don’t overcrowd early — spread each egg quickly before adding the next.
- Use small adjustments rather than large drags to prevent overlap problems.
- If the final layout has a gap, shift one nearby piece slightly rather than adding more eggs.