Level 197: Perfect Tidy Christmas Level 9 Complete Walkthrough
**Perfect Tidy Christmas Level 9 Complete Walkthrough** shows the fastest way to organize items, add filler, seal the box, and apply wrapping decorations to finish the level with top score. This **Perfect Tidy Christmas Level 9 Complete Walkthrough** focuses on item placement order, controlled filler pouring, and neat wrapping to avoid shifting or breakage.
Level overview
Perfect Tidy Christmas Level 9 Complete Walkthrough shows the fastest way to organize items, add filler, seal the box, and apply wrapping decorations to finish the level with top score. This Perfect Tidy Christmas Level 9 Complete Walkthrough focuses on item placement order, controlled filler pouring, and neat wrapping to avoid shifting or breakage.
Step 1. Prepare the box
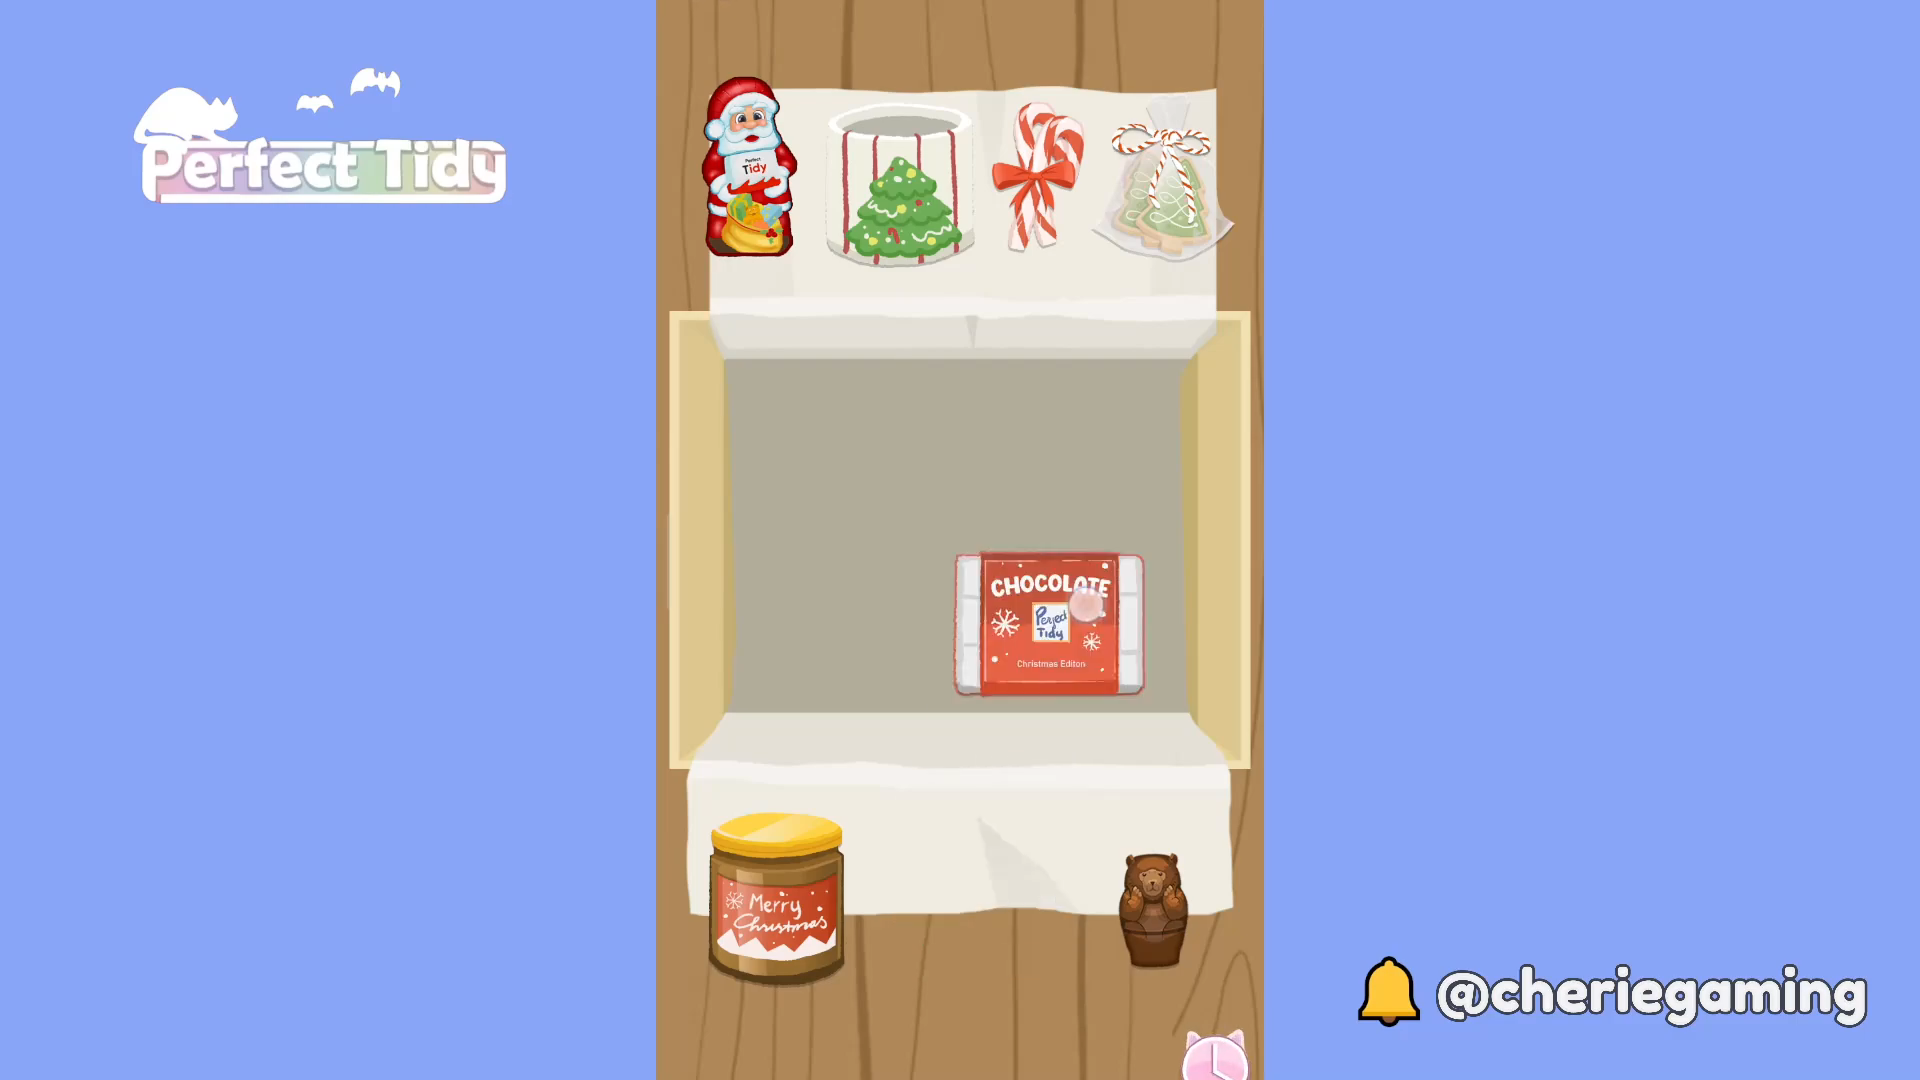
Start the level by arranging the base area inside the box as shown in this Perfect Tidy Christmas Level 9 Complete Walkthrough screenshot. Preparing the box first gives you clear space to place fragile items in the next steps and prevents rework later.
Step 2. Arrange base items
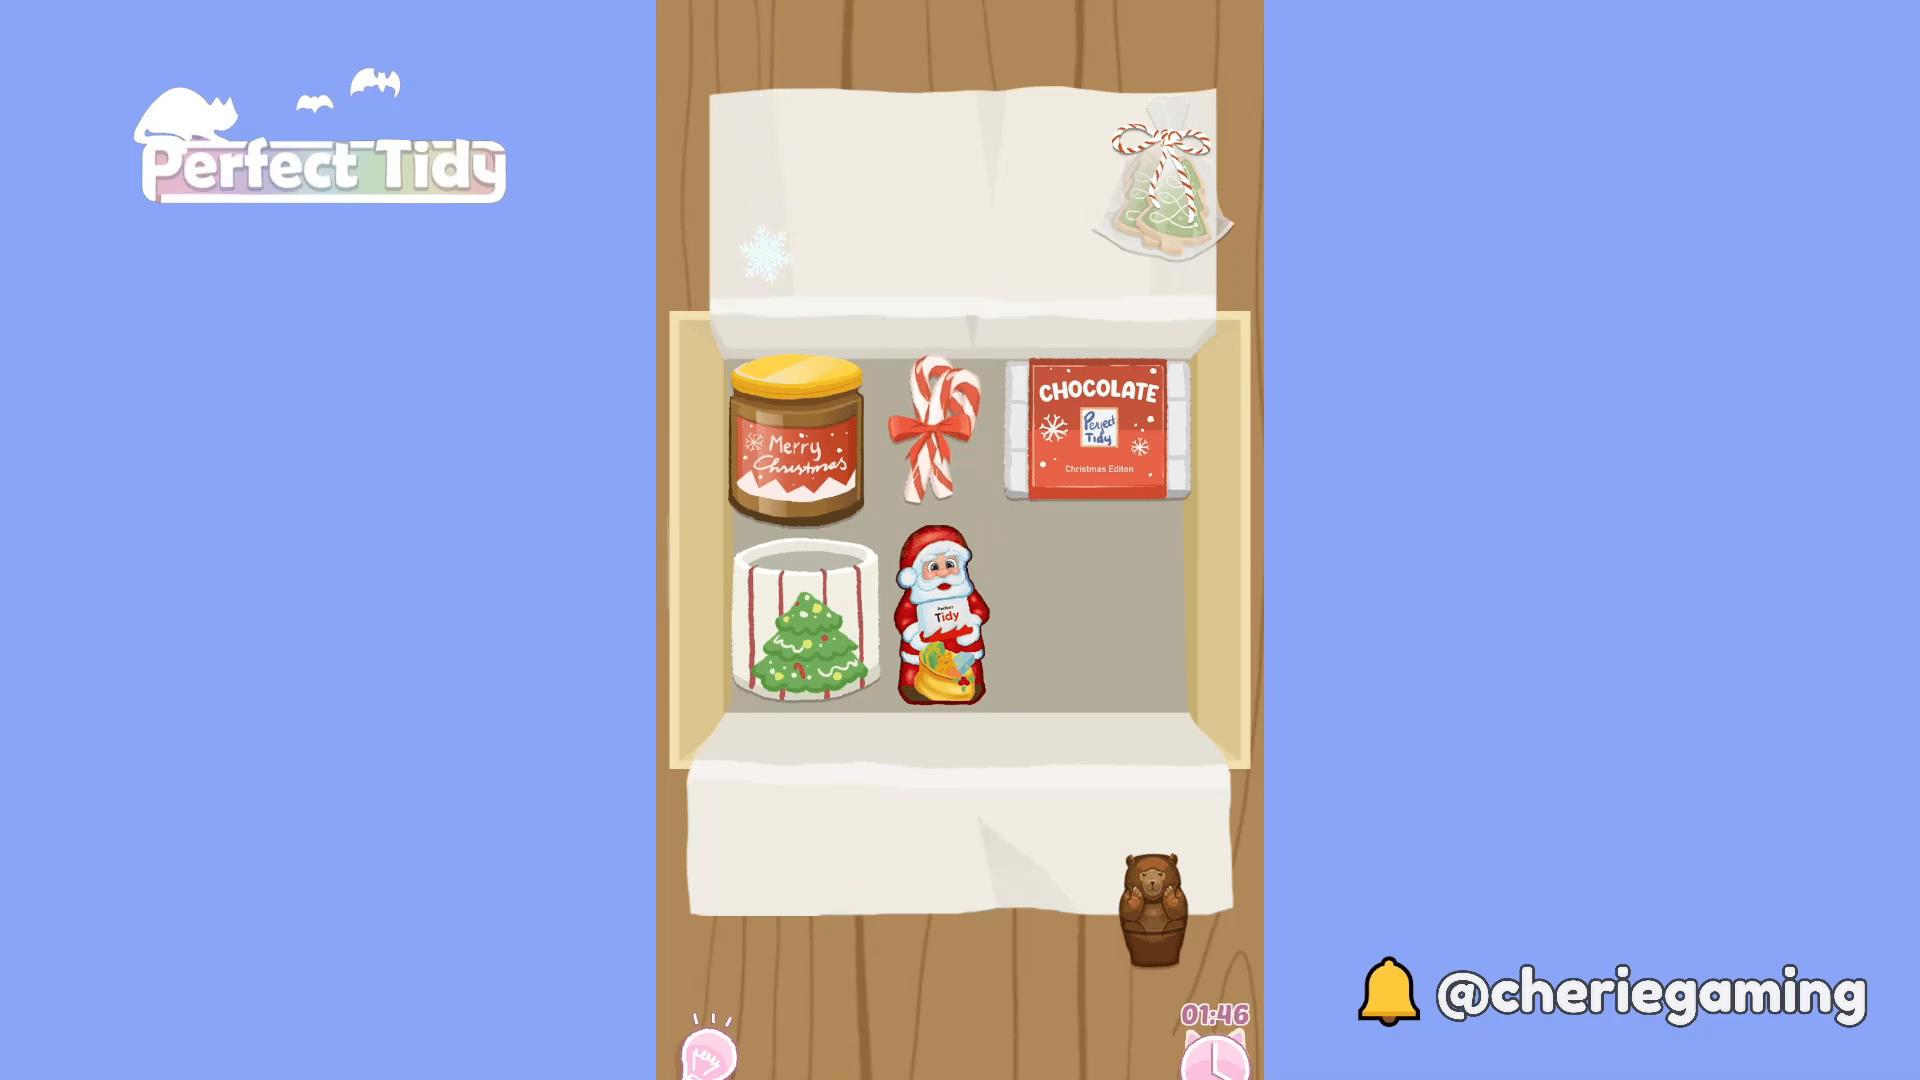
Place large, stable items first to create a sturdy base as demonstrated in this Perfect Tidy Christmas Level 9 Complete Walkthrough frame. Position jars and boxed chocolates against the edges so smaller items fit neatly in the centre and won't move when you add filler.
Step 3. Place fragile pieces
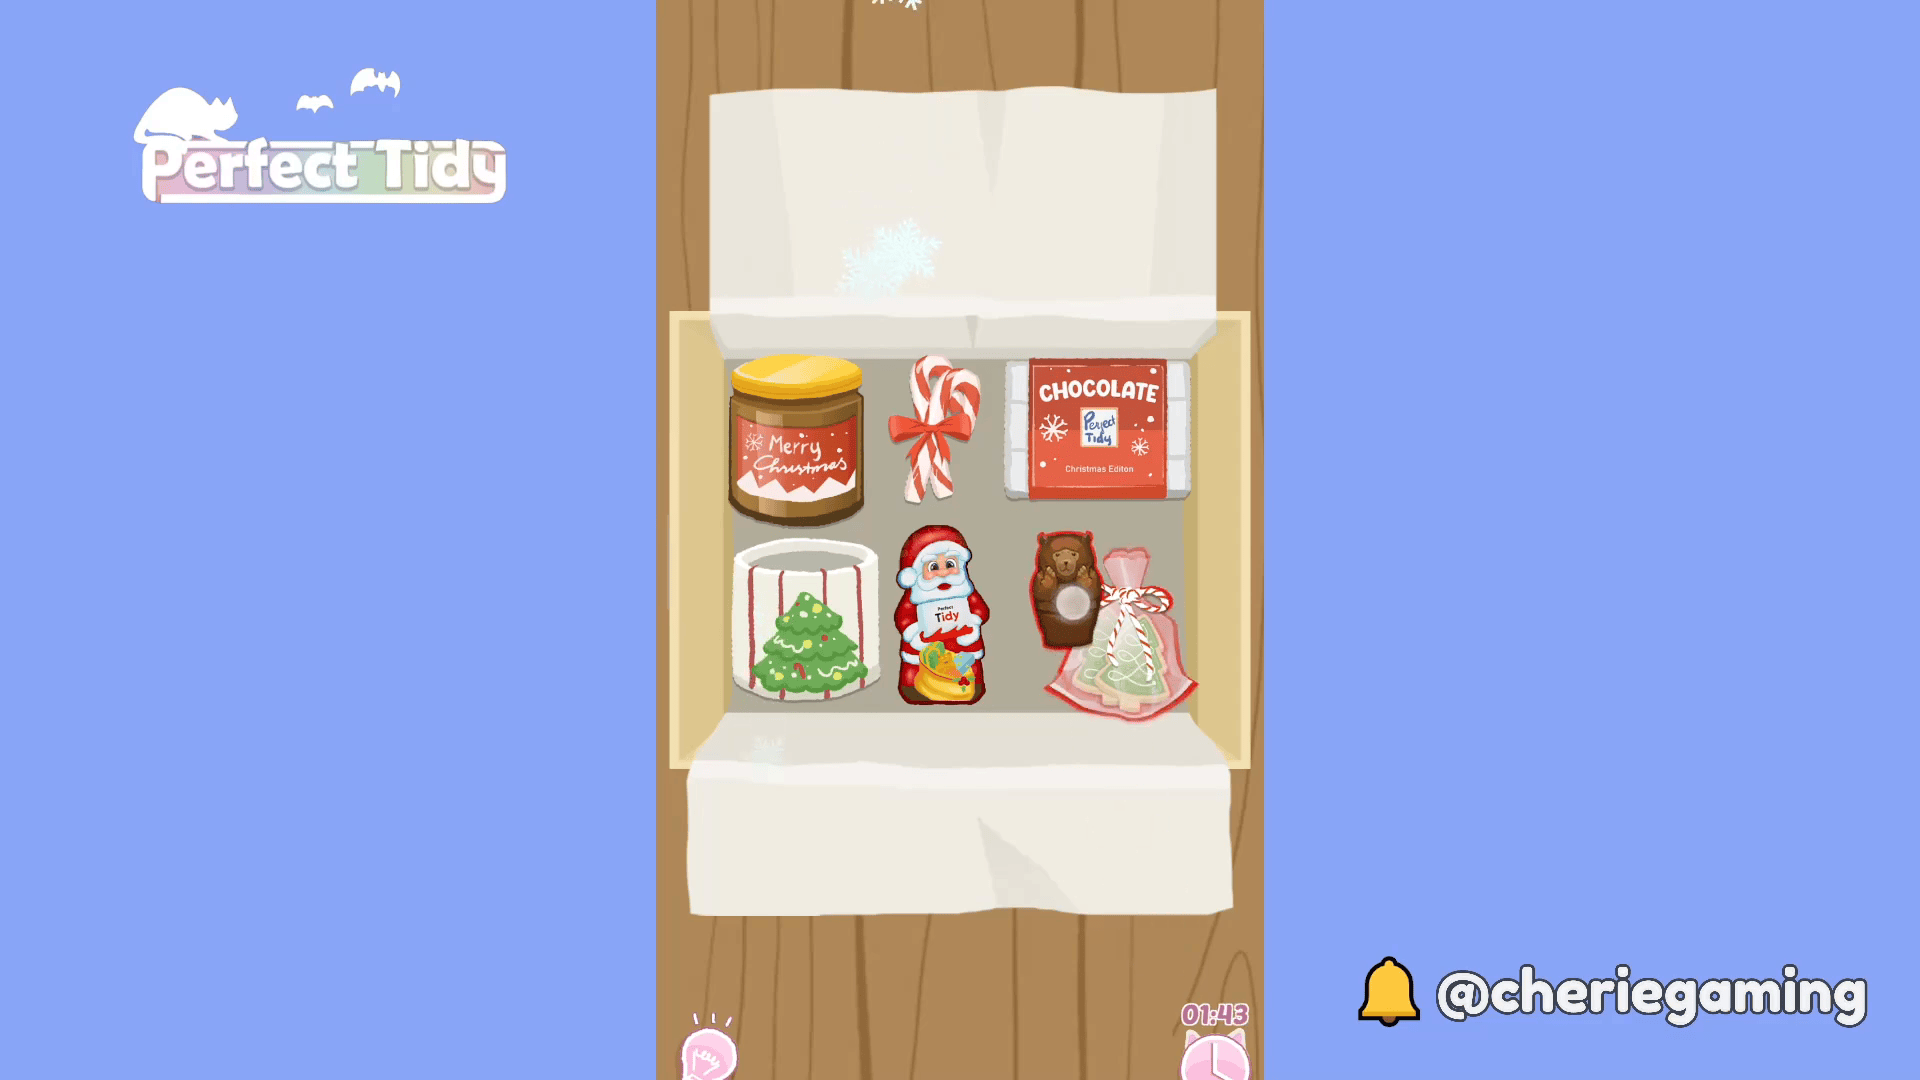
Add fragile pieces like the Santa and cookie bag toward the center in this Perfect Tidy Christmas Level 9 Complete Walkthrough step so they are cushioned by surrounding items. Placing fragile items now ensures they’re protected before you pour any filler.
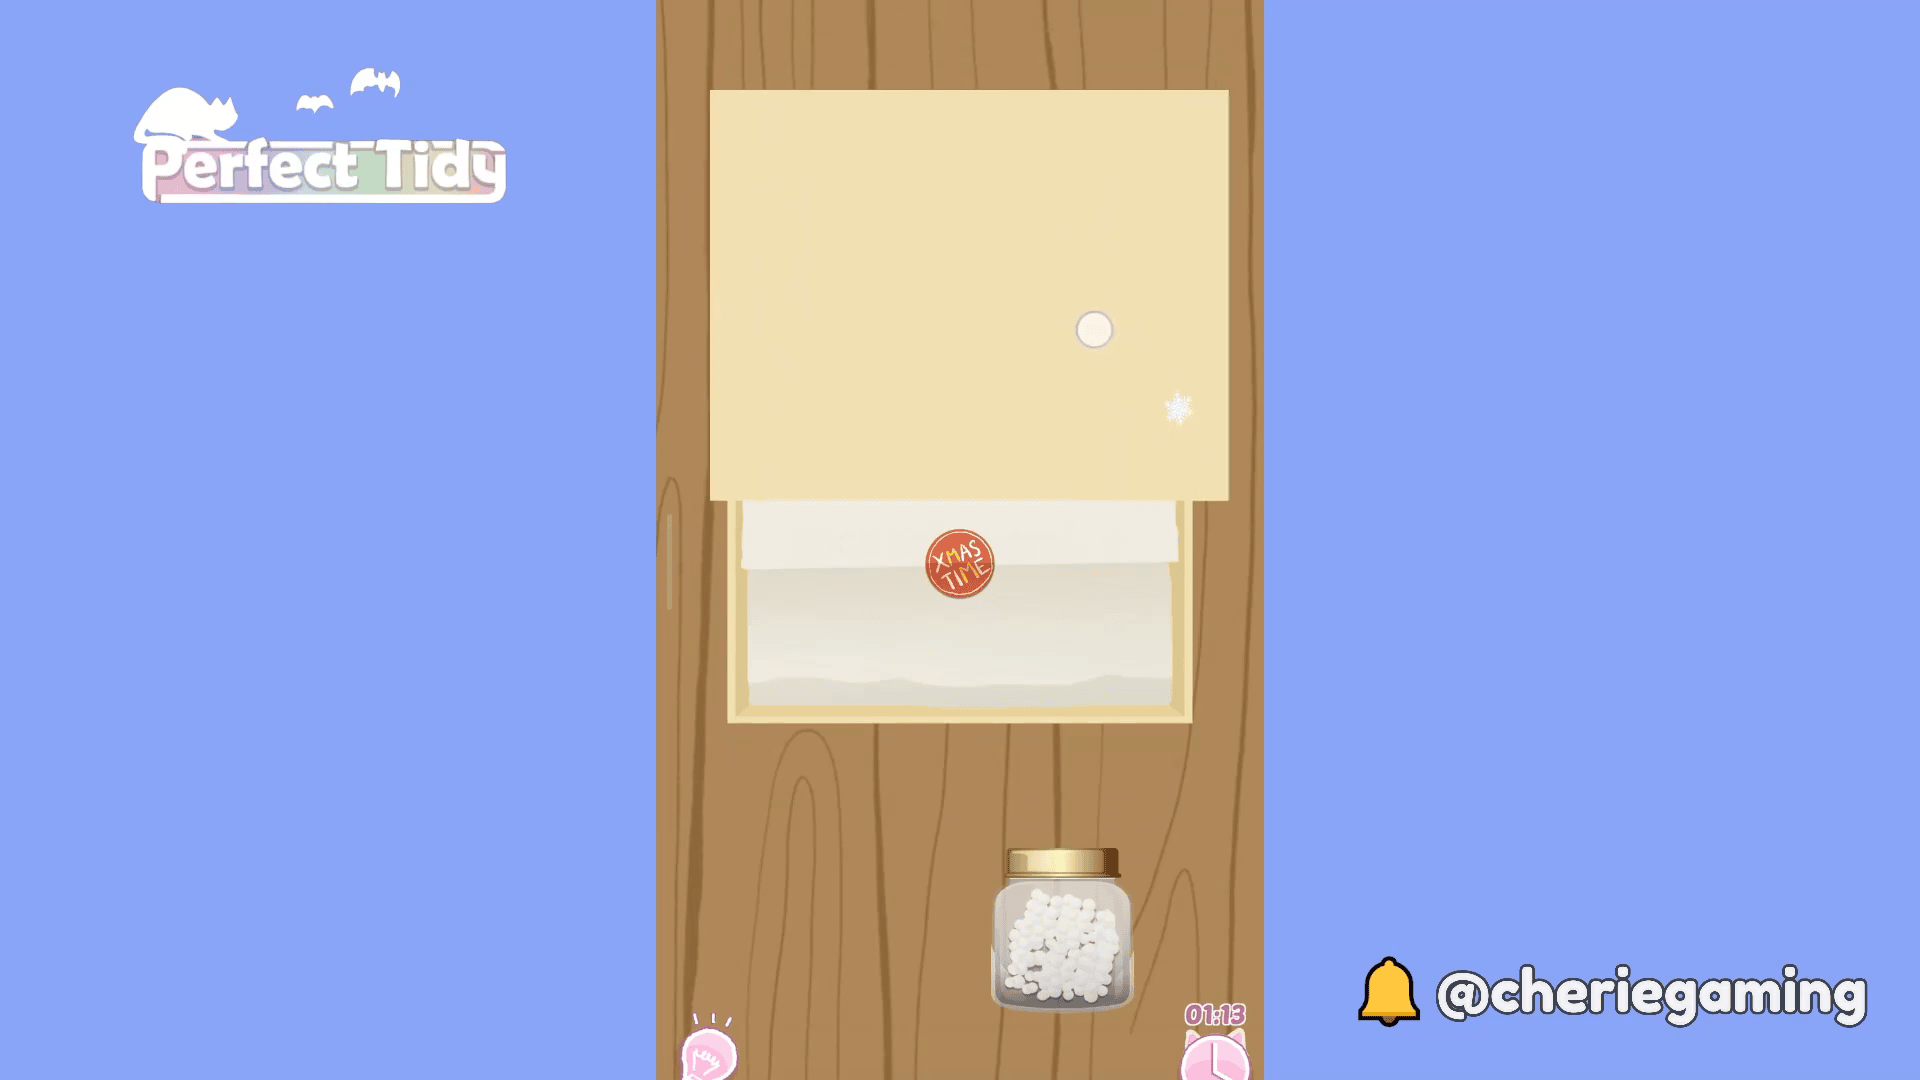
Step 4. Pour filler carefully
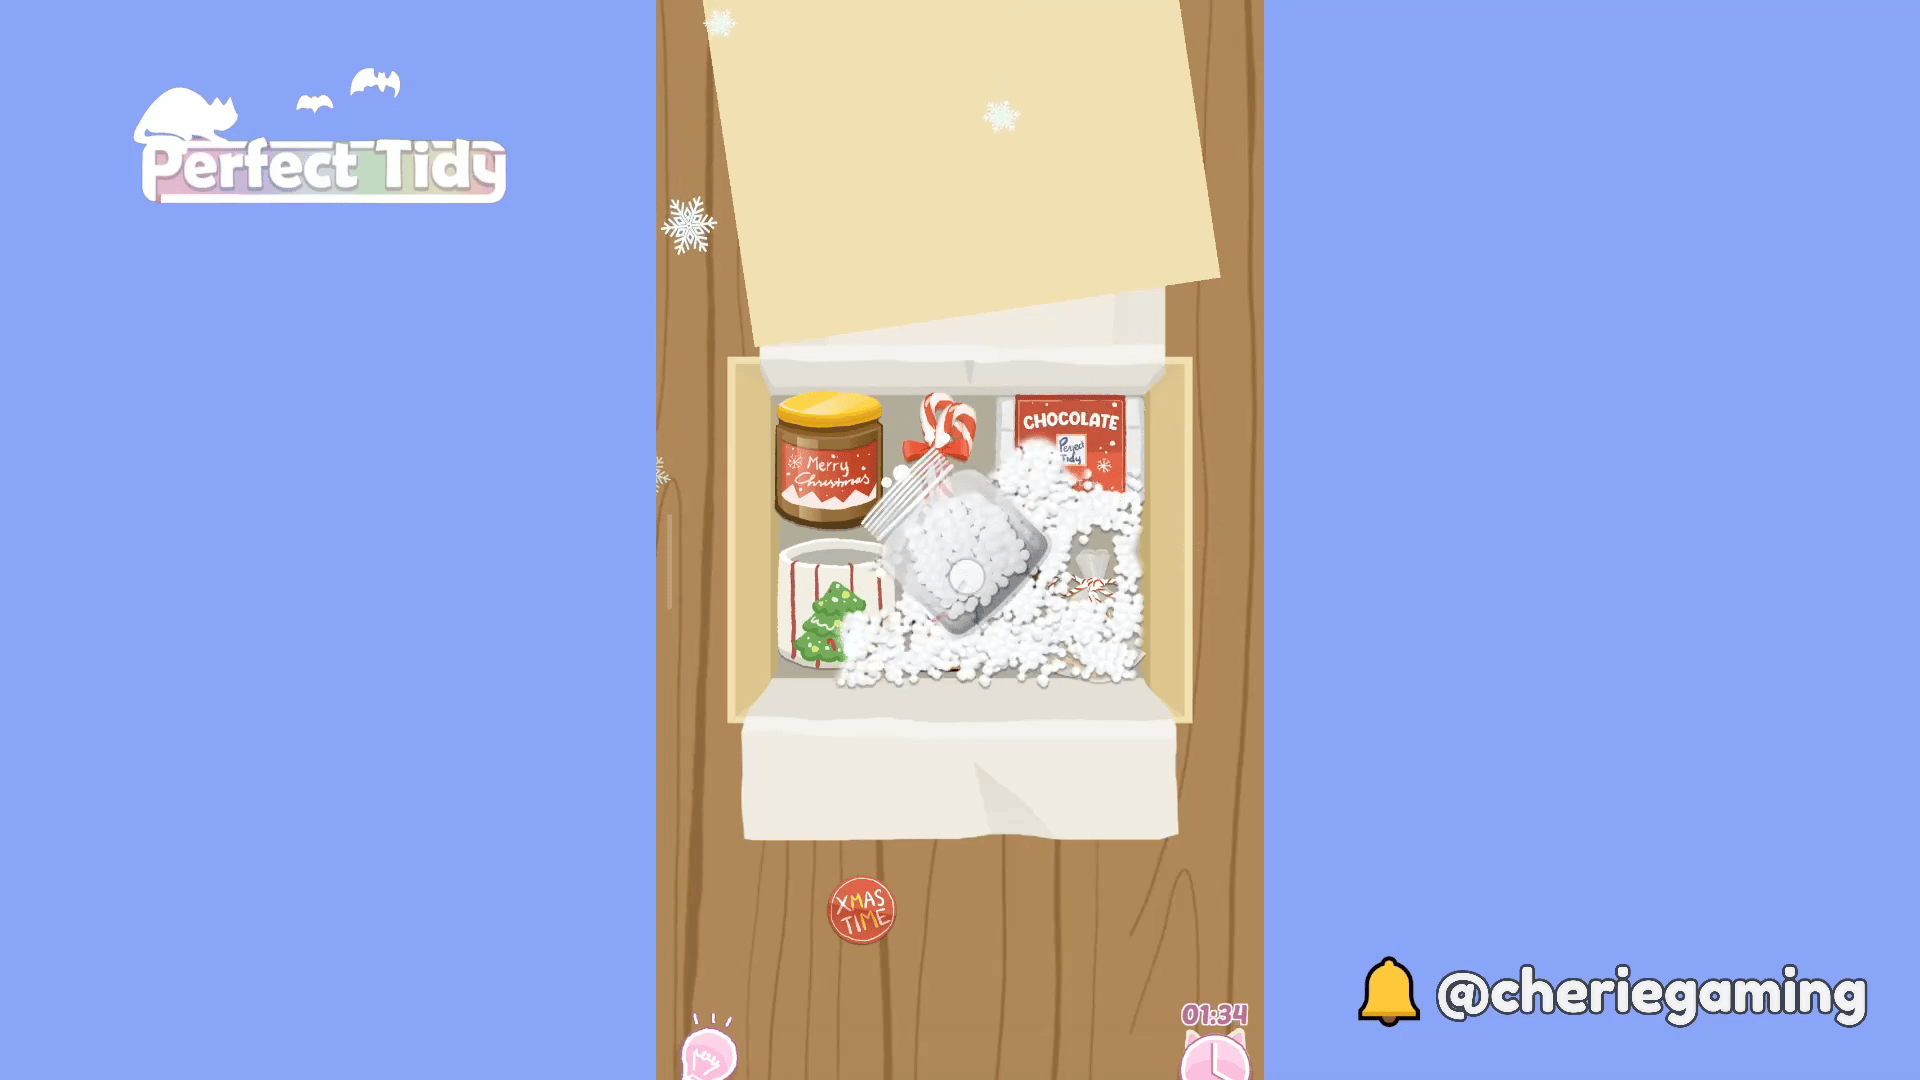
Slowly pour filler from one side and let it settle to keep items visible and protected as shown in this Perfect Tidy Christmas Level 9 Complete Walkthrough image. Pouring gradually prevents covering delicate tops and allows you to tap the box so filler fills gaps evenly.
Step 5. Top up and close
Top up the filler until gaps are filled, tap the box edges to settle it, then fold the lid down as demonstrated in this Perfect Tidy Christmas Level 9 Complete Walkthrough shot. Make sure no items are visible through gaps before moving to wrapping.
Step 6. Choose wrapping materials
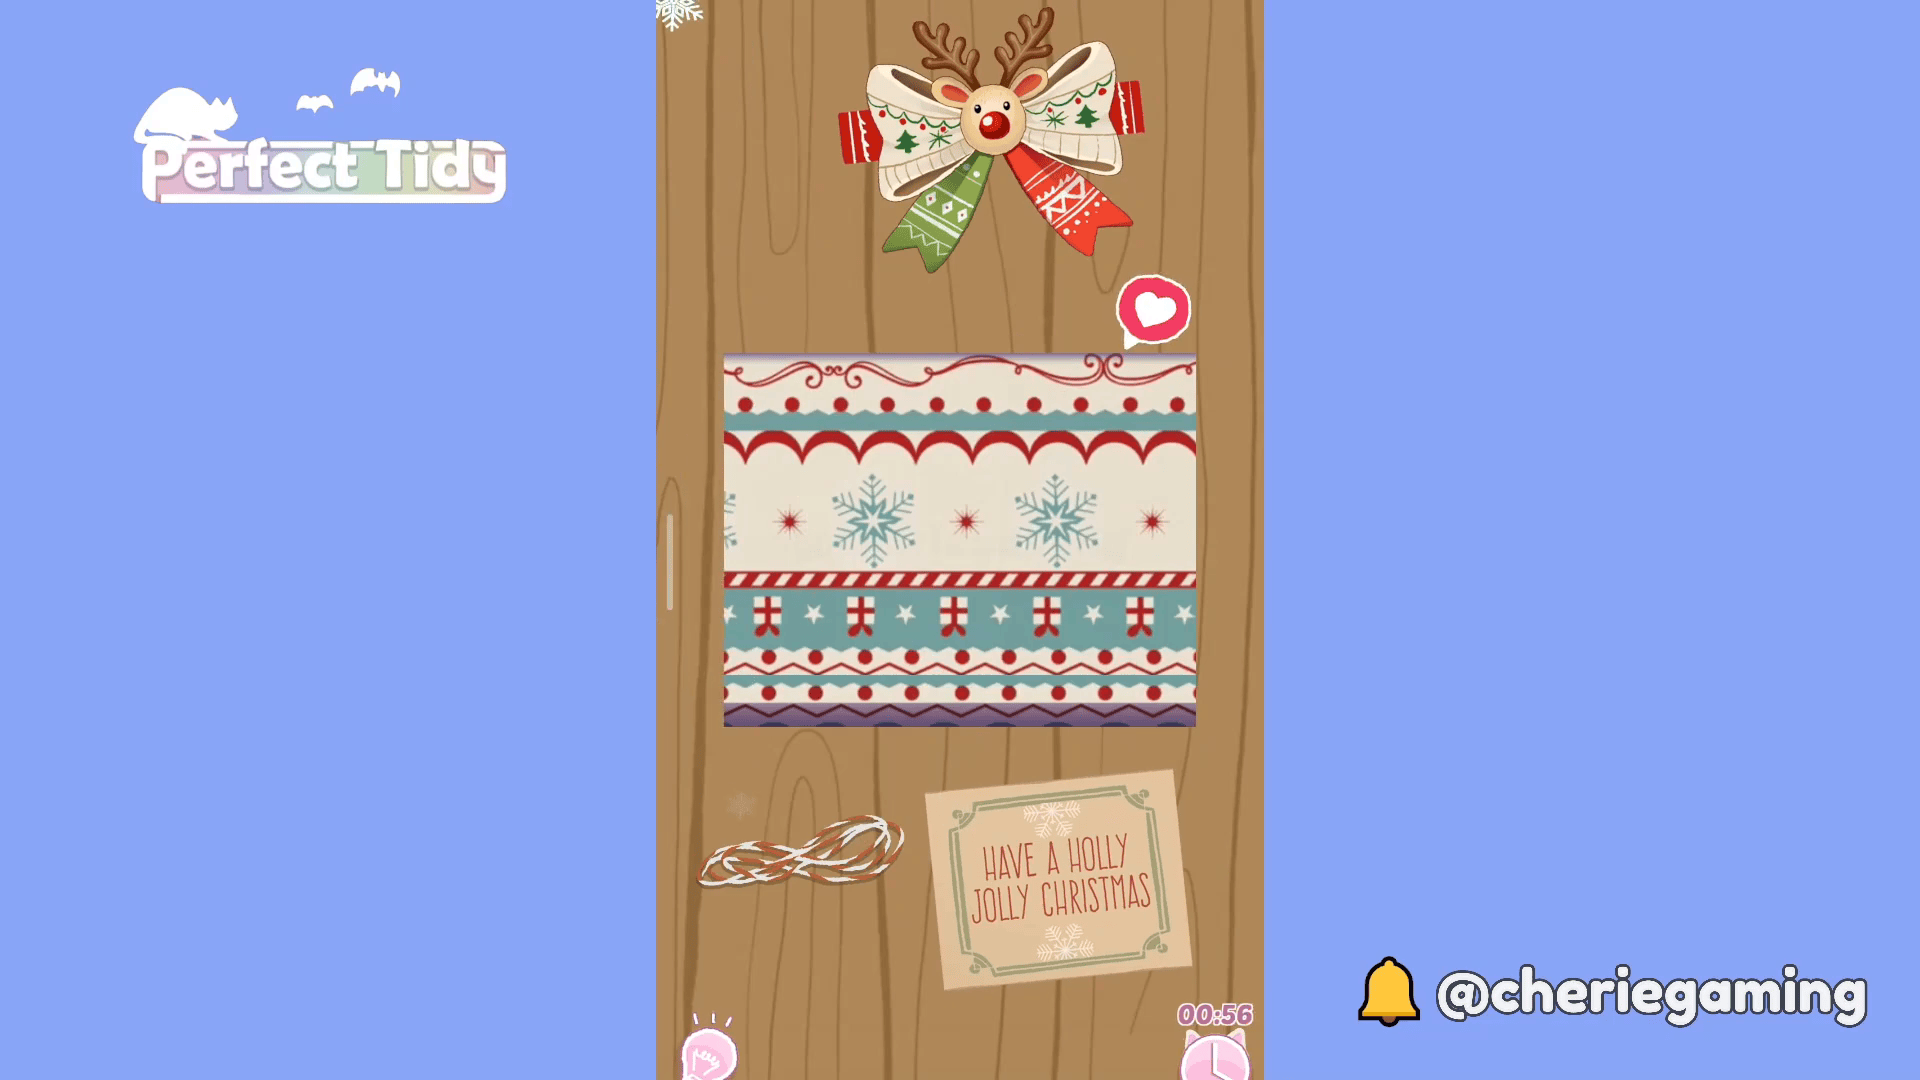
Select your paper, ribbon and tag from the options and lay them out for wrapping in this Perfect Tidy Christmas Level 9 Complete Walkthrough stage. Picking the right wrap now ensures the design covers seams and makes the final bow placement easier.
Step 7. Add final bow and finish

Center the bow and smooth the paper to complete this Perfect Tidy Christmas Level 9 Complete Walkthrough—finish by adding the tag and tightening ribbon to secure everything. A centered bow and neat folds earn higher completion scores and a tidy final result.
Extra tip
- Perfect Tidy Christmas Level 9 Complete Walkthrough Place fragile pieces first in recessed or central spots to prevent movement.
- Pour filler slowly and from one side to keep items visible.
- Tap the box edges gently to let filler settle into gaps before topping up.